
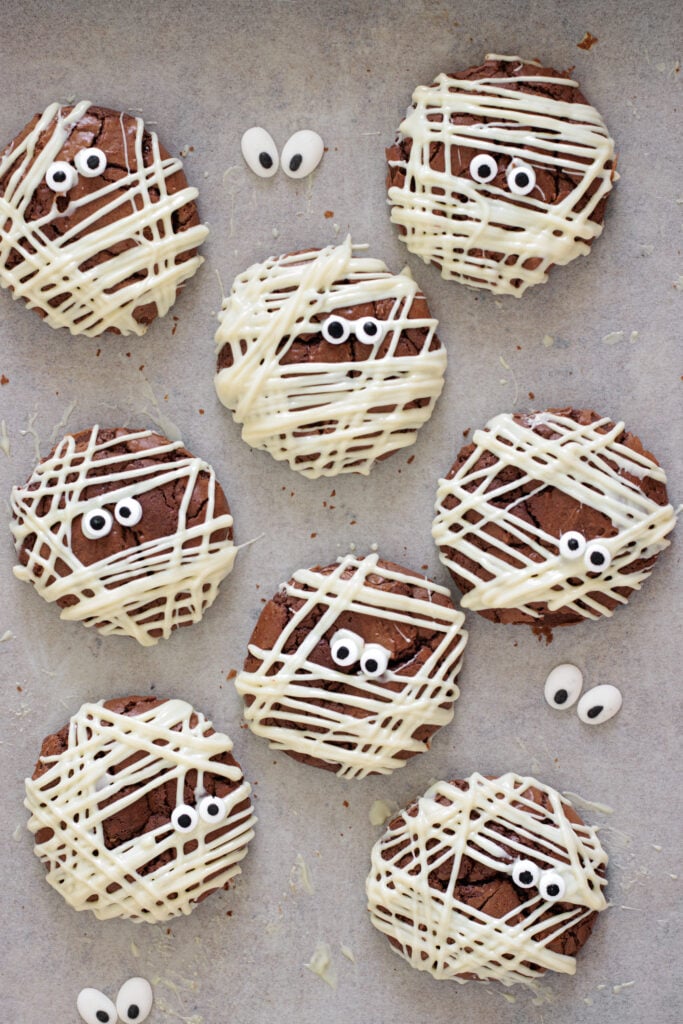
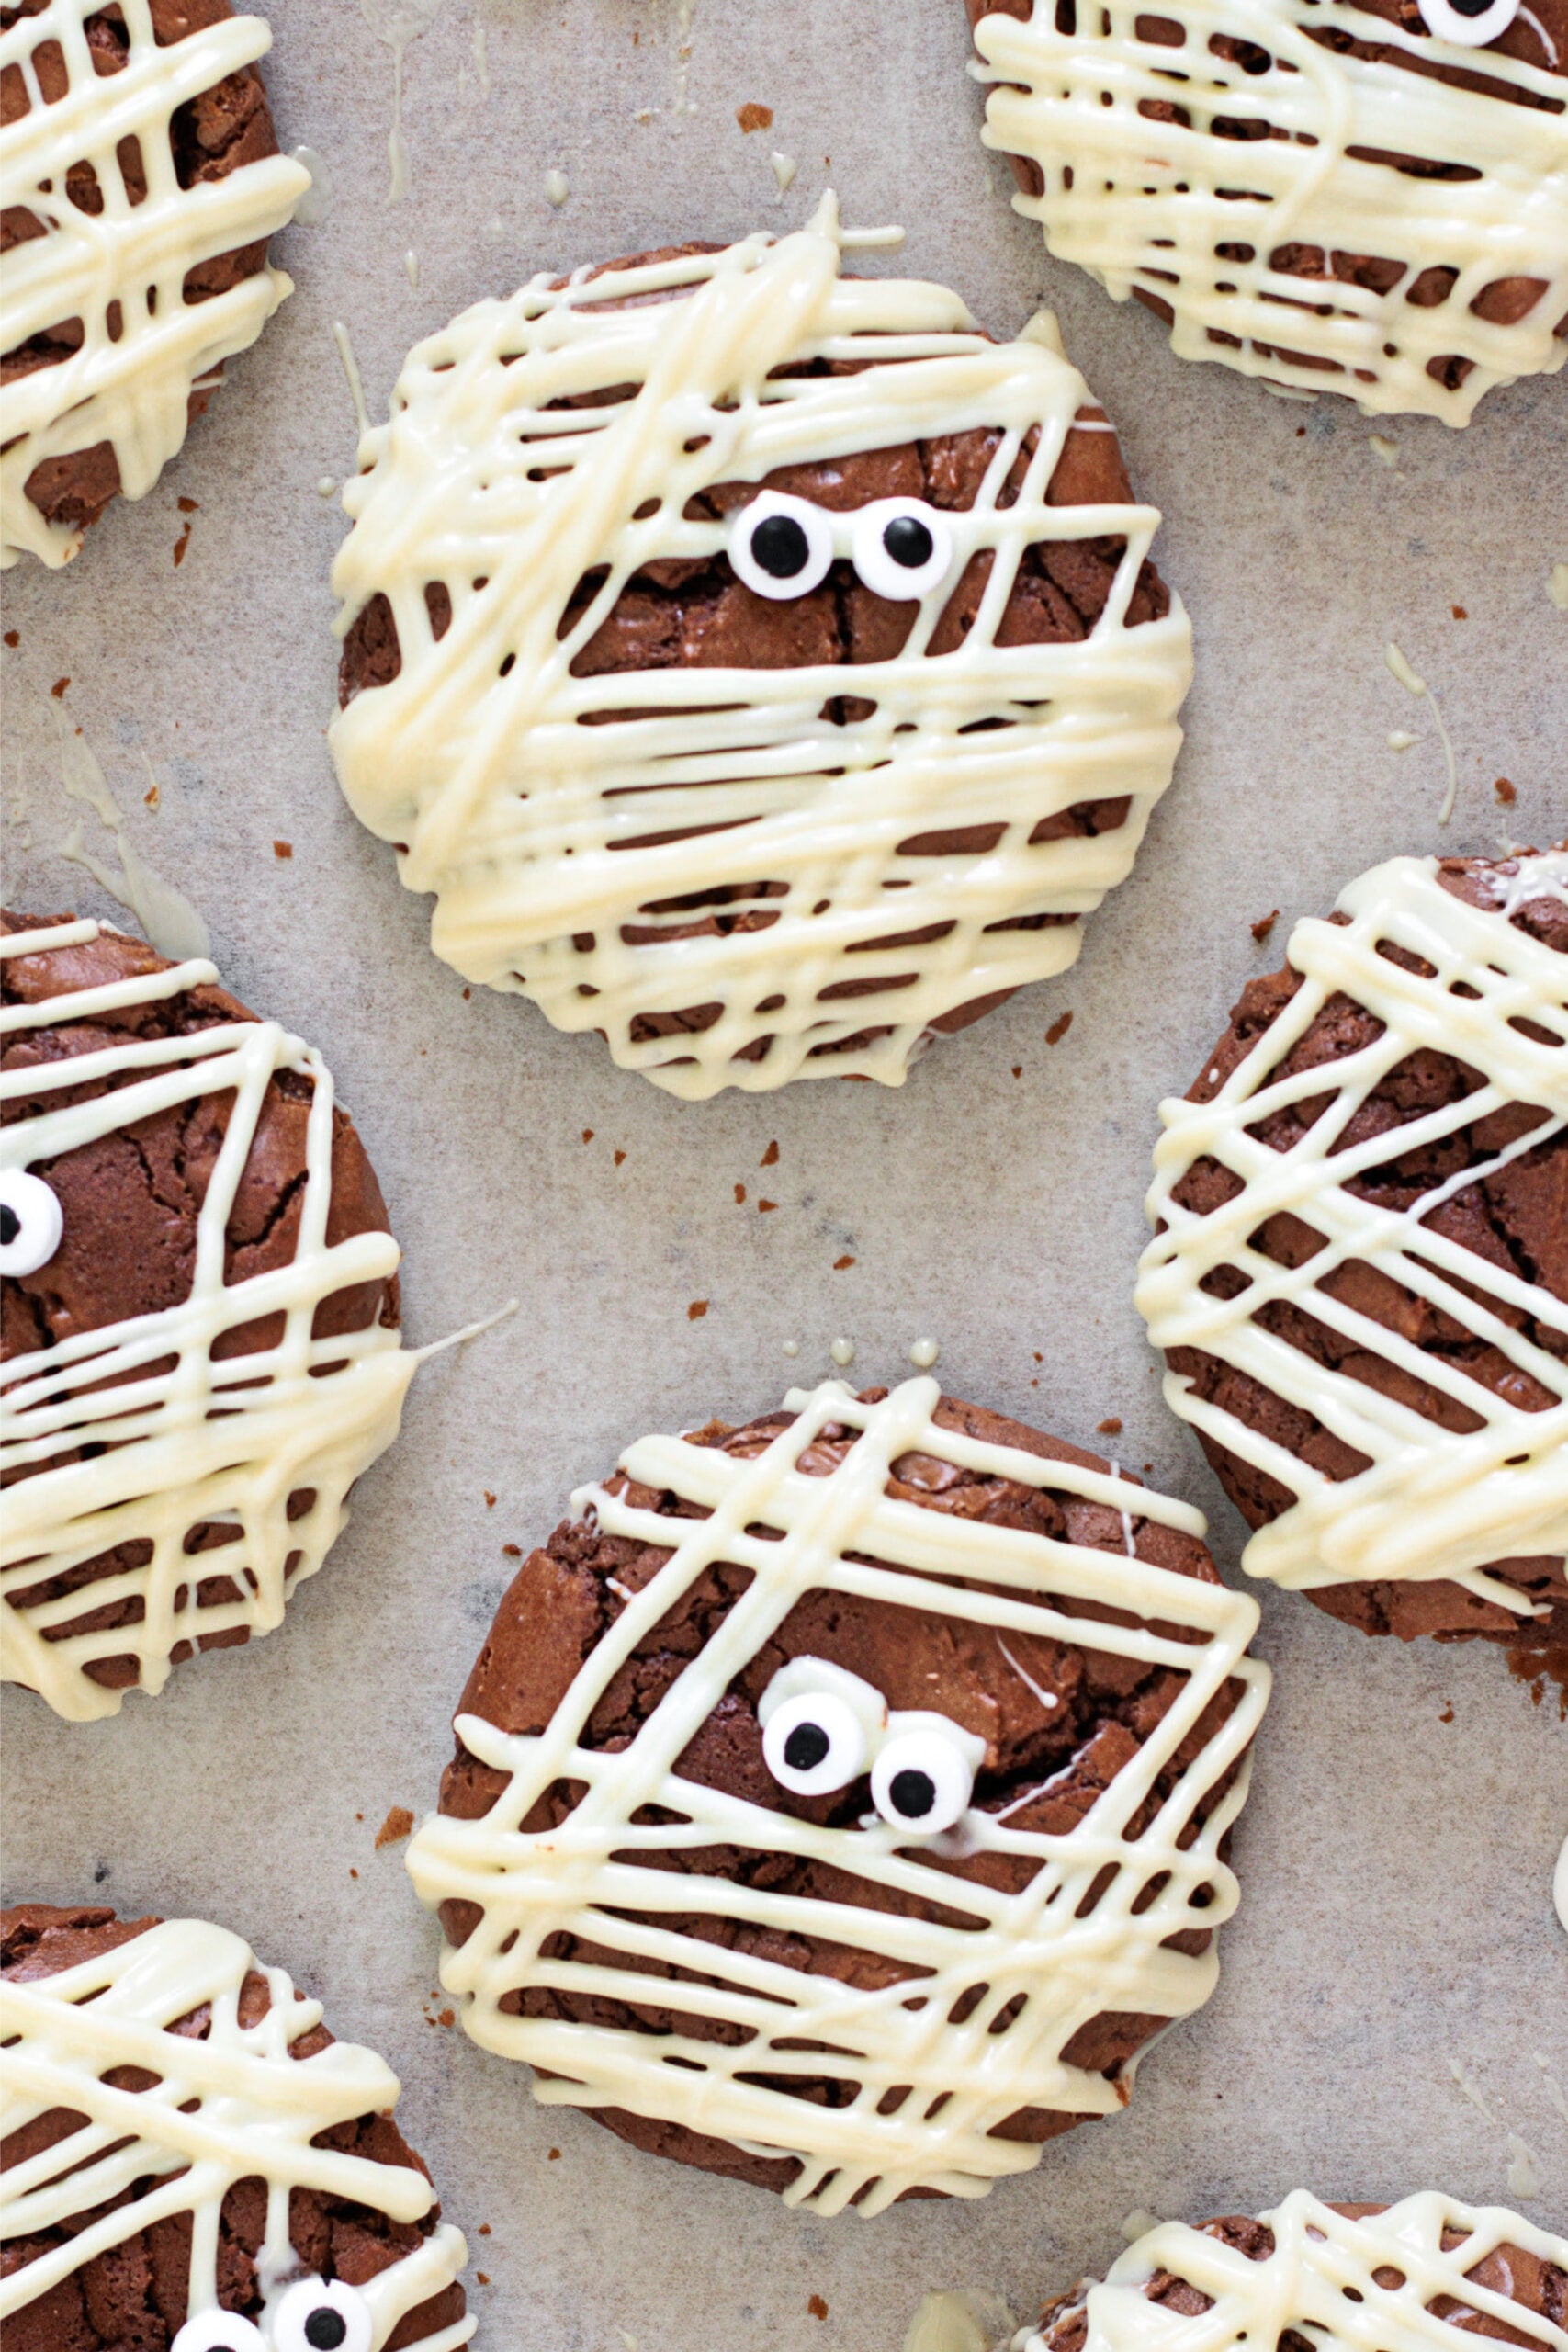
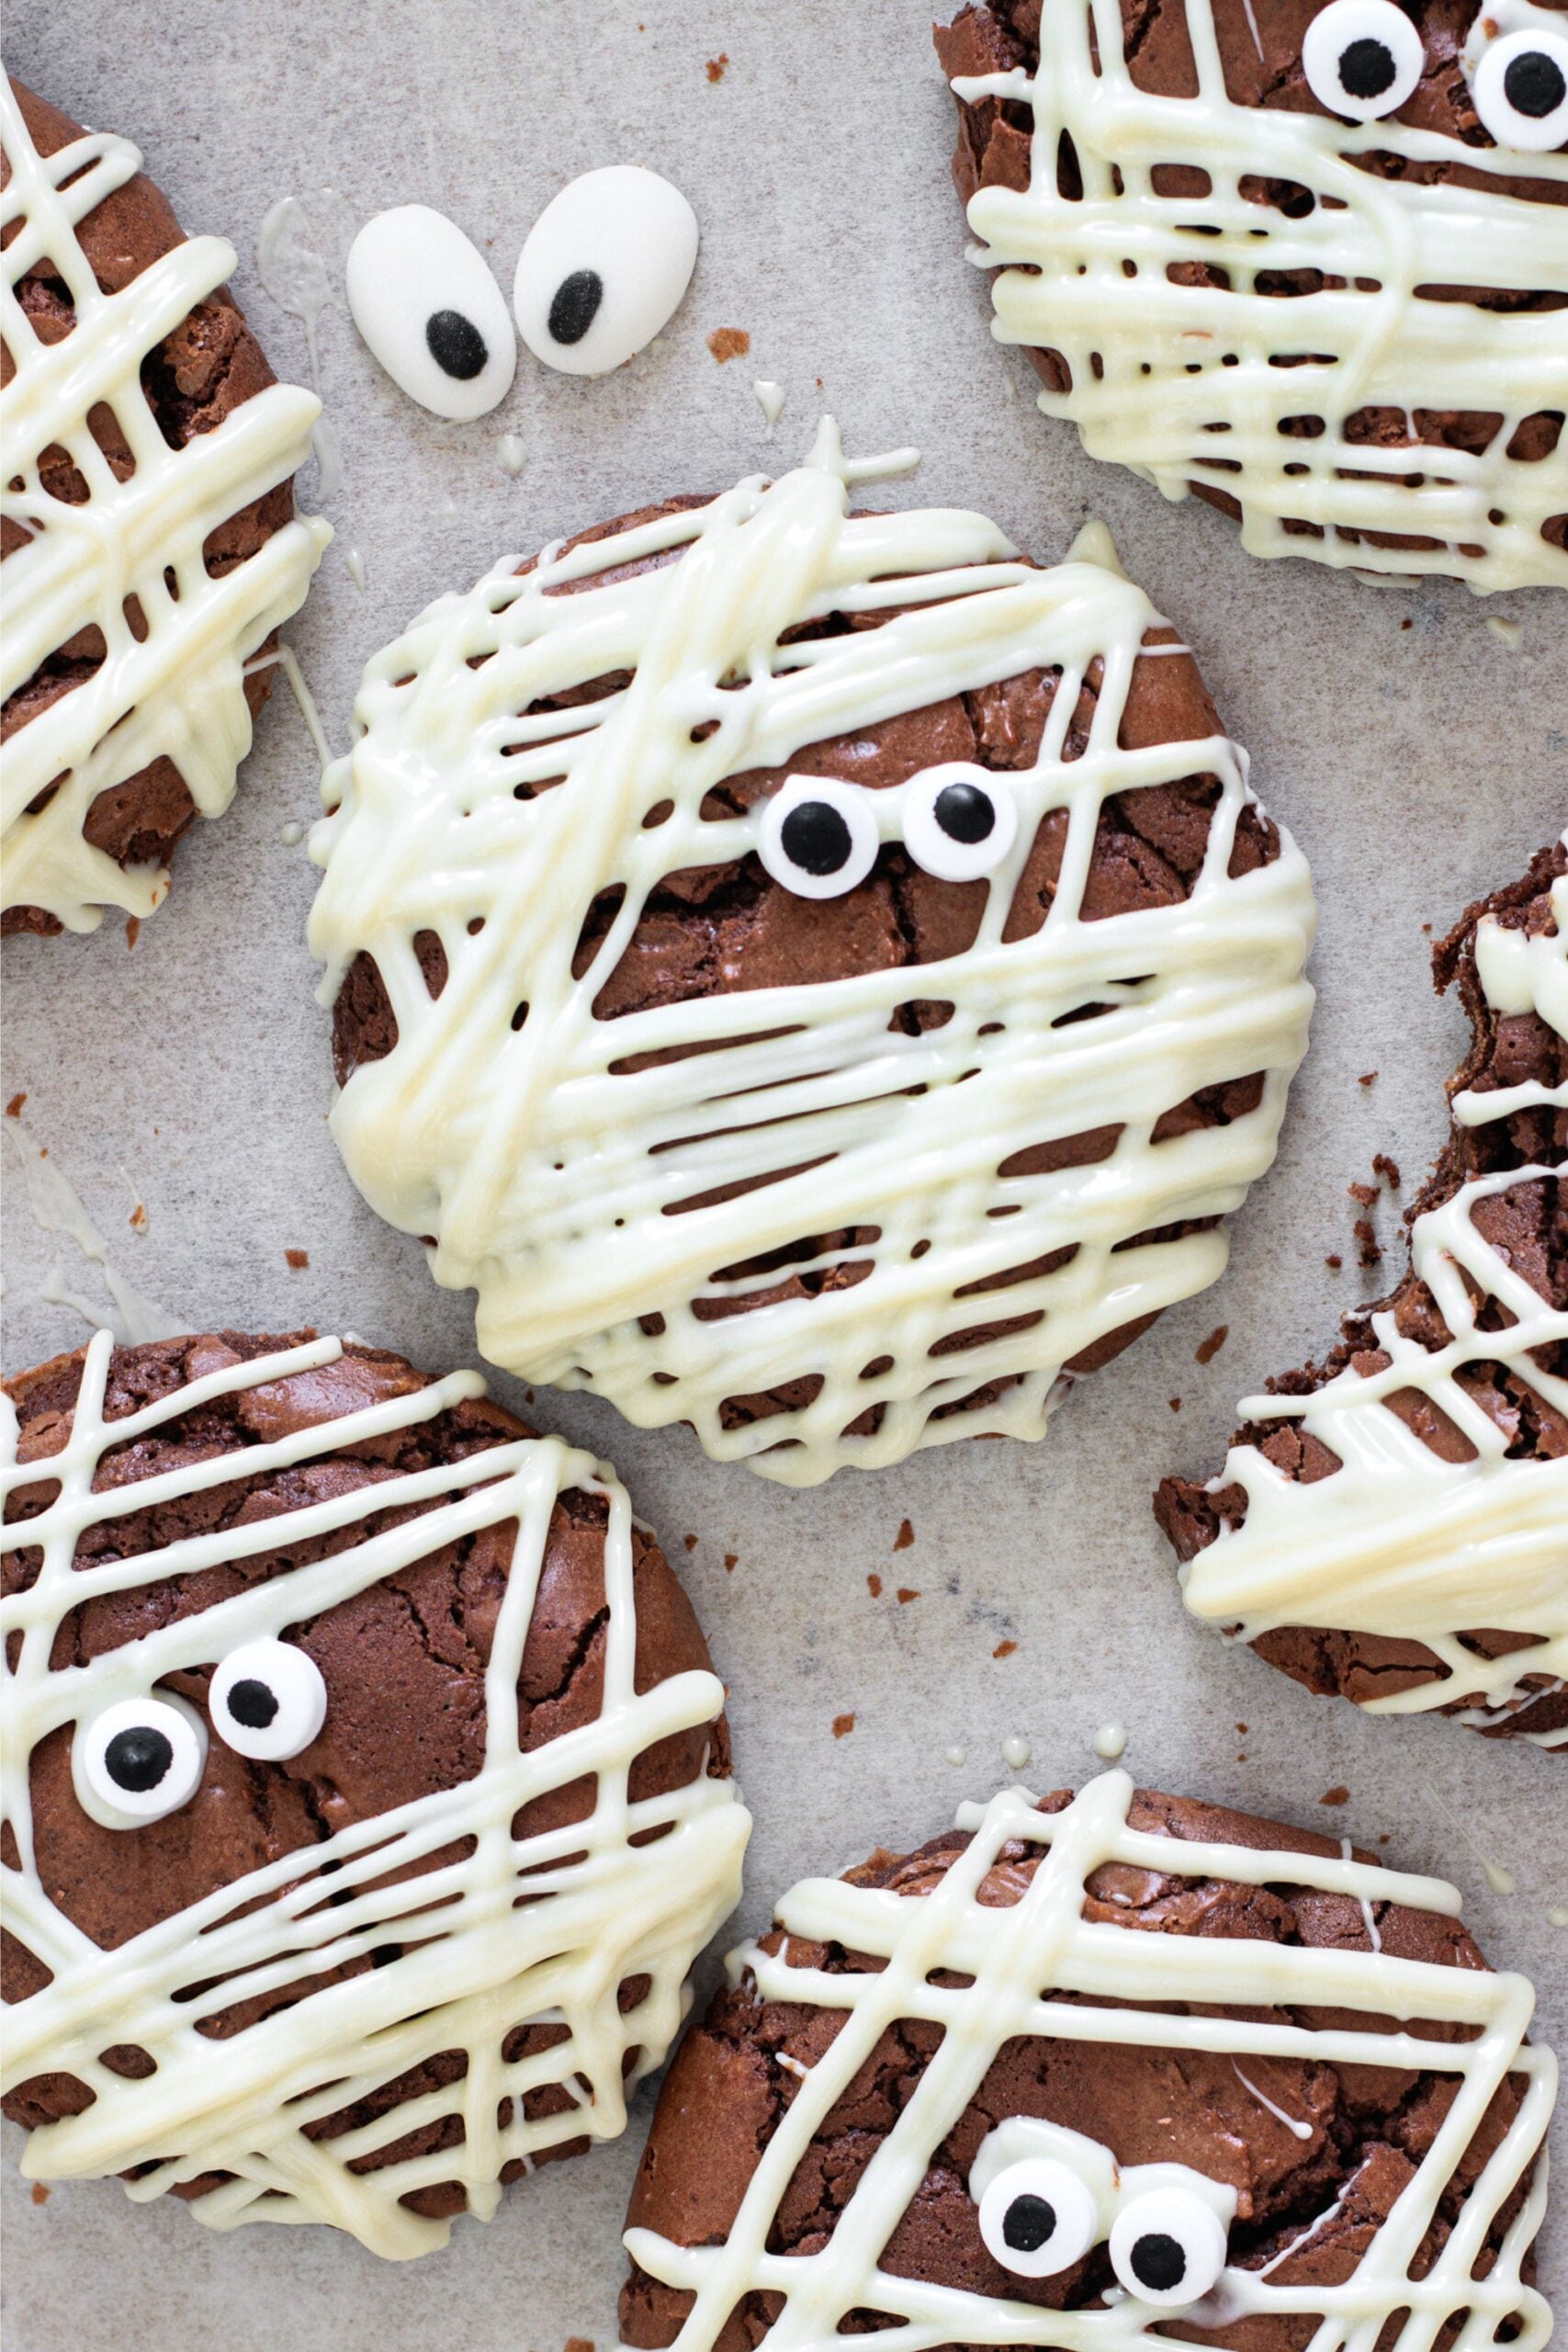
These Halloween Mummy Brownie Cookies are the kind of treat that gets attention before anyone even takes a bite. The tops bake up crackly and the centers stay soft and fudgy. A little white chocolate on top is all you need to turn each cookie into a goofy little mummy!

The batter comes together quickly once the chocolate is melted, and the decoration is very forgiving. Pipe on a few uneven white chocolate lines, then add the candy eyes before the chocolate sets. I also love these for baking with kids because the messier the bandages look, the better the mummies turn out. That is a pretty good excuse to stop aiming for perfect, haha.
Brownie Texture in Cookie Form
These cookies really do land somewhere between a brownie and a cookie. Melted dark chocolate gives the batter that deep chocolate flavor, while the eggs help create those shiny, crackly tops in the oven.
The biggest thing is not to overbake them. They should still feel a little soft in the center when you take the tray out. Leave them right where they are for about 30 minutes, and they’ll firm up as they cool without losing that fudgy middle.
Then the white chocolate does the rest. A few uneven lines across the top are enough to make the mummy bandages, so there is no need to make them look neat. Add the candy eyes before the chocolate sets, and every cookie ends up with its own slightly ridiculous expression.
Halloween Mummy Brownie Cookies
Ingredients
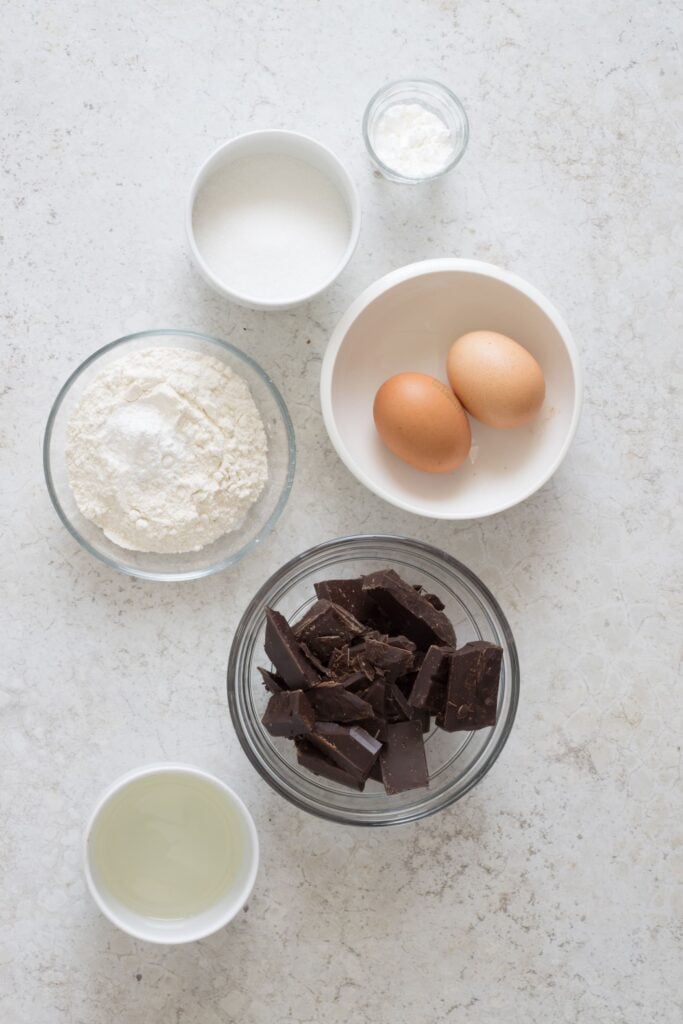
- 8 oz dark chocolate (230 g), roughly chopped
- 3 tablespoons sunflower oil (40 g)
- ⅓ cup + 1 tablespoon granulated sugar (80 g)
- 2 large eggs at room temperature
- ¾ cup all-purpose flour (90 g)
- 2 teaspoons cornstarch (6 g)
- ¾ teaspoon baking powder (3 g)
- 7 oz white chocolate (200 g), roughly chopped
- Candy eyes for decorating
Instructions
- Preheat the oven to 350°F (180°C). Line two baking sheets with parchment paper.
- Place the chopped dark chocolate and sunflower oil in a heatproof bowl. Set the bowl over a saucepan of gently simmering water, making sure the bottom of the bowl doesn’t touch the water. Stir occasionally until the chocolate is completely melted and smooth.
- Remove the chocolate from the heat and let it cool for a few minutes. It should still be fluid, but not hot when you add it to the eggs.
- Add the eggs and sugar to a large bowl. Whisk by hand for 1 to 2 minutes, until the mixture looks pale and slightly frothy.
- Slowly pour the melted chocolate into the egg mixture while stirring. Continue mixing until everything is smooth and evenly combined.
- Sift in the flour, cornstarch, and baking powder. Fold with a spatula until no dry flour remains and the batter looks thick and glossy.
- Scoop small portions of batter onto the prepared baking sheets using a small cookie scoop or two spoons. Leave about 2 to 2½ inches (5 to 6 cm) between the cookies because they will spread as they bake.
- Bake one tray at a time on the middle rack for 10 to 11 minutes, rotating the baking sheet halfway through.
- The cookies are ready when cracks appear across the tops but the centers still look slightly soft. Don’t keep baking until they feel firm because they will continue to set as they cool.
- Leave the cookies on the baking sheet for at least 30 minutes without moving them. Once they are firm enough to handle, carefully transfer them to a wire rack and let them cool completely.
- Melt the white chocolate in a heatproof bowl over gently simmering water, stirring until smooth. Let it cool slightly, then transfer it to a piping bag and snip a very small opening at the tip.
- Pipe uneven, overlapping lines of white chocolate across each cookie to make the mummy bandages. Add the candy eyes right away, before the white chocolate sets.
- Leave the cookies at room temperature until the white chocolate is completely firm.
Notes
- Don’t add hot chocolate to the eggs. Let the melted dark chocolate cool for a few minutes first so it doesn’t heat the egg mixture too quickly.
- Give the cookies room to spread. Leave about 2 to 2½ inches between each scoop of batter.
- Watch the centers, not just the clock. Take the cookies out when the tops are cracked but the middles are still a little soft. Overbaking will take away that fudgy brownie texture.
- Leave them on the pan. The cookies are delicate when they first come out of the oven. Give them the full 30 minutes to firm up before moving them.
- Add the eyes while the chocolate is wet. Once the white chocolate sets, the candy eyes won’t stick as easily.
How to Make Halloween Mummy Brownie Cookies
These brownie cookies are pretty simple to make, but the timing matters if you want those crackly tops with a soft center. The full measurements and instructions are in the recipe card above!
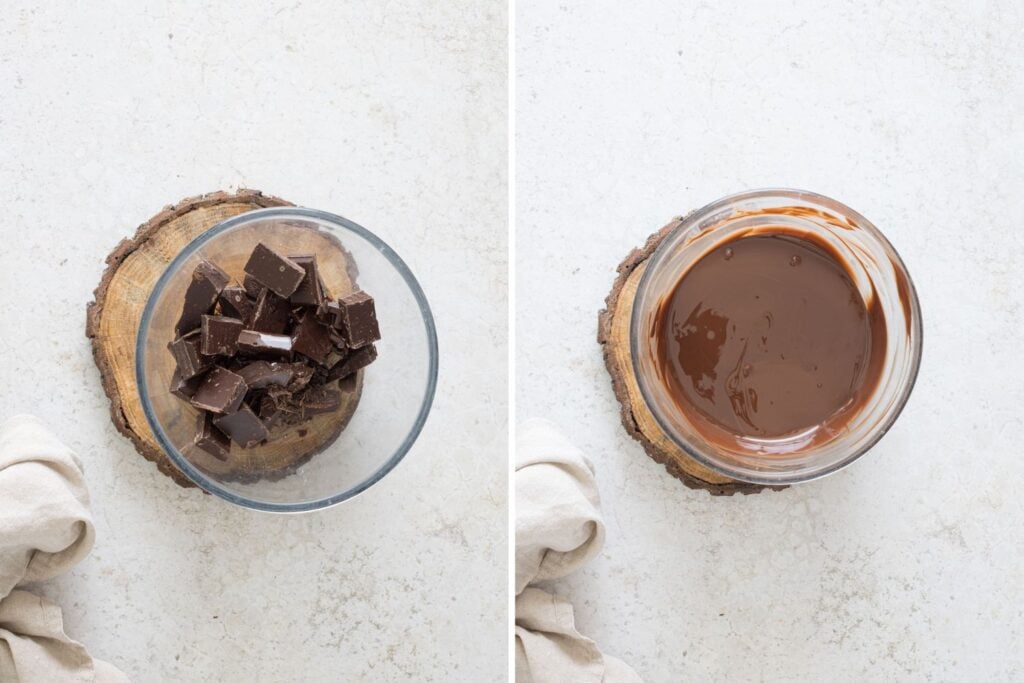
Melt the dark chocolate: Roughly chop the dark chocolate and place it in a heatproof bowl with the sunflower oil. Set the bowl over a saucepan of gently simmering water, making sure the bottom of the bowl doesn’t touch the water. Stir occasionally until the chocolate is completely melted and looks smooth and glossy. Take it off the heat and let it cool for a few minutes. It should still pour easily, but it shouldn’t be hot when it goes into the egg mixture.
If you prefer, you can melt the chocolate and oil in the microwave instead. Heat it in short 20-second bursts, stirring well between each one.
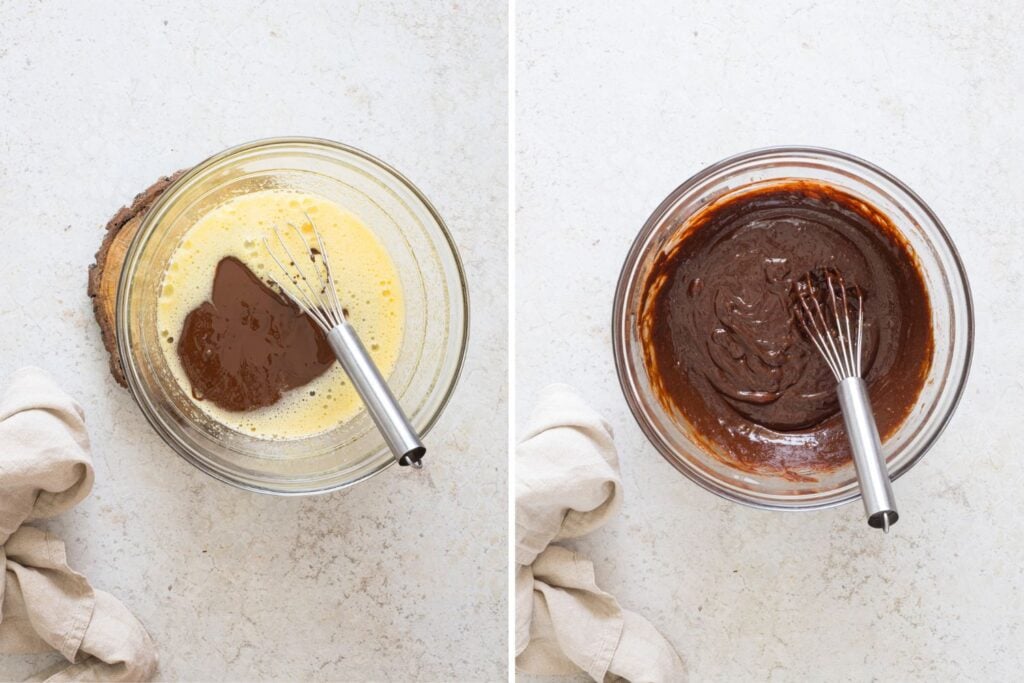
Whisk the eggs and sugar: Add the eggs and sugar to a large bowl. Whisk by hand for 1 to 2 minutes, until the mixture becomes pale and a little frothy. Slowly pour in the melted chocolate while stirring. Keep mixing until the batter looks smooth and the chocolate is fully incorporated.
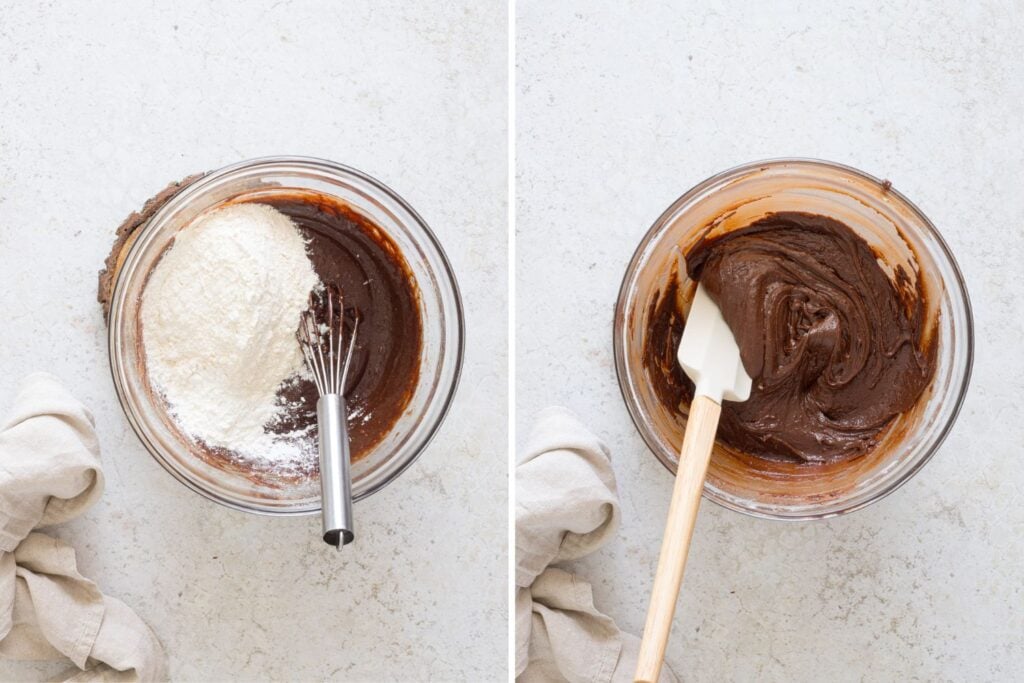
Finish the cookie batter: Sift the flour, cornstarch, and baking powder directly into the bowl. Fold everything together with a spatula until you no longer see any dry flour. The batter should look thick and glossy at this point.
Don’t overmix. Once the flour disappears, stop. Too much mixing can make the cookies tougher and take away some of that brownie-like texture.
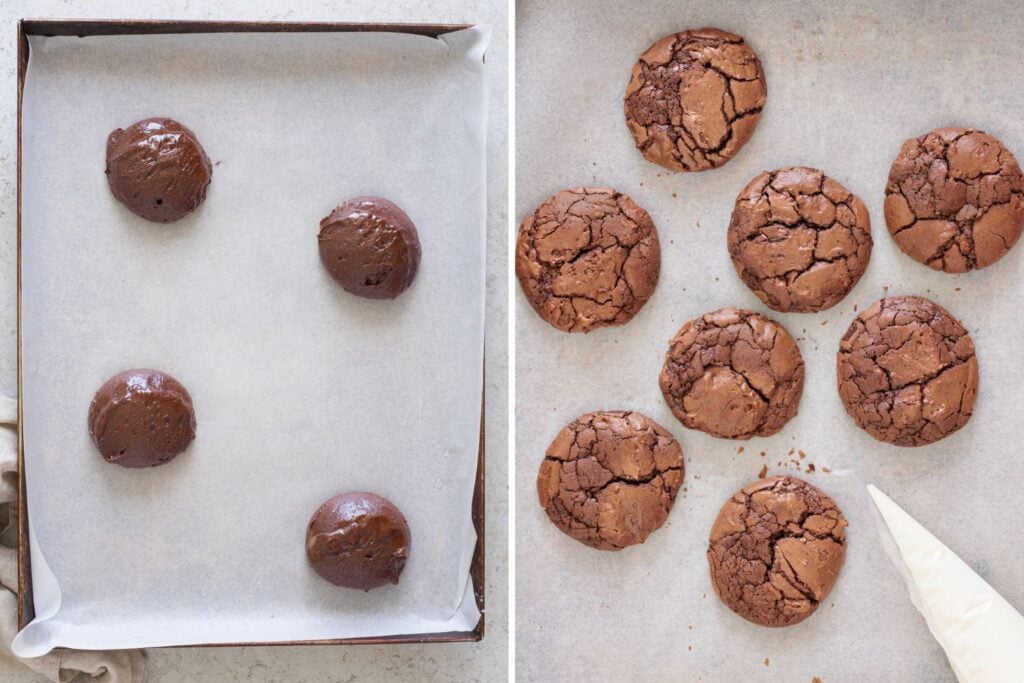
Scoop the cookies: Line two baking sheets with parchment paper. Use a small cookie scoop or two spoons to portion the batter onto the trays.
Leave about 2 to 2½ inches between each cookie. They spread quite a bit in the oven, so that extra space matters. Then bake until crackly. Bake one tray at a time on the middle rack at 350°F. Each tray will need about 10 to 11 minutes. Rotate it halfway through so the cookies bake more evenly.
Look for those brownie-like cracks across the tops. The centers should still be slightly soft when you take them out. Don’t wait for the cookies to feel completely firm in the oven because they’ll continue to set on the baking sheet.
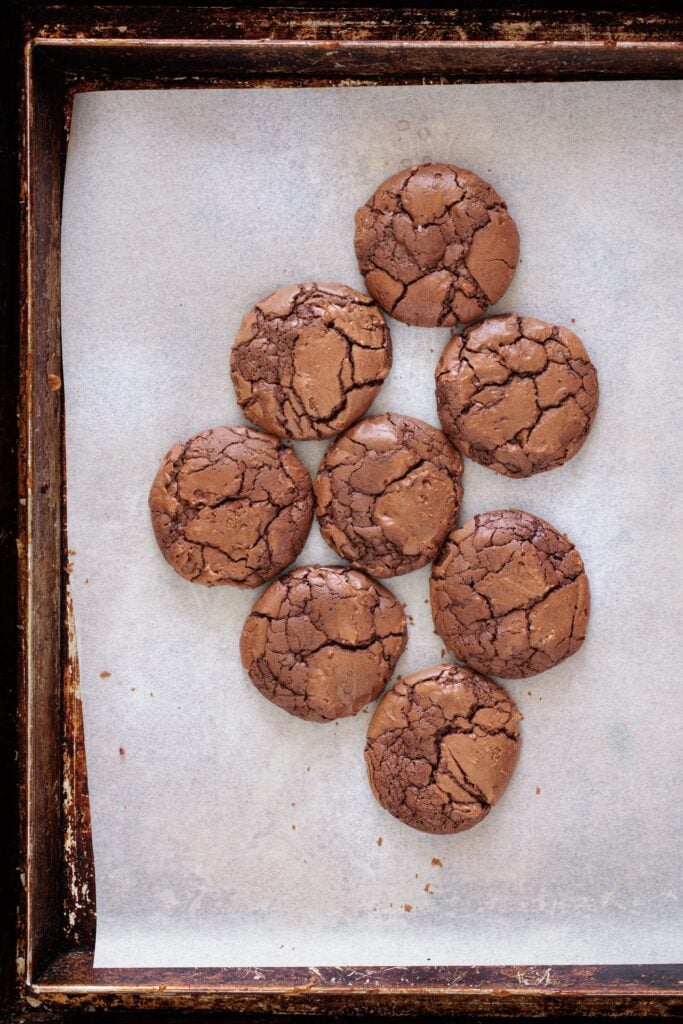
Let them cool on the pan: This part needs a little patience, haha. Leave the cookies on the baking sheet for at least 30 minutes before trying to move them. They’re very soft straight from the oven, but they’ll firm up as they sit. Once they can be lifted without falling apart, transfer them to a wire rack and let them cool completely.
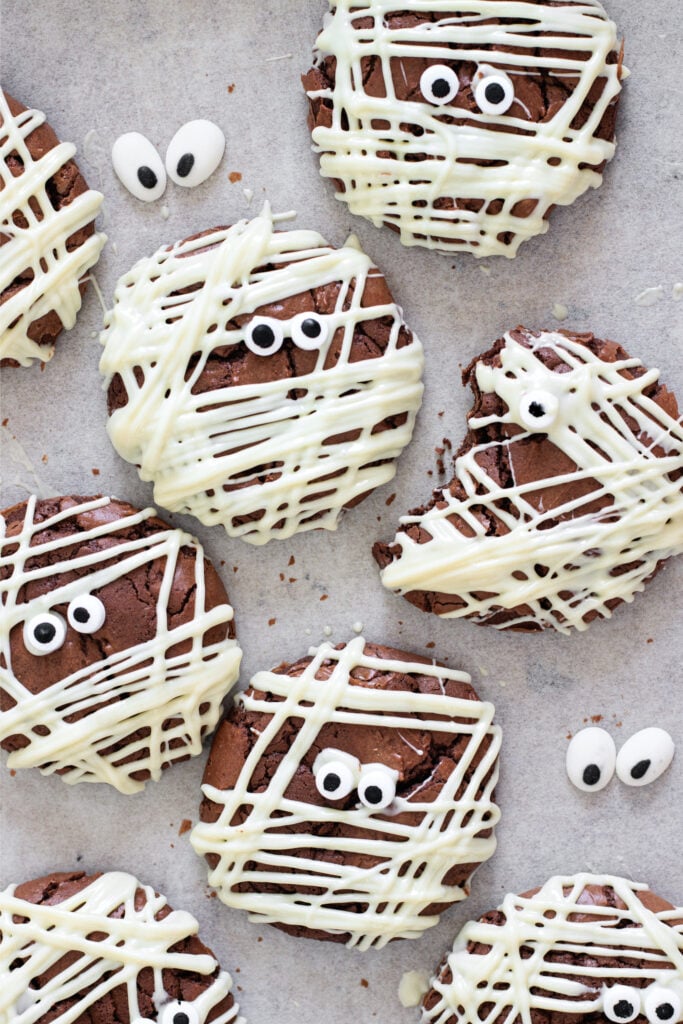
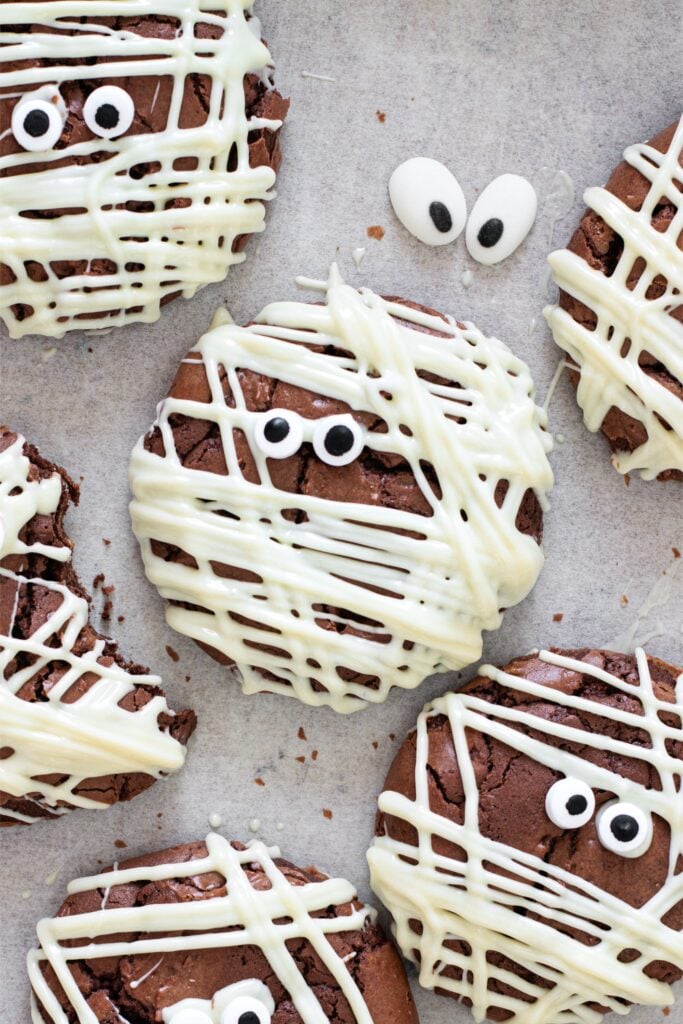
Make the mummy bandages: Melt the white chocolate until smooth, then let it cool slightly before transferring it to a piping bag. Snip just a tiny opening from the tip. Pipe uneven lines back and forth across each cookie to make the mummy bandages. They don’t need to be straight or tidy. Actually, the wonkier ones tend to look more mummy-ish, haha.
Press the candy eyes into the white chocolate before it sets, then leave the cookies at room temperature until the decoration is firm.
Helpful Tips
Let the melted chocolate cool a little first. It should still be fluid, but not hot when you add it to the eggs. That helps keep the batter smooth.
Bake one tray at a time. Keep it on the middle rack and rotate it halfway through so the cookies bake more evenly.
Watch for the brownie cracks. The tops should look crackly while the centers are still a little soft. Don’t wait for them to look fully firm in the oven, or they can turn dry after cooling.
Leave them on the baking sheet for 30 minutes. They’re very delicate straight from the oven and need that time to set before you move them.
Test the white chocolate before decorating. Pipe a line or two onto parchment first. If it spreads too much, let it cool a little longer before making the mummy bandages.
Storage and Make-Ahead
- Keep them at room temperature. Once the white chocolate has completely set, store the cookies in an airtight container. Place parchment paper between the layers so the mummy decorations don’t stick together. They’ll keep well for about 3 days.
- Make them ahead for a party. You can bake the brownie cookies a day or two early and keep them undecorated. Add the white chocolate bandages and candy eyes closer to serving so the mummies look their best.
- Freeze them before decorating. If you want to freeze the cookies, do it before adding the white chocolate and candy eyes. Let them cool completely first, then thaw at room temperature before decorating.
More Halloween Ideas
These mummy brownie cookies are such a fun one to make when you want something playful that still delivers plenty of chocolate. If you’re planning more spooky treats, you can find plenty of ideas on my Halloween recipes page!





Leave a Reply