Ingredients
For the Brownies
- 5¼ oz dark chocolate (150 g), roughly chopped
- 4 tablespoons + 1 teaspoon butter (60 g), cubed
- 1 tablespoon sunflower oil (15 g)
- 2 eggs
- ⅓ cup + 2 teaspoons granulated sugar (75 g)
- ½ cup + 2 tablespoons all-purpose flour (75 g)
- ⅓ cup unsweetened cocoa powder (30 g)
- ¾ teaspoon baking powder (3 g)
- ½ teaspoon vanilla powder
- 1 to 2 tablespoons finely chopped dark chocolate (10 to 15 g), optional
For the Spiderweb
- 4 to 5 large marshmallows (40 to 50 g)
- 1 teaspoon water (5 g)
Instructions
- Preheat the oven to 350°F (180°C). Line an 8 x 8-inch baking pan (20 x 20 cm) with parchment paper, leaving some overhang on the sides so you can lift the brownies out easily.
- Place the chopped dark chocolate, butter, and sunflower oil in a heatproof bowl. Set it over a saucepan with a small amount of hot water, making sure the bottom of the bowl doesn’t touch the water.
- Melt the chocolate mixture gently, stirring occasionally, until smooth. Remove it from the heat and let it cool for a few minutes.
- Add the eggs and sugar to a large bowl. Whisk by hand for about 1 minute, just until combined and the sugar begins to dissolve. There’s no need to whip the eggs.
- Slowly pour the melted chocolate mixture into the eggs while whisking until evenly combined.
- Sift in the flour, cocoa powder, baking powder, and vanilla powder. Fold everything together briefly with a spatula, stopping as soon as the batter is smooth and no dry flour remains.
- Pour the batter into the prepared pan and spread it into an even layer. If using the optional chopped chocolate, scatter it over the top.
- Bake for 18 to 20 minutes. Insert a skewer into the center to check for doneness. It should come out with a few moist crumbs attached, but no liquid batter.
- Let the brownie cool completely in the pan. Once cool, lift the whole brownie slab out using the parchment paper and place it on a cutting board. Don’t cut it yet.
- Place the marshmallows and water in a small heatproof bowl. Set the bowl over a saucepan with a little hot water, making sure the bowl doesn’t touch the water.
- Stir until the marshmallows become soft, sticky, and stretchy. Remove the bowl from the heat and let the mixture sit for a few seconds. It should still be warm and pliable, but not extremely hot.
- Take a small amount of marshmallow between your fingers and slowly pull your hands apart to create thin strands.
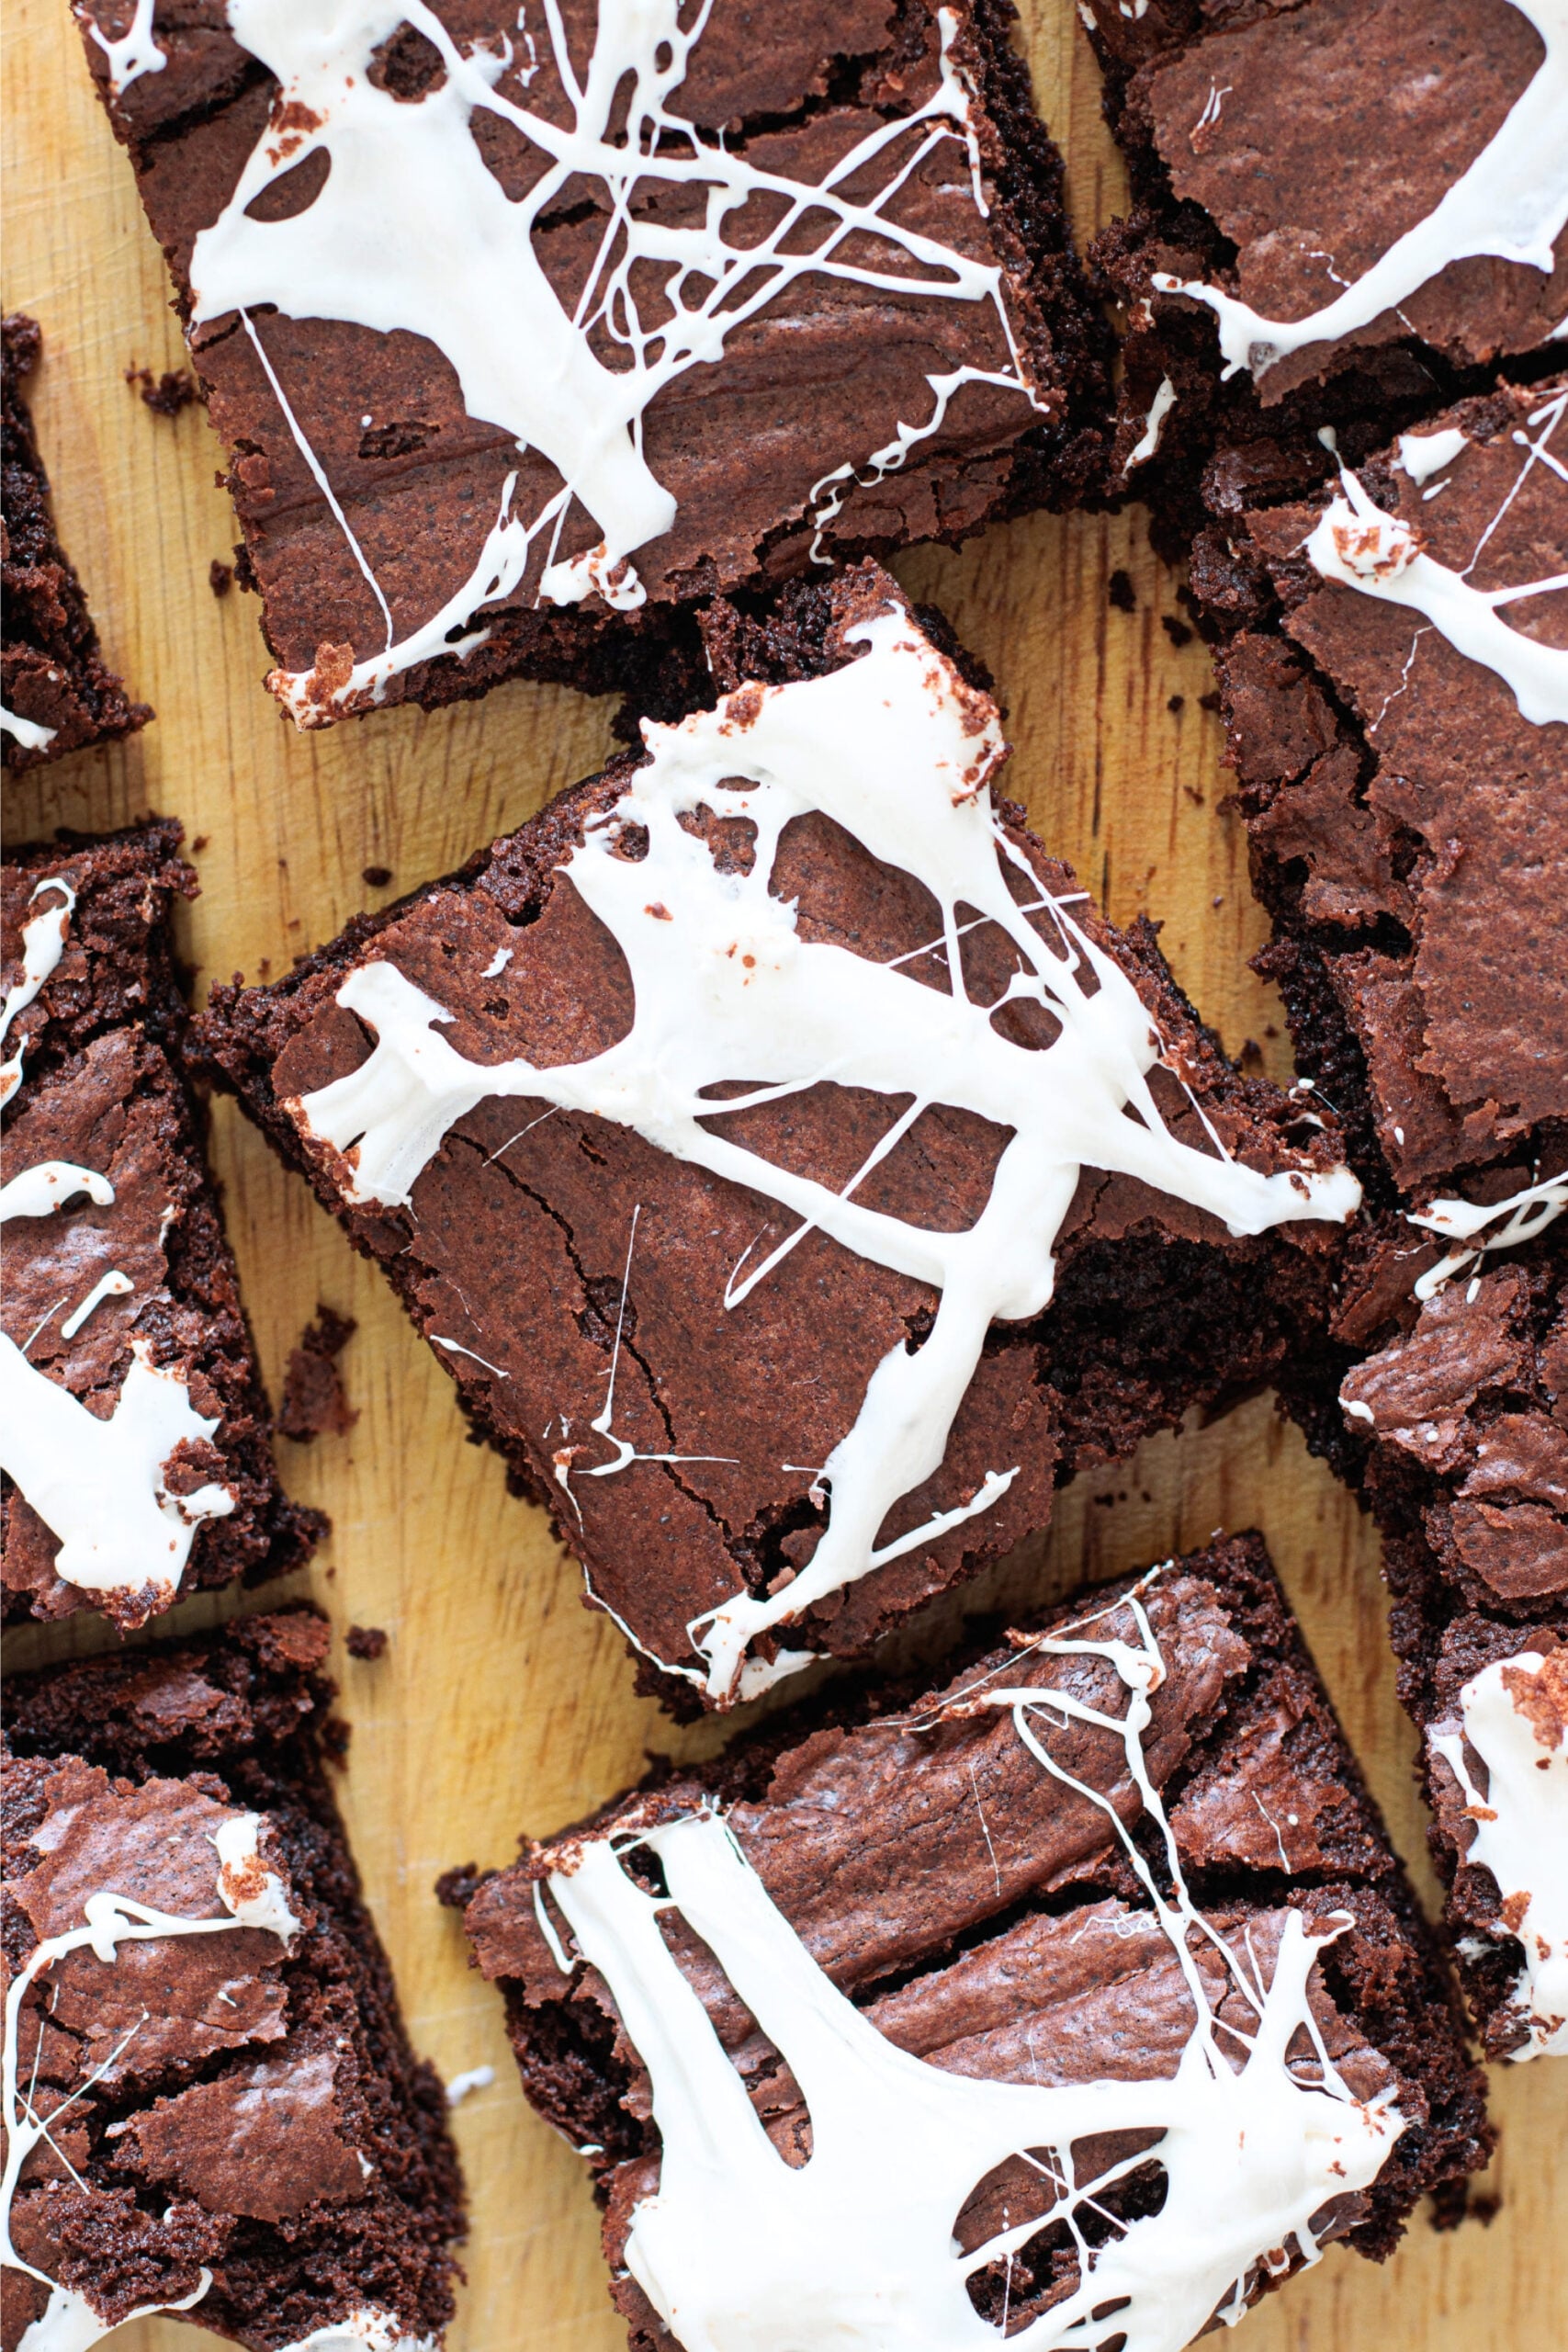
- Stretch the marshmallow strands over the whole cooled brownie slab, crossing them in different directions to create the spiderweb effect. Keep going until you’re happy with the coverage.
- If the marshmallow starts to firm up and becomes difficult to stretch, warm it again over the heat for a few seconds.
- Let the marshmallow web set slightly, then cut the brownie into squares and serve.
Notes
- Don’t overbake them: A few moist crumbs on the skewer are exactly what you want. If you wait until it comes out completely clean, the brownies can turn out drier.
- Optional chocolate topping: Sprinkle 1 to 2 tablespoons (10 to 15 g) of finely chopped dark chocolate over the batter before baking. You can skip it if you want.
- Melting the chocolate in the microwave: Add the chocolate, butter, and oil to a microwave-safe bowl. Heat for 20 seconds at a time, stirring after each round, until smooth. Let it cool for a few minutes before mixing it with the eggs.
- Melting the marshmallows in the microwave: Add the marshmallows and water to a microwave-safe bowl. Heat for 10 seconds at a time, stirring after each round, until soft and stretchy. Let it sit for a few seconds before touching it because it can get very hot.