
These No-Bake Santa Oreo Cookies turn golden oreos into little Santa faces with melted white chocolate and a few simple candy decorations. And let me tell you, you don’t even need an oven! You can skip straight to the fun part and start decorating haha. How good is that?!

December usually gets busy very quickly in our house and sometimes I want to make something festive without also committing to baking a whole batch of cookies from scratch with like 20 ingredients… And that’s why I love these little Santas (AND SO DO MY KIDS!). You start with golden oreos, so all the actual cookie-making has already been taken care of for you, and from there, it’s really just dipping them in chocolate and adding the little details while everything is still soft enough to stick.
And no, they’re probably not all going to look identical… mine certainly don’t haha. One gets a very respectable Santa hat, while another looks like he’s just finished the longest shift of his life at the North Pole, and that’s why they’re perfect to make with kids.
Once the chocolate sets, that’s it! You’ve got a tray of Christmas cookies without flour all over the counter or an oven timer demanding your attention. In December, I view that as a pretty good deal!
Why You’ll Love These No-Bake Santa Oreo Cookies
- No oven, no cookie dough. You start with Golden Oreos, so all the baking has already been handled.
- Actually fun to make with kids. The decorating is simple enough for little hands to help and the Santas definitely don’t need to match.
- The decorations are easy to stick on. Add the candy nose and marshmallow while the coating is still soft, then save the black icing eyes for the end. That little order of operations saves a surprising amount of frustration.
- Easy to make ahead. Once everything has completely set, the cookies can be stored in an airtight container until you need them.


No-Bake Santa Oreo Cookies
Ingredients
- 12 vanilla sandwich cookies such as Golden Oreos
- 4.9 ounces white chocolate roughly chopped
- 2.8 ounces red candy melts
- 12 red chocolate candies
- 6 mini marshmallows cut in half
- Black decorating icing as needed
Instructions
- Line a tray or baking sheet with parchment paper.
- Cut each mini marshmallow in half so you have 12 small pieces for Santa’s hat pom-poms.
- Roughly chop the white chocolate. Melt it gently in a double boiler or microwave it in 15–20 second intervals, stirring between each one, until completely smooth.
- Dip the bottom half of each cookie into the melted white chocolate, leaving a strip in the center uncovered for Santa’s face.
- Place the cookies on the prepared tray. While the white chocolate is still soft, press one red chocolate candy into the center of each cookie to make the nose.
- Let the cookies sit until the white chocolate begins to set.
- Melt the red candy melts according to the package directions.
- Dip the top portion of each cookie into the red coating, leaving the face area uncovered to create Santa’s hat.
- Before the red coating sets, gently press half a mini marshmallow onto one side of each hat for the pom-pom.
- Let the cookies cool completely until both coatings are fully set.
- Add two small dots of black decorating icing for Santa’s eyes.
- Let the icing dry completely before moving or storing the cookies.
Notes
- Work while the coating is soft. Add the red candy nose before the white chocolate sets and add the marshmallow while the red candy coating is still wet. That’s what makes everything stick without needing extra icing.
- Microwave the chocolate gently. Short bursts and plenty of stirring help keep the white chocolate smooth instead of overheating it.
- Let everything set before adding the eyes. This gives you a cleaner little Santa face and keeps the icing where you actually put it.
How to Make No-Bake Santa Oreo Cookies
These are really so simple and easy to make! The main thing to worry about is working while the chocolate is still soft enough for the little Santa details to stick. Tiny candy noses have surprisingly strong opinions about timing haha.
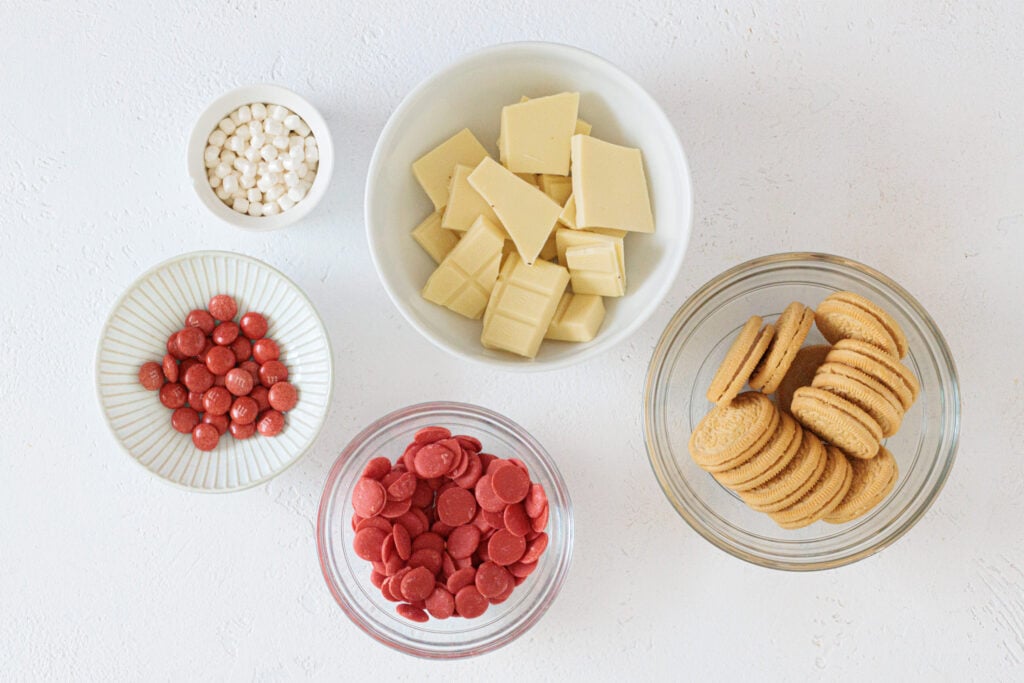
Gather the ingredients.
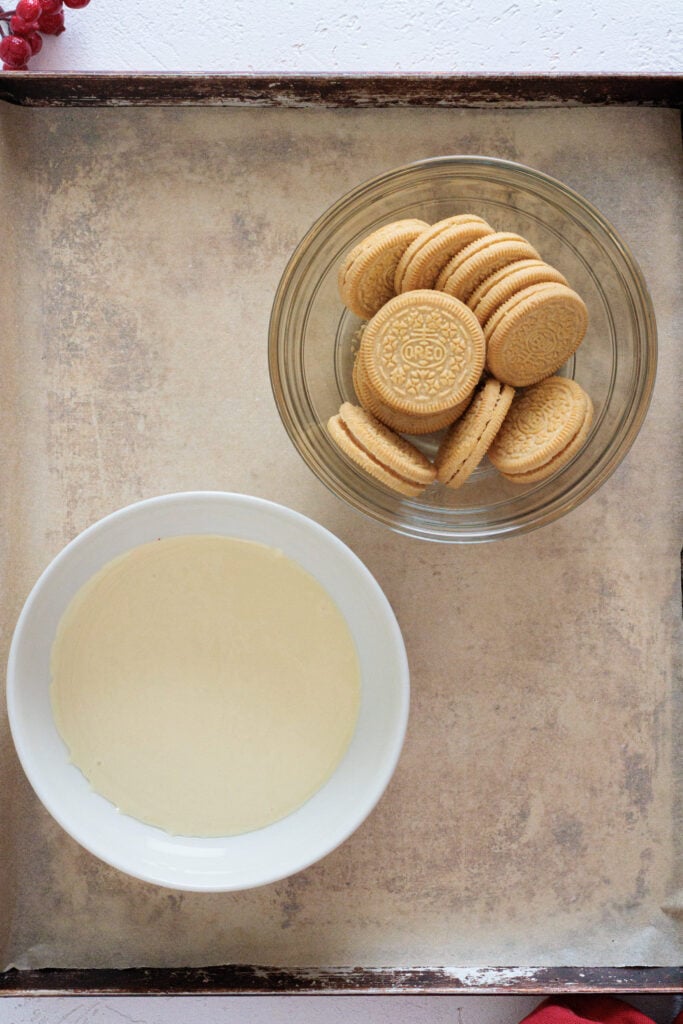
Get everything ready. Line a tray or baking sheet with parchment paper. Let’s start by cutting the marshmallows in half so you get 12 little pieces ready for the hats.
Then let’s melt the white chocolate. Roughly chop it first and then melt it gently in a double boiler or microwave it in 15–20 second bursts. Stir between each one until the chocolate is completely smooth.
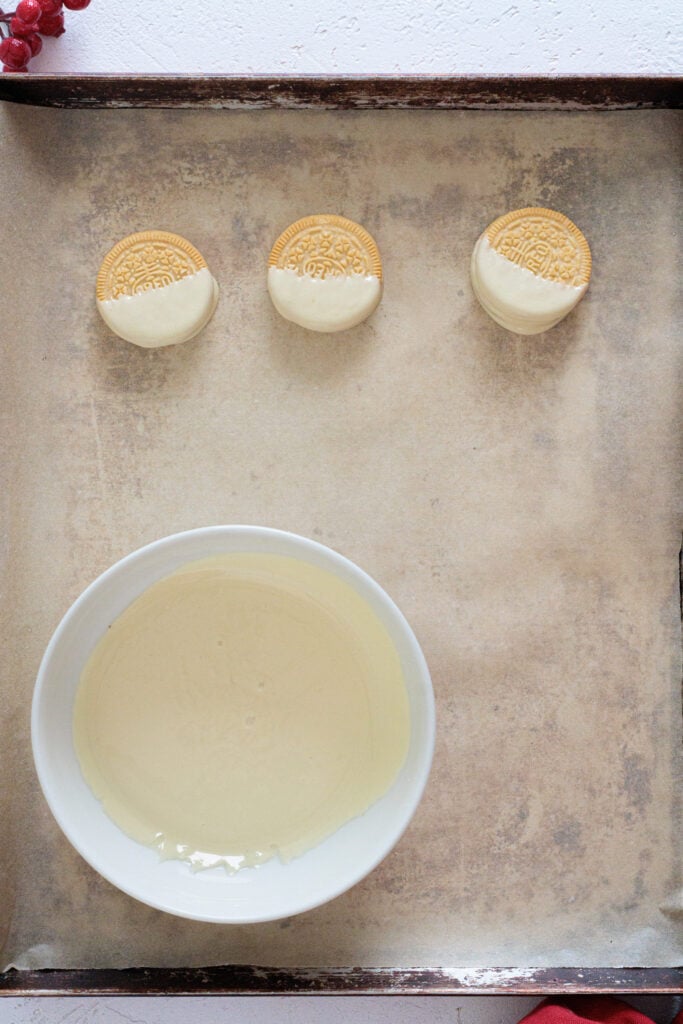
Make Santa’s beard. Dip the bottom half of each Golden Oreo into the white chocolate and dont’t forget to leave a strip uncovered through the middle so Santa still has somewhere to put his face!
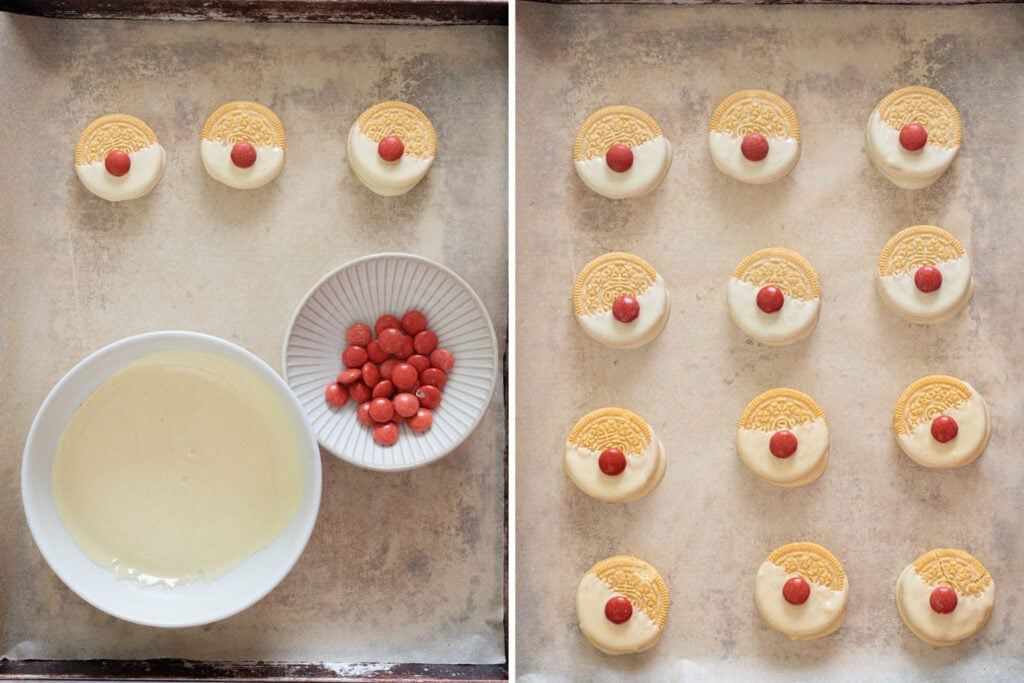
Now add the red nose. While the white chocolate is still soft just press one red candy into the center of each cookie. Let the cookies sit until the white chocolate starts to set.
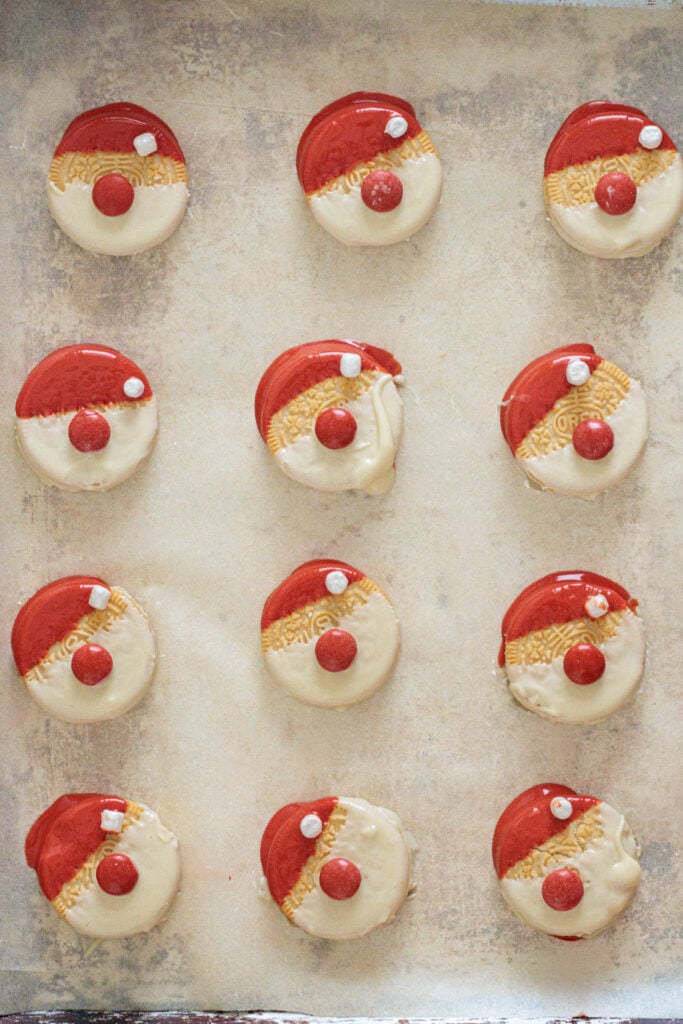
After that, make the Santa hats and add the pom-poms. Melt the red candy melts according to the package directions and then dip the top portion of each cookie into the red coating. Keep the middle face area uncovered. And, this is important, before the red coating sets, gently press half a mini marshmallow onto one side of each hat. This is the moment when they start looking VERY SANTA-ISH!!

Now let everything set. Leave the cookies alone until both coatings are completely firm. I know, this is the least exciting step haha, but it’s also the step that keeps Santa’s hat attached to his head.
To finish, we just need to add the eyes. Finish each cookie with two small dots of black decorating icing, then let the icing dry completely before moving them.
Storage and Make-Ahead
Make ahead: These are a great little Christmas project to get done early. You can make them up to 3–4 days ahead, as long as all the chocolate and icing are completely set before you store them.
Store them: Keep the cookies in an airtight container in a cool dry place. If you need to stack them, place a sheet of parchment or wax paper between the layers so Santa doesn’t leave half his face on the cookie underneath. Not the festive look we’re going for haha.
Do they need to go in the fridge? Usually, no. A cool room-temperature spot works best. Refrigeration can create condensation on chocolate coatings when they come back to room temperature, so I would only use the fridge if your kitchen is especially warm…
Can I freeze them? I wouldn’t bother for this recipe. Chocolate-covered cookies can technically be frozen, but the coating may look cloudy after thawing and the decorations can suffer. Since these already keep well for a few days, they’re much nicer made fresh.









Leave a Reply