
My family always requests these Apple Pie Bars on Thanksgiving. At this point, it’s basically an order haha! And you can make them all through fall too, because they’re such a great way to celebrate apple season!
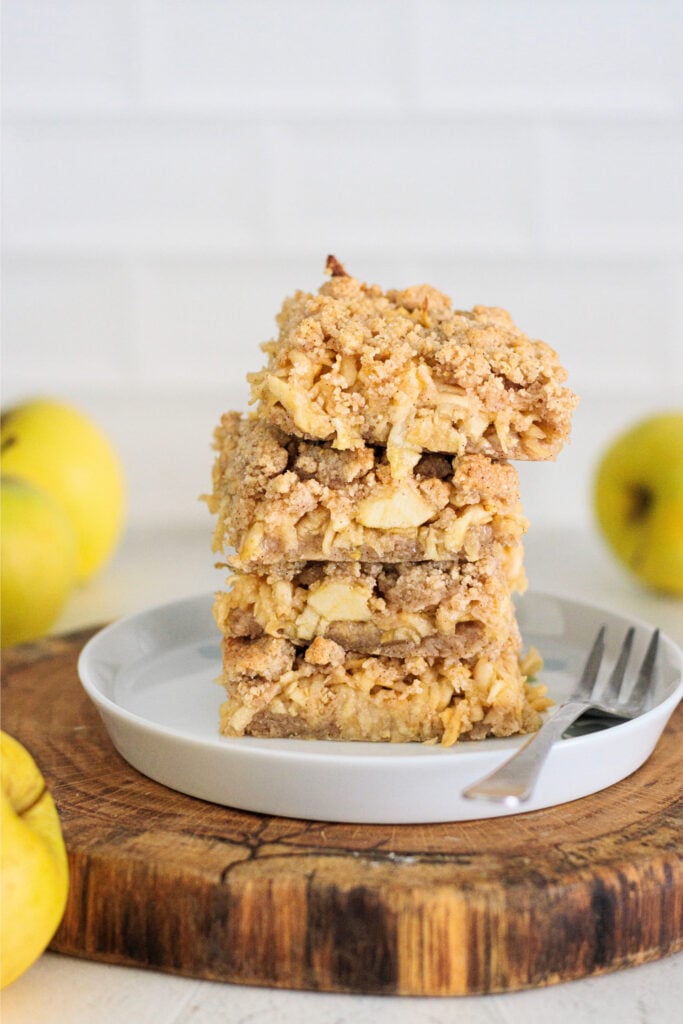
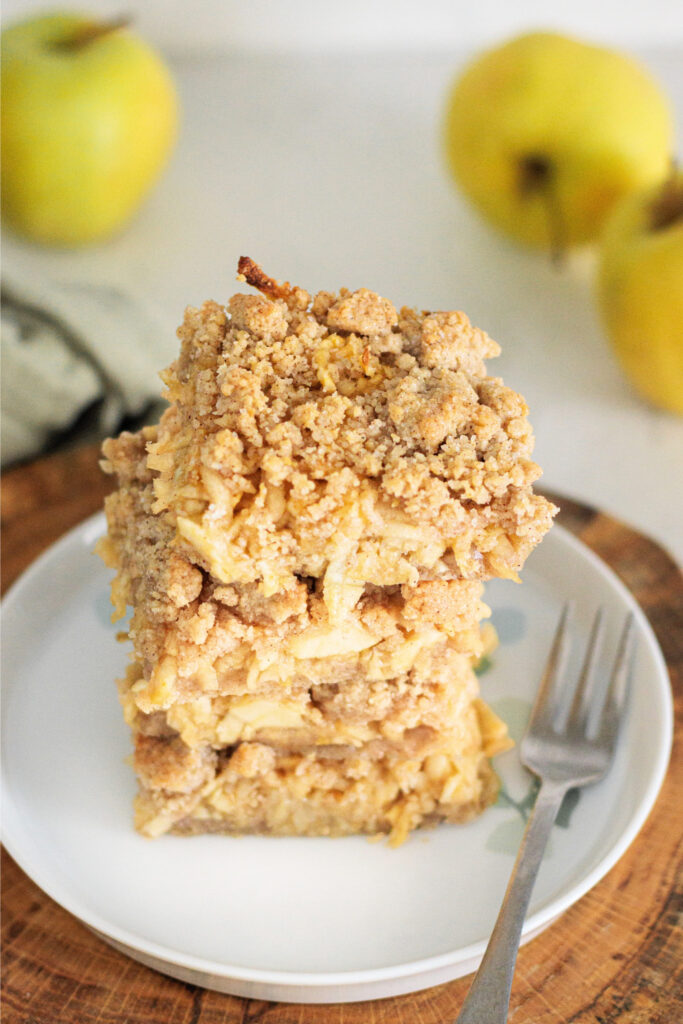
The bottom is buttery and crumbly with a soft cinnamon apple filling in the middle, then more of that same crumble goes over the top. You get all that apple pie flavor without dealing with pie dough, rolling pins, or trying to make a crust behave itself.
I usually grate the apples instead of slicing them. They soften into the filling as the bars bake, which makes the bars easier to cut and gives you apple in every bite.
And really, can you think of a better way to turn apple pie into an easy dessert you can actually take with you? Once they’re completely cool, I just cut them into bars and they’re ready to take along!
Why You’ll Love These Apple Pie Bars
- Easier than making apple pie. There’s no rolling out a pie crust or fussing with a top crust. You just press the crumb mixture into the pan, add the apples, and crumble the rest over the top.
- One mixture does two jobs. The same buttery crumb mixture becomes both the base and the topping.
- Simple and portable. You get about 12 bars from one pan, so they’re easy to slice and easy to serve.
- You can use cinnamon or apple pie spice. Either one works well here, so you can go with whatever you already have in the pantry!
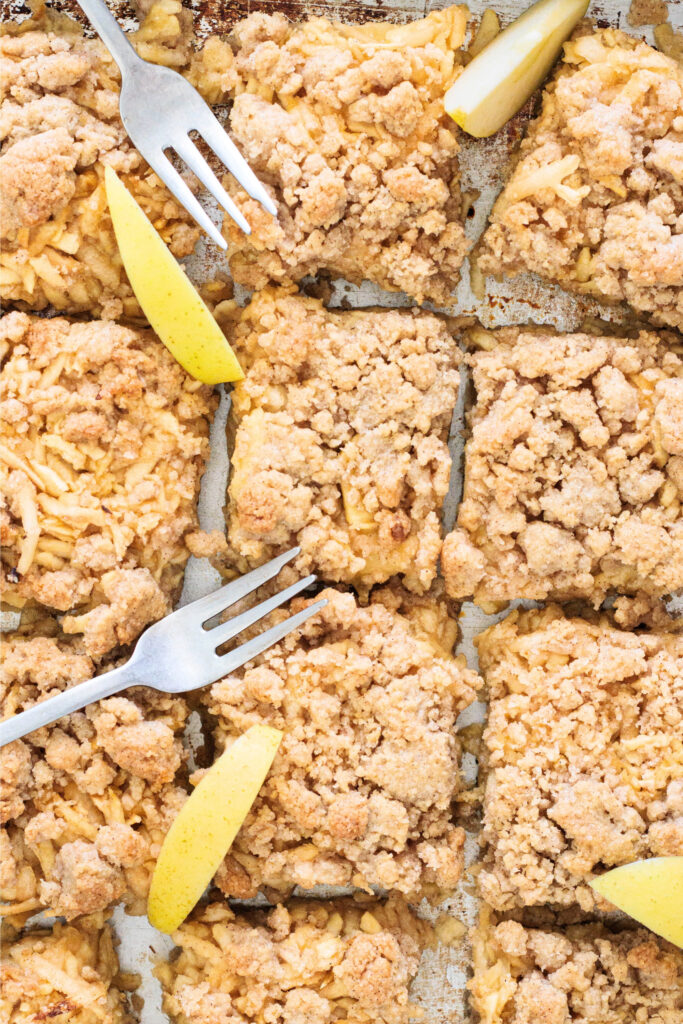
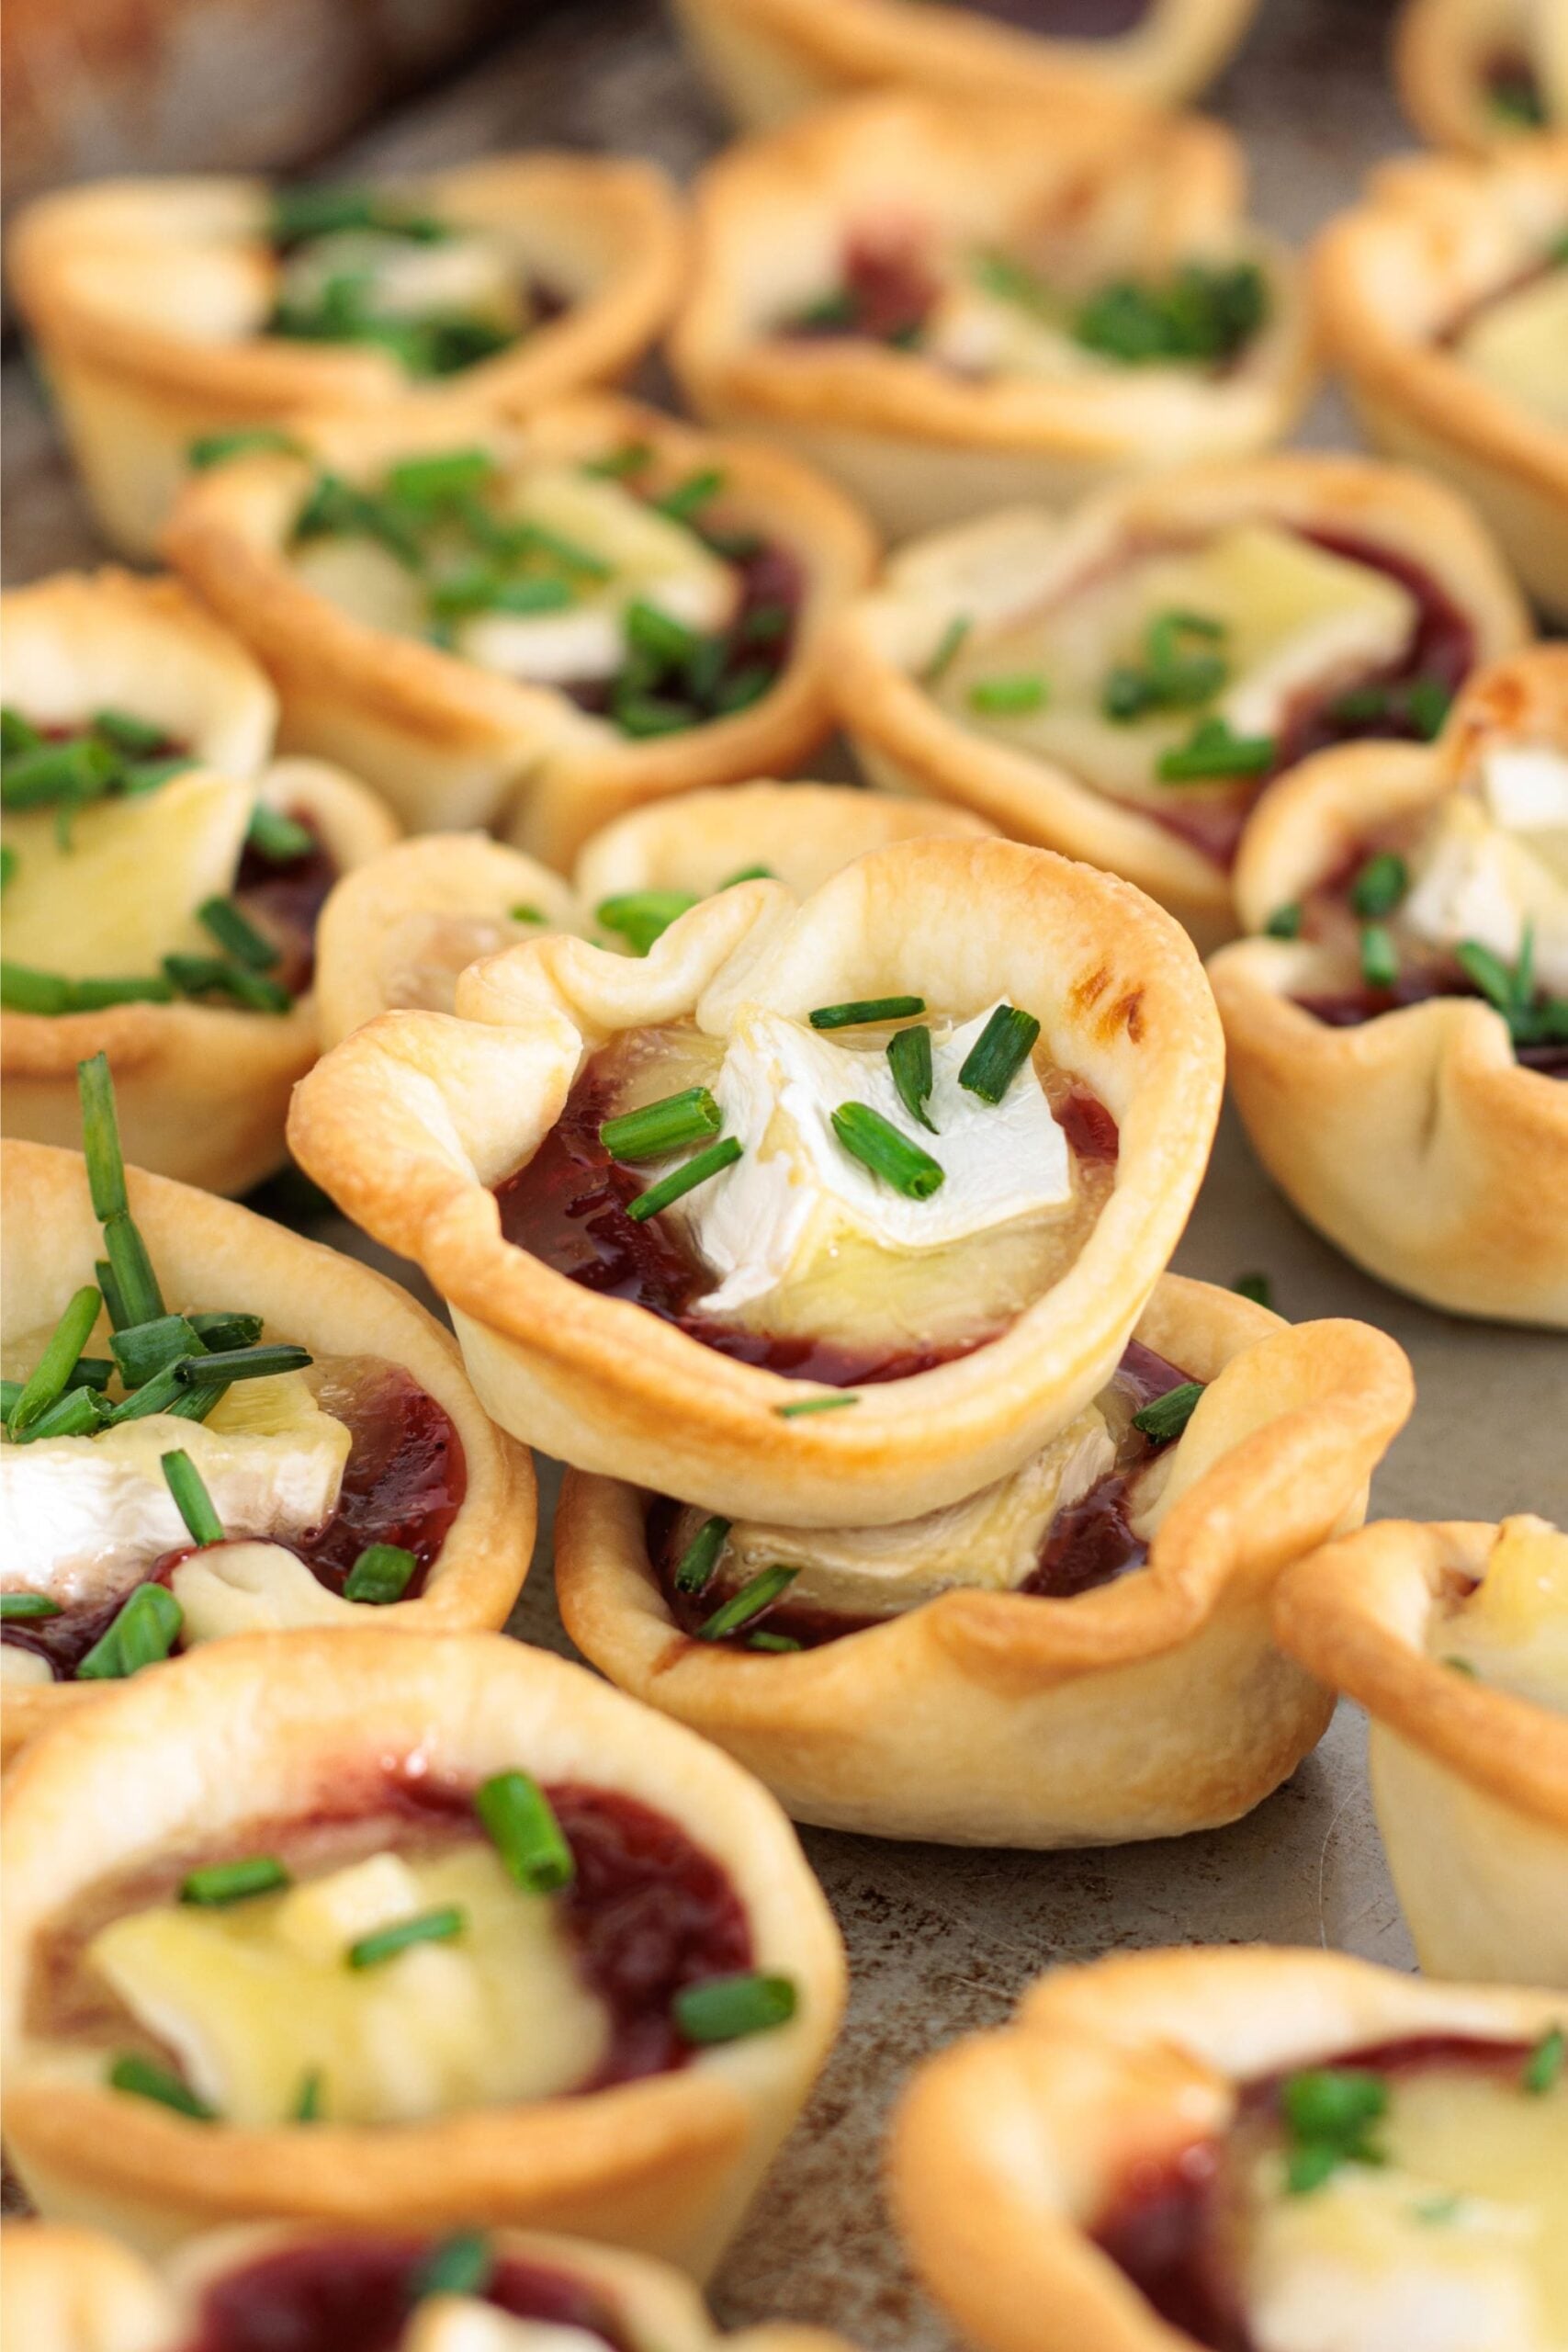
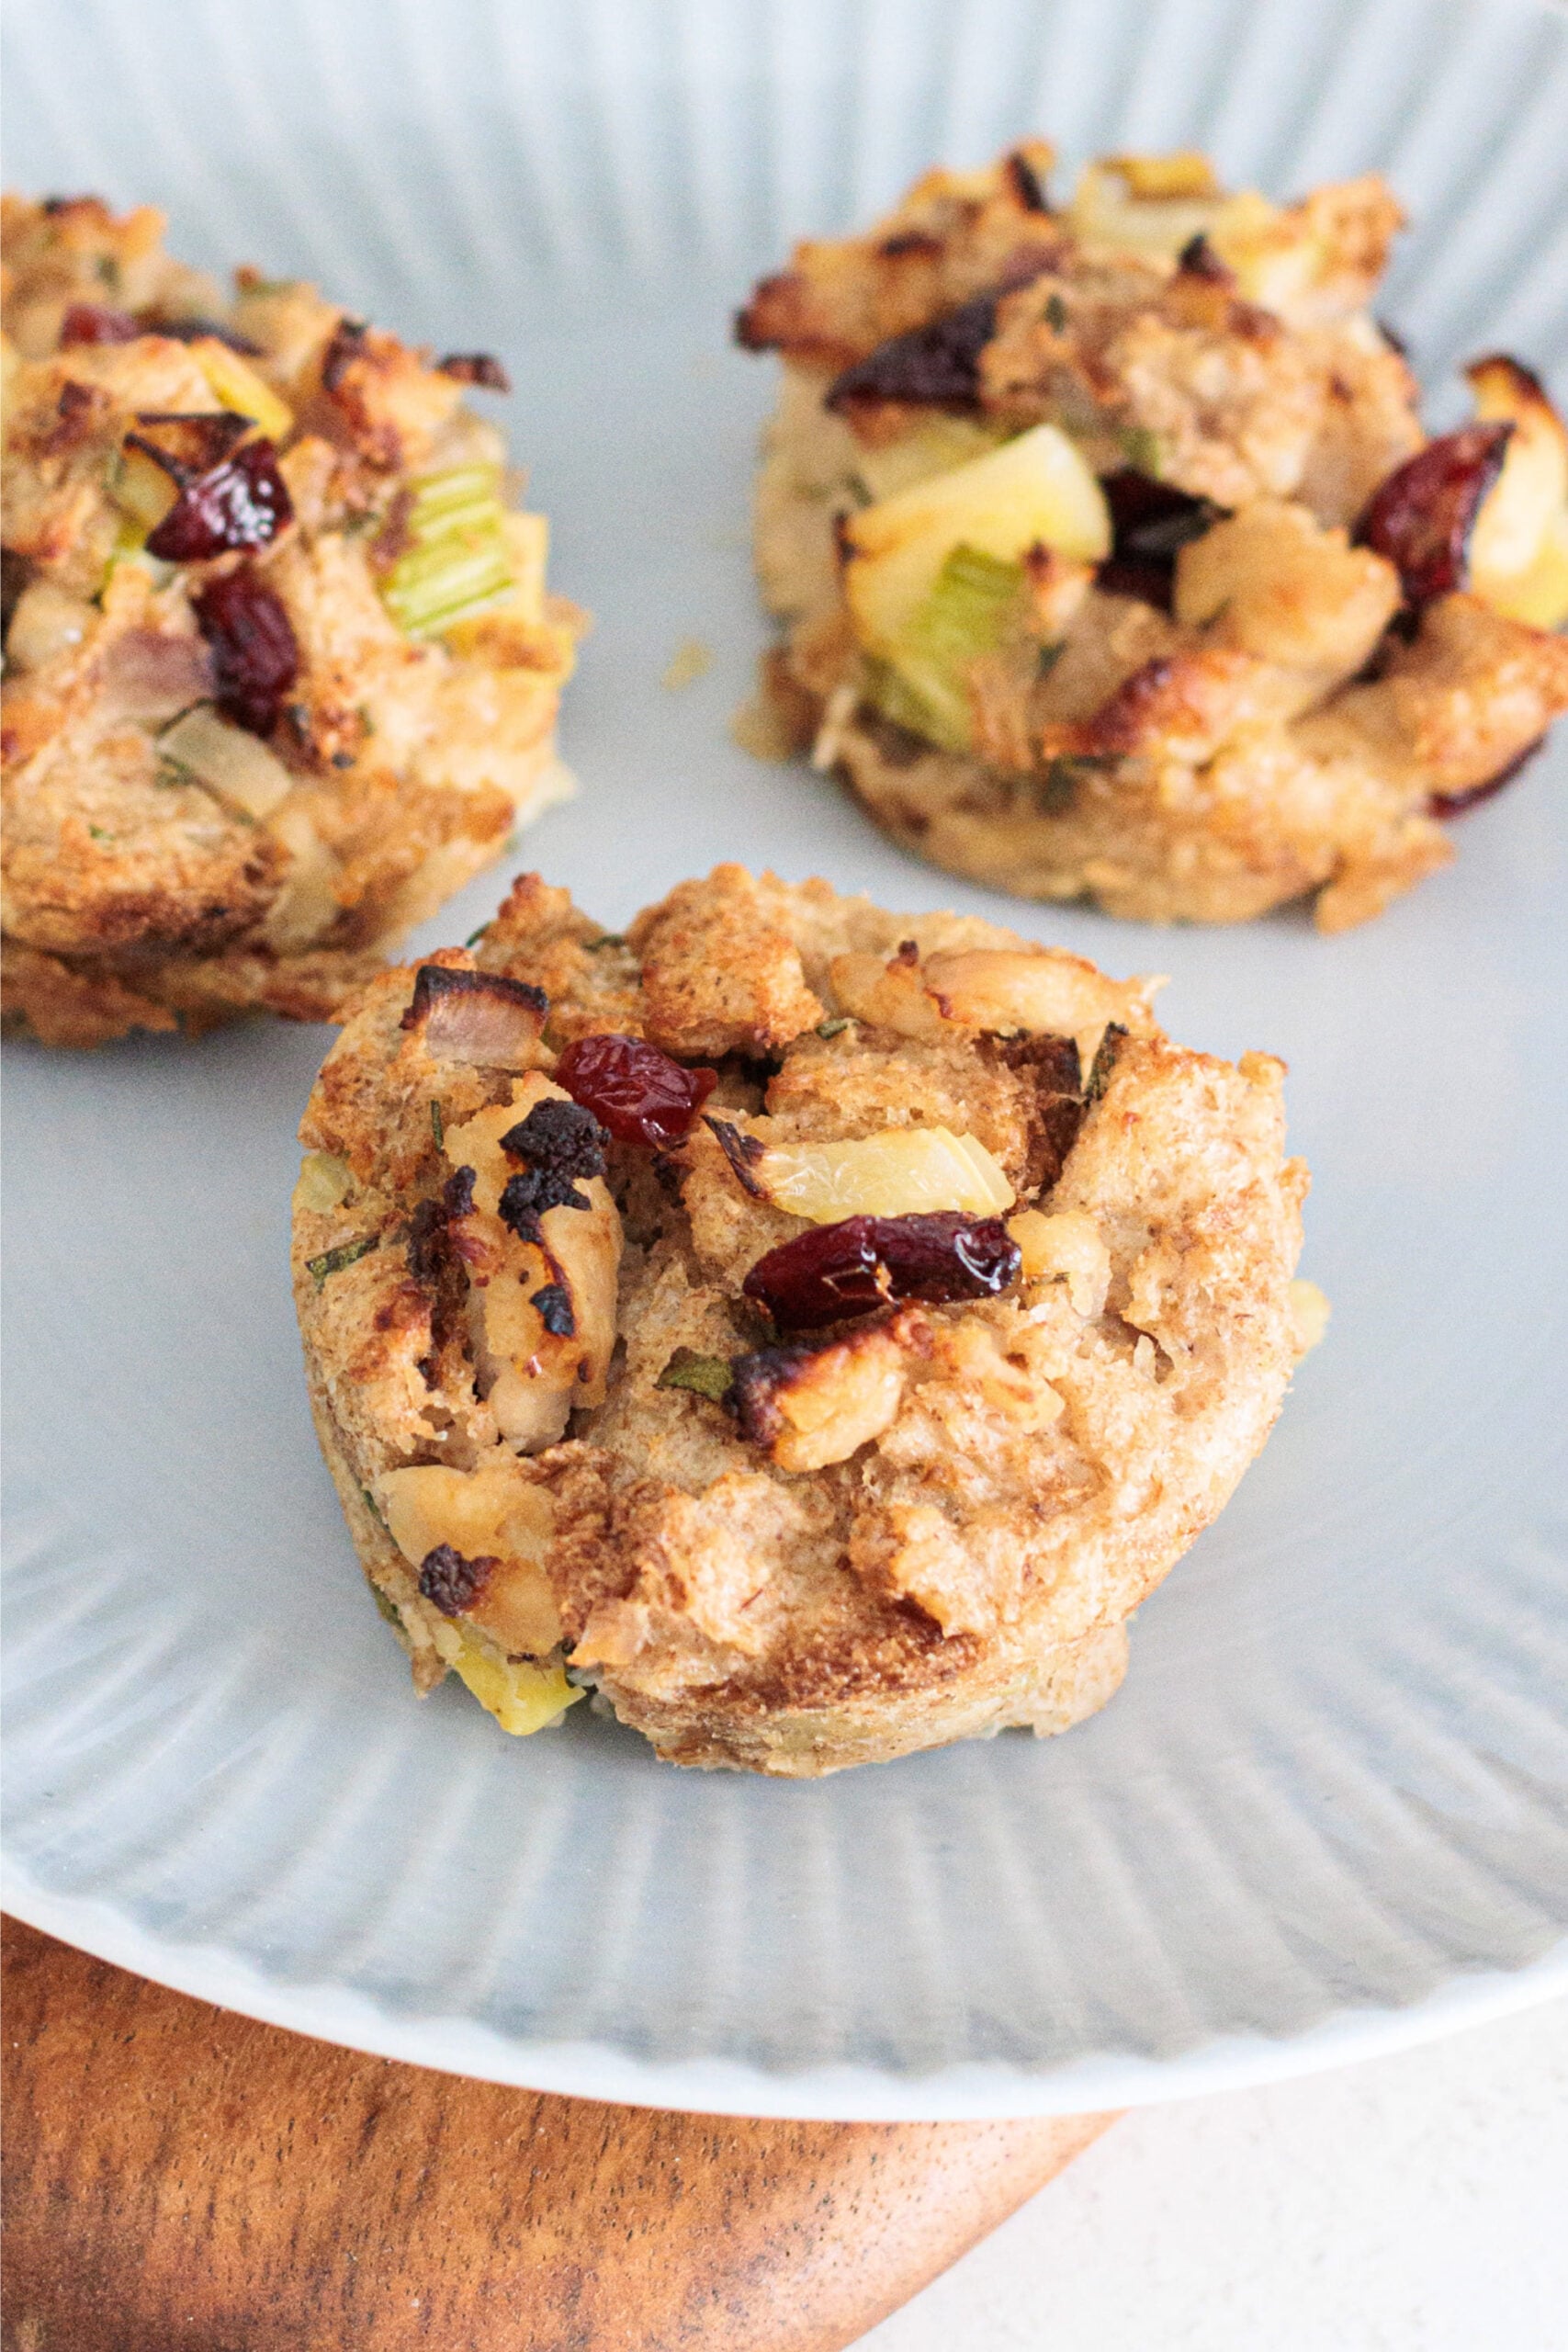
If you love potlucks like I do, these apple pie bars are an easy one to bring along, and it’s always a good excuse to make a few of my other favorites too, like sausage apple stuffing muffins or mini cranberry brie bites.
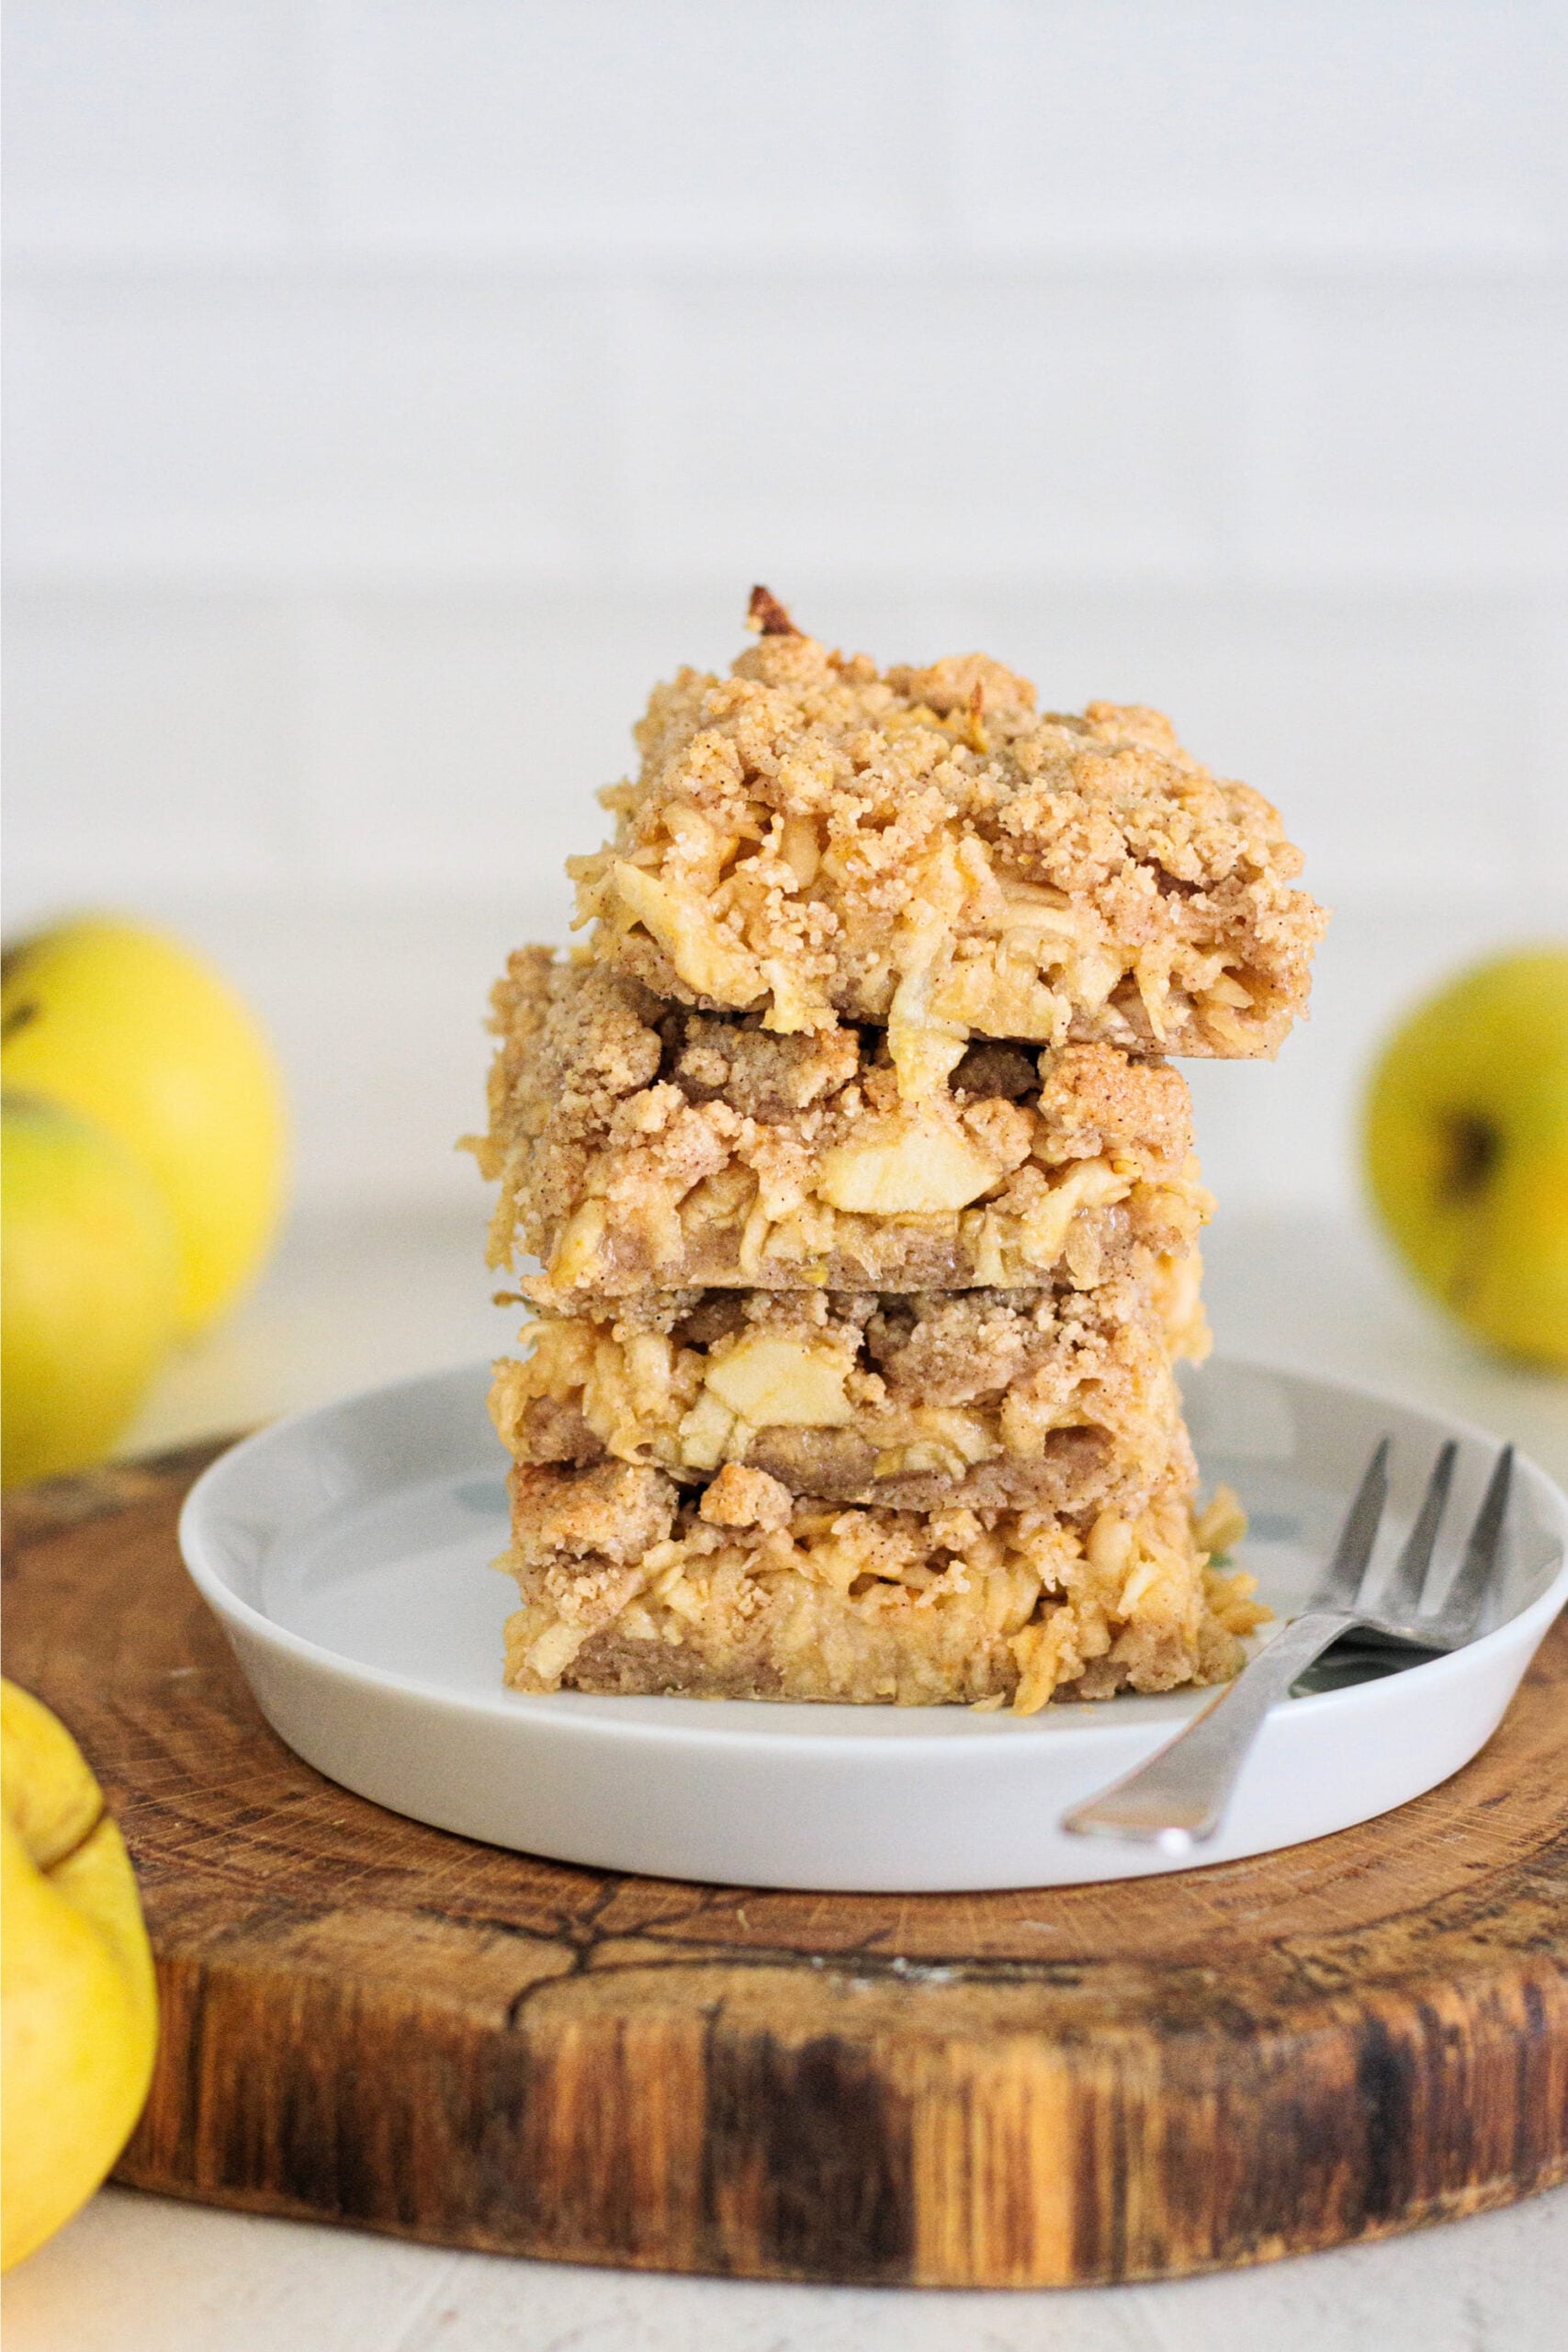
Easy Apple Pie Bars
Ingredients
- 2¾ cups all-purpose flour (335 g)
- ¾ cup light brown sugar (150 g)
- 1½ teaspoons ground cinnamon or apple pie spice (4 g)
- ¼ teaspoon salt (1 g)
- 1 large egg
- ¾ cup + 2 tablespoons cold unsalted butter (200 g), cut into small cubes
- 1 tablespoon cornstarch (8 g)
- 1⅓ pounds peeled and cored apples (600 g), about 4 apples
Instructions
- Preheat the oven to 350°F (180°C). Line a 9×13-inch (23×33 cm) baking pan with parchment paper, leaving some overhang so you can lift the bars out later.
- Add the flour, ¼ cup (50 g) of the brown sugar, cinnamon, and salt to a large bowl.
- Add the egg and cold cubed butter. Work everything together quickly with your fingertips until the mixture looks sandy with irregular crumbs. Don’t overwork it or let the butter get too warm.
- Press about half of the crumb mixture evenly into the bottom of the prepared pan to make the base.
- Grate the apples using the large holes of a box grater. Squeeze out some of the excess liquid with a clean kitchen towel or your hands.
- Place the grated apples in a bowl with the remaining ½ cup (100 g) brown sugar and the cornstarch. Mix until evenly coated.
- Spread the apple filling over the base, almost to the edges, without pressing it down too firmly.
- Crumble the remaining mixture over the apples with your fingers.
- Bake for 25–30 minutes, until the top looks dry and lightly golden.
- Let it cool completely in the pan. Then lift it out using the parchment paper and cut it into bars or squares.
Notes
- Keep the butter cold. If the butter gets too warm or the mixture is overworked, the crumble can turn denser instead of staying nice and crumbly.
- Squeeze the apples well. Removing some of the extra juice helps keep the middle from getting too wet.
- Cool completely before cutting. The bars firm up as they cool, so they’ll hold together much better if you wait before slicing.
How to Make Apple Pie Bars
These come together pretty easily and the biggest thing is keeping the crumble mixture cold enough to stay crumbly. Don’t forget to check the amounts and measurements in the recipe card above.
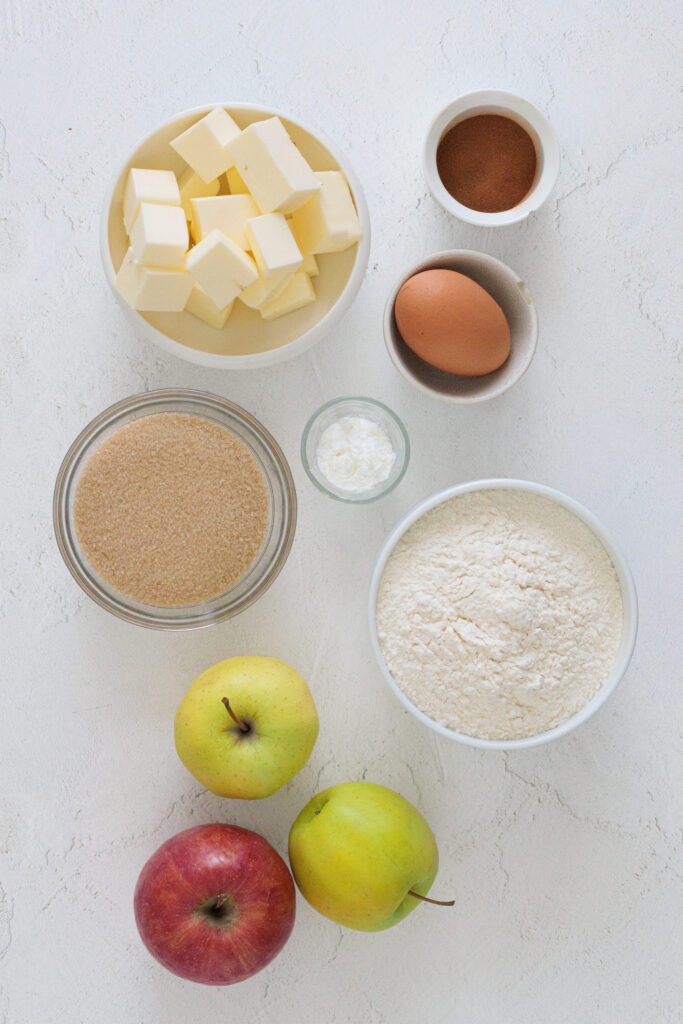
Gather all of your ingredients.
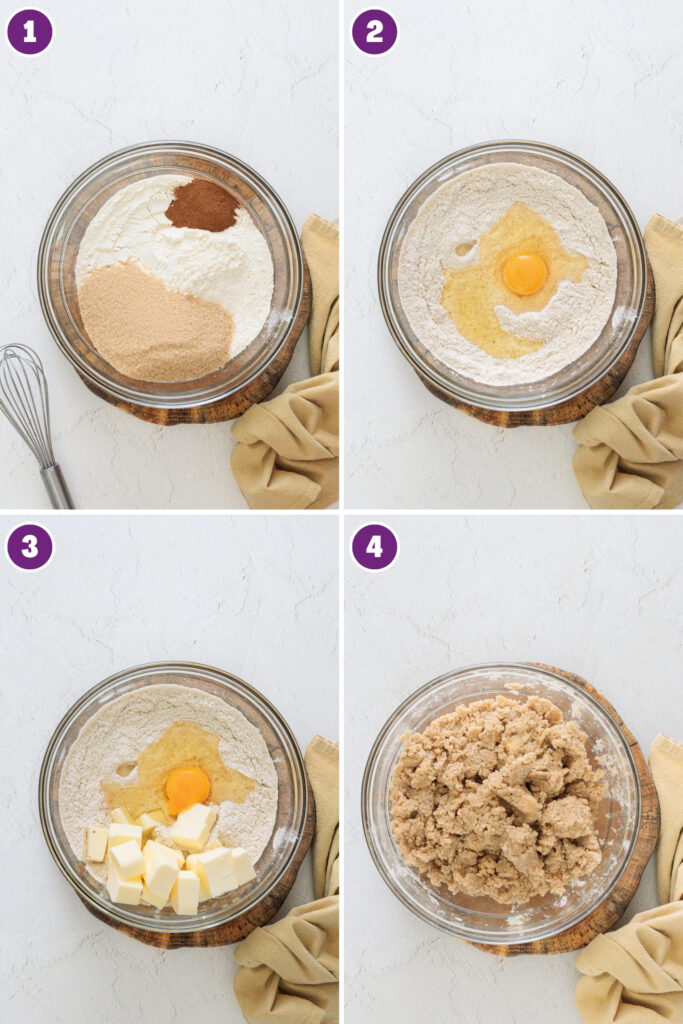
Make the crumble mixture. Add the flour, ¼ cup of the brown sugar, cinnamon, and salt to a large bowl. Add the egg and cold butter, then work everything together quickly with your fingertips until you have a sandy mixture with irregular crumbs.
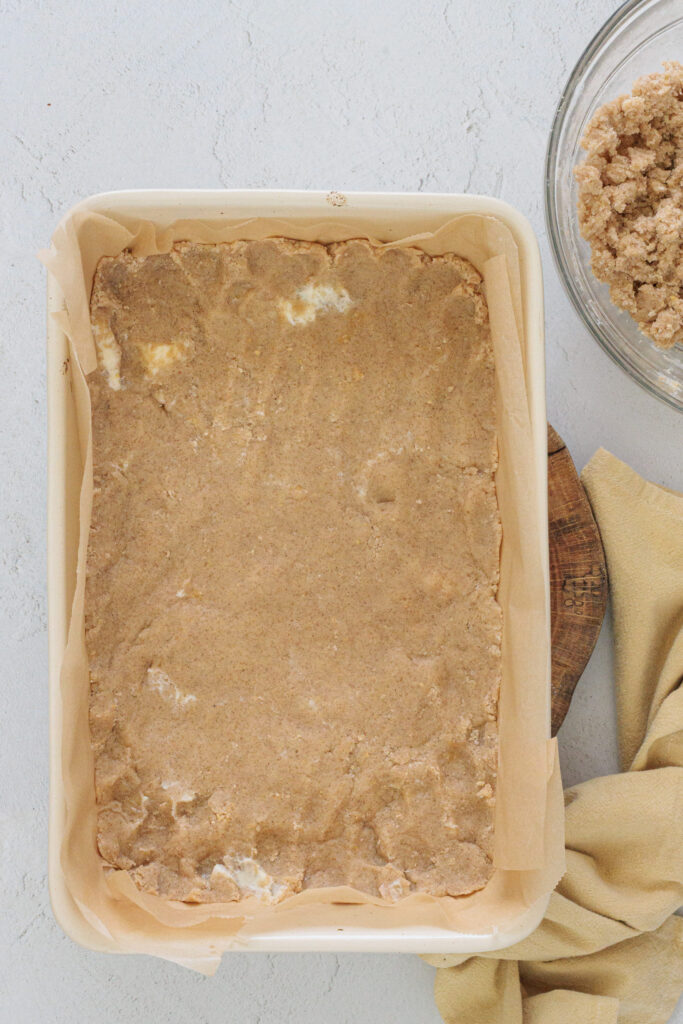
Press in the base. Take about half of the mixture and press it evenly into the bottom of the prepared pan. I usually use my hands here because it’s faster and you don’t need to make it look perfect.
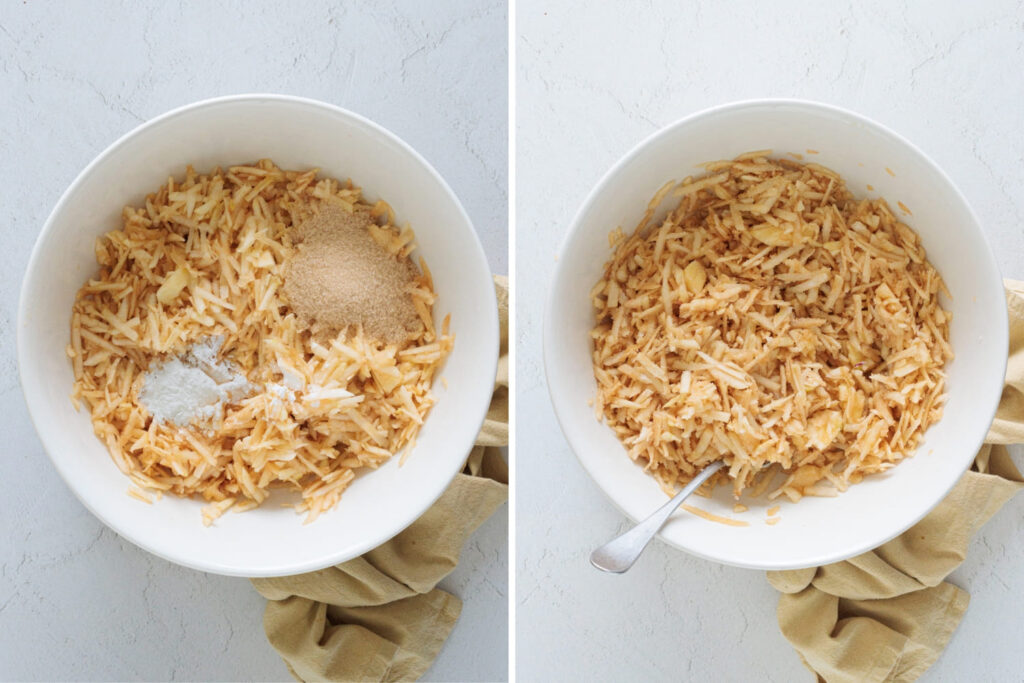
Grate the apples. Use the large holes of a box grater, then squeeze out some of the extra juice with a clean kitchen towel or your hands. This step really helps keep the filling from turning too wet.
Mix the filling. Add the remaining brown sugar and cornstarch to the grated apples, then stir until everything is evenly coated.
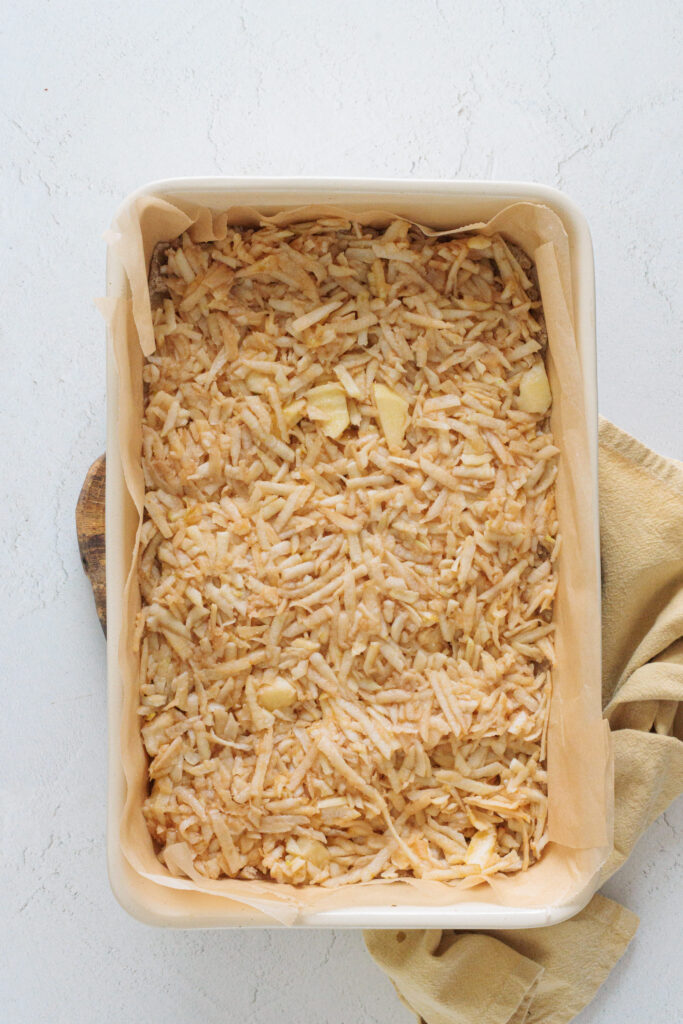
Add the apples. Spread the filling over the base, almost to the edges. Don’t press it down too firmly, just level it out enough so the apples sit evenly.
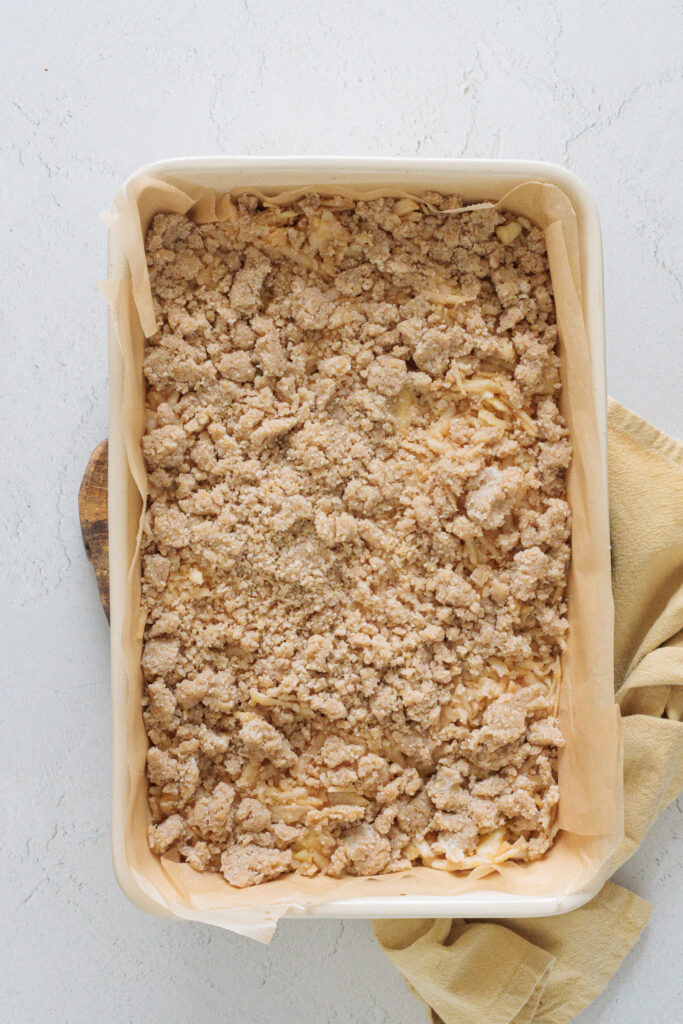
Finish with the crumble. Take the remaining mixture and crumble it over the apples with your fingers. I like leaving some bigger pieces in there because those little golden chunks are the best part haha.
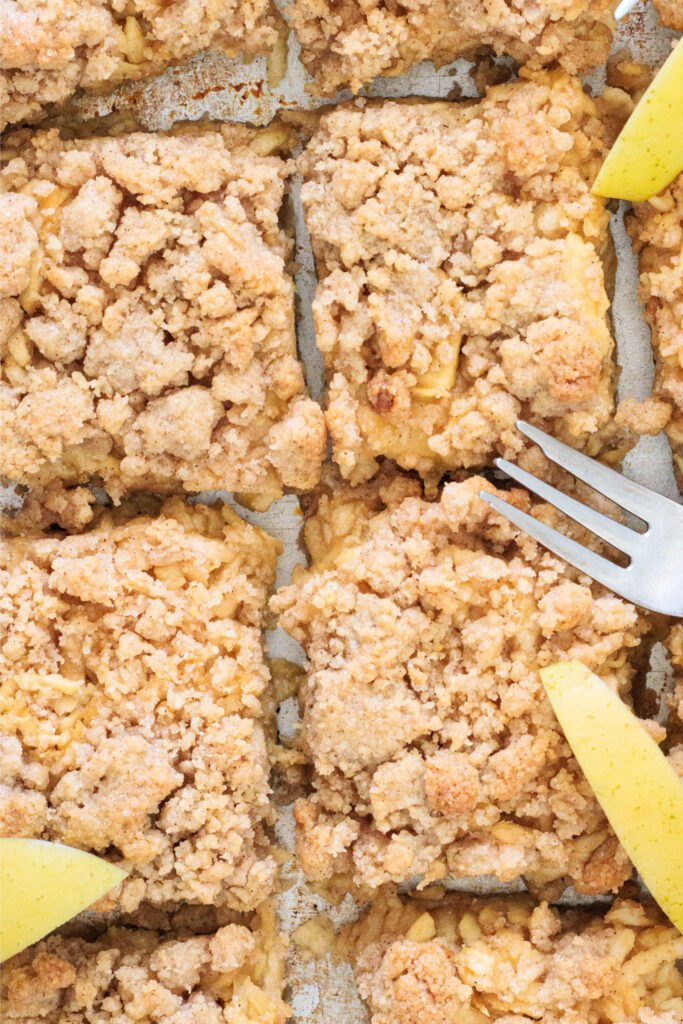
Bake until lightly golden. Bake at 350°F for 25–30 minutes, until the top looks dry and lightly golden.
Cool completely. This part is worth the wait. Let it cool all the way in the pan before lifting it out with the parchment and cutting it into bars. If you cut too early, the filling will still be soft and the bars can fall apart.
I know waiting for dessert to cool is rude, but this is one recipe where patience really pays off haha.
Storage and Make-Ahead
Make ahead: Bake the apple pie bars up to 1 day ahead and let them cool completely in the pan. Once cool, lift them out and cut into bars. Store in an airtight container until you’re ready to serve.
Store: Keep the bars at room temperature for 1–2 days, or refrigerate them for up to 4–5 days.
Freeze: Freeze the cooled bars in an airtight container for up to 2–3 months. Thaw before serving.
Leave a Reply