
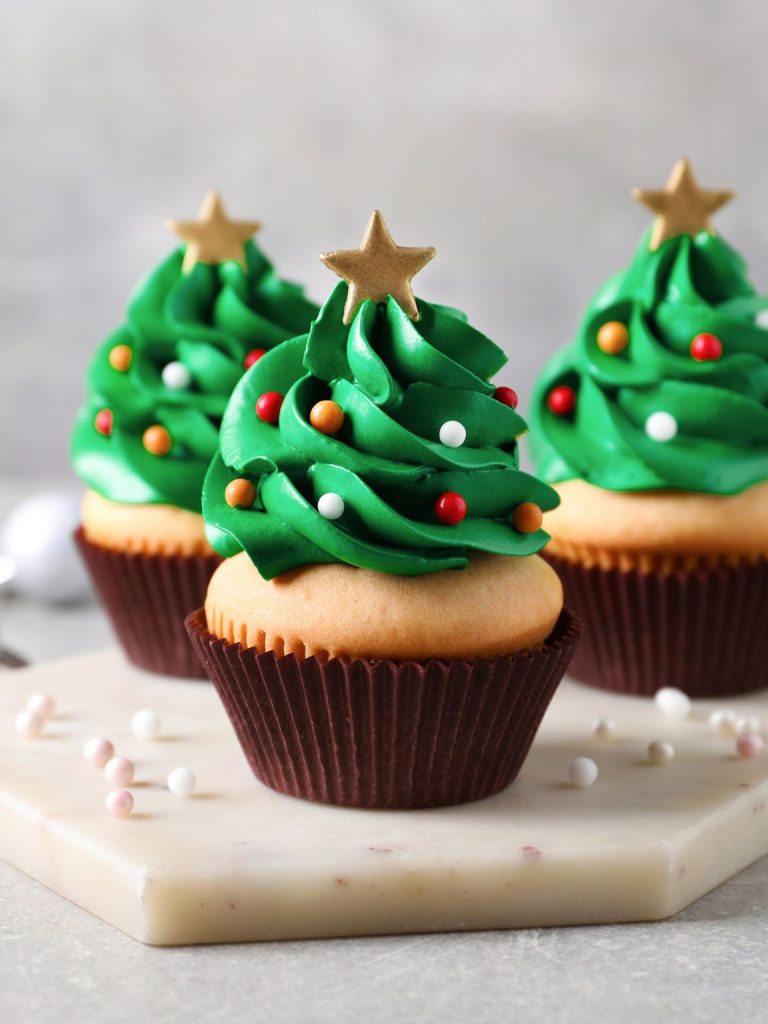
These easy Christmas Tree Cupcakes are the kind of TREAT that makes everyone at the table smile, especially the kids (and the grown-ups pretending not to be kids)! They’re soft, sweet vanilla cupcakes topped with tall green swirls of frosting, decorated to look just like mini Christmas trees, complete with ornaments and a shiny gold star on top!
 Pin this now to find it later!
You only need 4 ingredients to pull these off, and I mean it when I say: NO baking skills required! They’re quick to make, super cute, and perfect for holiday parties, class treats, or Christmas Eve dessert trays. You can even make them with the little ones, decorating them is half the fun!
They’re one of the easiest holiday desserts you can make… And once you try them, don’t be surprised if they become a December tradition in your house like they did in mine!
Why You’ll Love These Christmas Tree Cupcakes
Here’s why these cupcakes are a must-make during the holiday season.
- Only 4 ingredients. Yep, just four! No fancy baking tools, mixers, or extra trips to the store required.
- Super festive and fun. With that bright green swirl and gold star topper, these cupcakes look like you spent hours decorating but they’re secretly super simple!
- Perfect for parties (or kids!). Great for holiday gatherings, school treats, or decorating with kids. Everyone loves getting their own edible Christmas tree!
- Totally make-ahead friendly. You can bake the cupcakes the day before, then frost and decorate when you’re ready. EASY PEASY!

Ingredients
I usually get about 12 cupcakes from this recipe, sometimes 13 if I don’t overfill the liners (but let’s be honest, I always do)! It’s the perfect batch size for holiday parties, school treats, or just a fun afternoon decorating with the kids.
You’ll find a printable recipe card at the bottom of this post, but here’s exactly what you’ll need, plus a few tips I’ve picked up after making these more times than I can count.
- Vanilla cake mix – I go with a classic boxed mix to keep things simple. It gives you that soft, golden cupcake base. Just follow the directions on the box, usually eggs, oil, and water.
- Vanilla frosting – Canned frosting totally works here and holds its shape really well. If you’ve got time and feel like making a homemade buttercream, go for it, but store-bought is honestly GREAT!
- Green gel food coloring – Gel is the way to go. It gives you that bright, festive green without making the frosting too thin or runny.
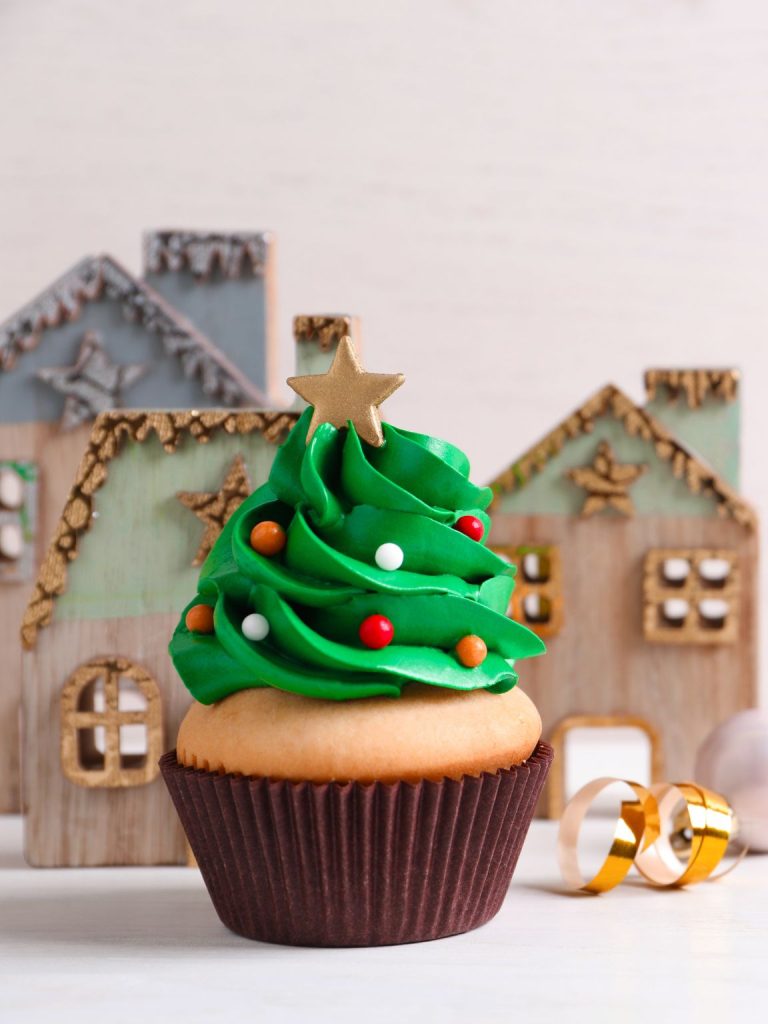
- Holiday sprinkles + gold star toppers – These bring the trees to life! I like using round sprinkles or sugar pearls to look like ornaments, and those little edible gold stars on top are non-negotiable. They just MAKE it!
How to Make Easy Christmas Tree Cupcakes
1. Bake the cupcakes
First things first. Preheat your oven to 350°F (175°C) and line your muffin pan with cupcake liners. I always go for the dark brown ones because they look just like tree trunks once the frosting goes on (just a LITTLE detail)!
Mix up your vanilla cake batter according to the box instructions, usually just eggs, oil, and water… Fill each liner about ¾ of the way full. That gives you a nice, rounded top without any overflow.
Bake for 18–22 minutes, or until a toothpick poked in the middle comes out clean. Let them cool in the pan for a few minutes, then move them to a wire rack to cool completely. I know it’s tempting, but don’t FROST while they’re warm, the trees will just slide off (been there, done that… not pretty)!
2. Make the green frosting
Scoop the vanilla frosting into a mixing bowl and stir in a few drops of green gel food coloring. I like to start with just a little and build it up until I get that bold tree-green color. Make sure it’s stirred really well so there are no streaks.
If the frosting feels too soft (especially if your kitchen’s warm), just pop it in the fridge for about 10 to 15 minutes. It pipes way better when it’s slightly chilled!
3. Pipe your trees
Once the cupcakes are totally COOL and the frosting’s ready, spoon it into a piping bag fitted with a large star tip. I usually go with a Wilton 1M or 2D, those give you that nice tall swirl.
Start piping from the center of each cupcake and spiral upward, stacking the swirls to look like a tree. Don’t stress about perfection, once the decorations are on, they all LOOK adorable!
If you don’t have a piping bag, no big deal! Just use a zip-top bag and snip off one of the corners… Your swirls won’t be quite as detailed, but honestly? Still super cute and totally passable.
4. Decorate like it’s Christmas
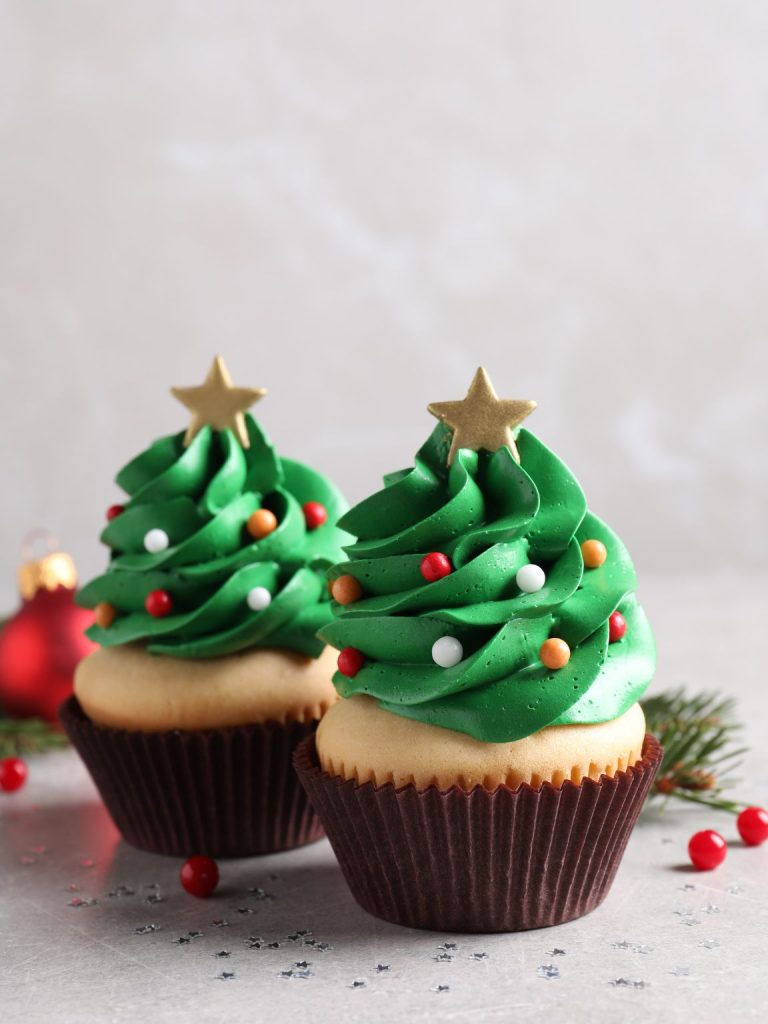
While the frosting is still soft, go ahead and press in your holiday sprinkles, I like red, white, and gold sugar pearls, but use whatever you have!
Then finish each one with a gold star topper right on top. That part always makes me smile, it’s the final touch that makes them look extra magical.
Mistakes to Avoid When Making Christmas Tree Cupcakes
Just because this recipe only uses four ingredients doesn’t mean nothing can go wrong… Trust me, I’ve made these more than a few times, and I’ve had my fair share of frosting fails along the way. So here are a few little things to watch out for.
- Frosting too soft to pipe – The first time I made these, I didn’t chill the frosting at all. Big mistake. It was sliding all over the place and my “trees” looked more like Grinch hats. Now I always pop the frosting in the fridge for 10–15 minutes before piping. Makes a HUGE difference!
- Overfilling the cupcake liners – I’ve definitely been guilty of this one. If you fill them too full, the cupcakes overflow, get weird edges, and you don’t get that nice rounded top for frosting. ¾ full is the sweet spot, trust me on this.
- Using liquid food coloring – I once used regular liquid food dye instead of gel… and WOW, did it mess up the frosting texture. It turned the frosting runny and pale, and the trees totally collapsed. Stick with gel food coloring, it gives you bright color without thinning things out.
- Decorating too late – Don’t wait too long to add the sprinkles! If the frosting starts to crust over, the decorations won’t stick. I learned that one the hard way when half my “ornaments” rolled right off.
These are all little things, but they really do make a difference. If you stick with the steps, chill your frosting, and decorate while everything’s still fresh, you’ll be golden, or, in this case, glittery green with a gold STAR on top!
Proper Storage
- Room temperature. I usually keep these cupcakes on the counter in an airtight container for 2–3 days. Just make sure they’re not sitting in direct sunlight or near anything warm, or the frosting can start to droop a little…
- Fridge. If you want to make them ahead, you can store them in the fridge for up to 4 days. I do this when I’m prepping for a party. Just let them sit out for 20–30 minutes before serving so the frosting softens up a bit again.
- Freezer. Yep, you can freeze them! Just leave the decorations off (especially the star toppers) and freeze the frosted cupcakes in a single layer until solid. Then transfer them to a container or freezer bag. They’ll keep for up to 2 months. Thaw in the fridge overnight, then add the sprinkles and stars once they’ve defrosted.

Easy Christmas Tree Cupcakes (4 Ingredients)
Ingredients
- 1 box vanilla cake mix (plus eggs, oil, and water as listed on the box)
- 1 tub 16 oz / 450 g vanilla frosting
- Green gel food coloring
- Holiday sprinkles and gold star toppers
Instructions
- Preheat your oven to 350°F (175°C) and line a muffin tin with 12 cupcake liners.
- Prepare the vanilla cake mix according to the box instructions. Divide the batter evenly between the liners, filling each one about ¾ full.
- Bake for 18–22 minutes, or until a toothpick inserted in the center comes out clean. Let the cupcakes cool completely before decorating.
- In a small bowl, stir green gel food coloring into the vanilla frosting until you get a nice tree-green color. Chill the frosting for 10–15 minutes if it feels too soft.
- Spoon the frosting into a piping bag fitted with a large star tip. Pipe tall swirls on top of each cupcake to look like a Christmas tree.
- While the frosting is still soft, add sprinkles and press a gold star topper onto each cupcake. Serve or refrigerate until ready to enjoy.
Notes
- Let cupcakes cool completely before frosting or the swirls will melt.
- If you don’t have a piping bag, you can use a zip-top bag with the corner snipped off.
- Add decorations immediately after piping so they stick properly.
- Green gel food coloring works best for bright color without thinning the frosting.
If you make these, I’d LOVE to hear how they turned out! Leave a comment, share a photo, or let me know how the decorating went, especially if you had little helpers! And don’t forget to save or pin this recipe so you can come back to it every holiday season.
Leave a Reply