
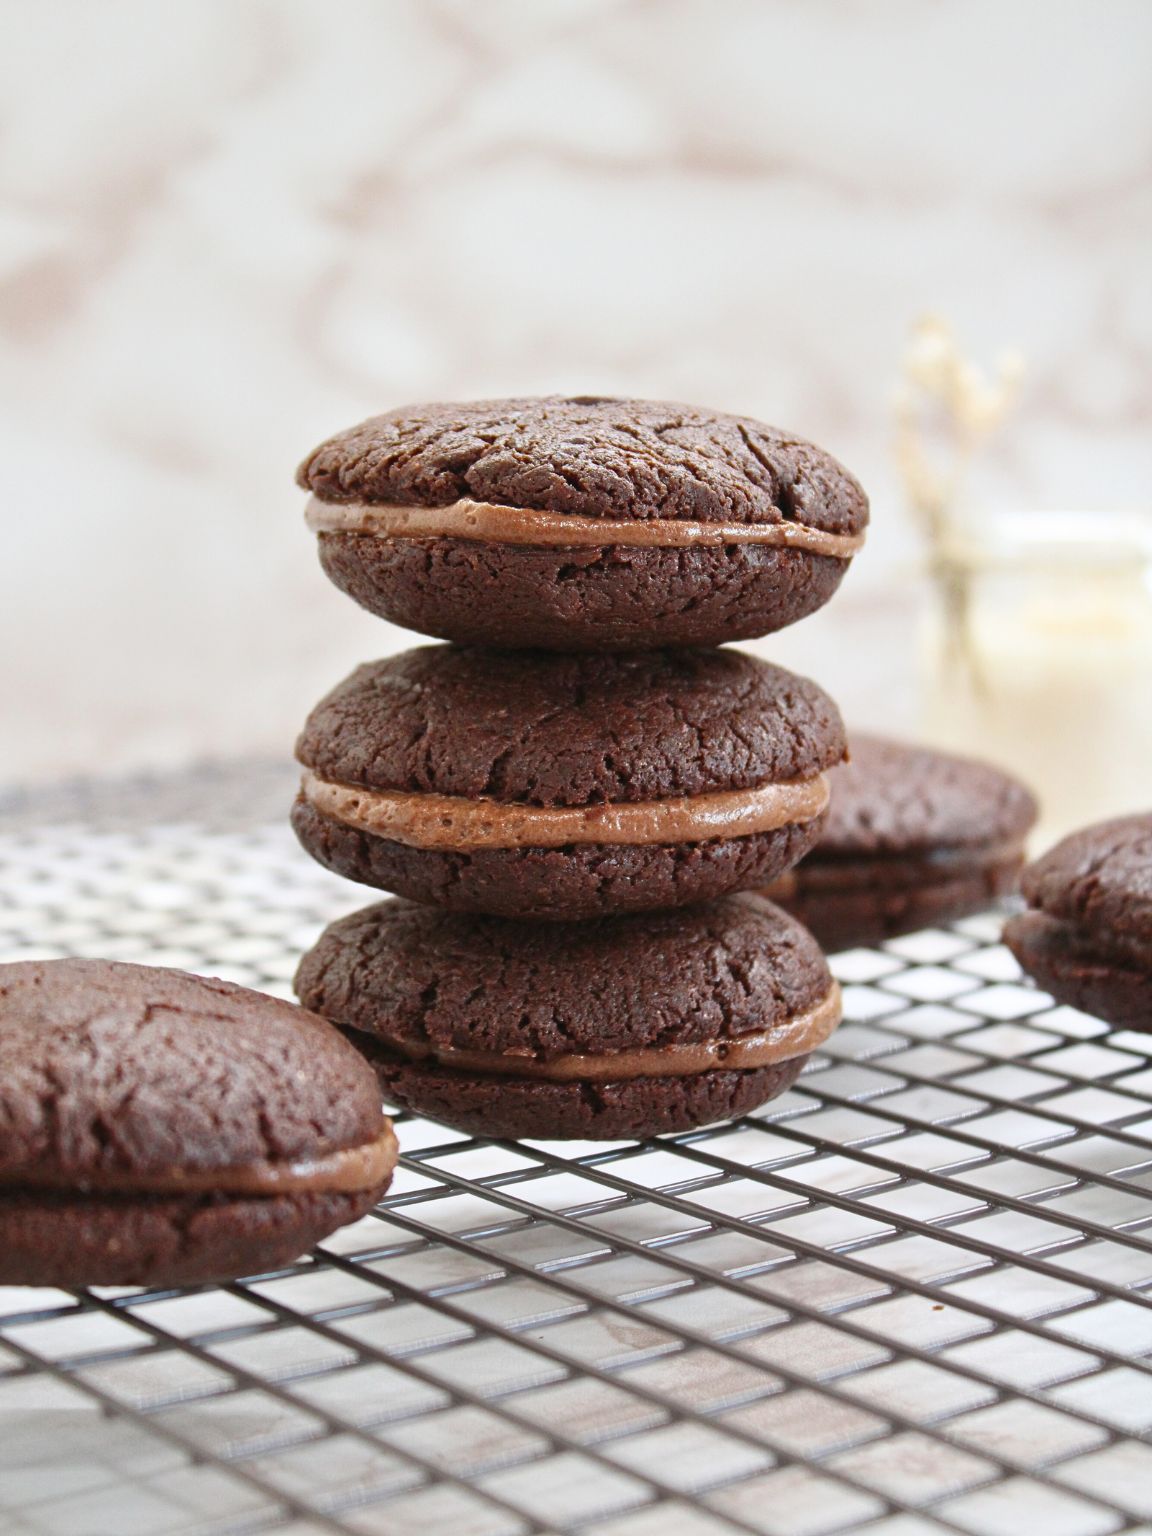
These brownie-style cookies are rich, chewy, and filled with a soft chocolate mousse that firms up perfectly in the fridge. Think cool, creamy centers wrapped in deep, chocolatey goodness. They’re simple to make, fun to share, and honestly… kind of addictive. (Fair WARNING!)

Why You’ll Love These Chocolate Mousse Cookies
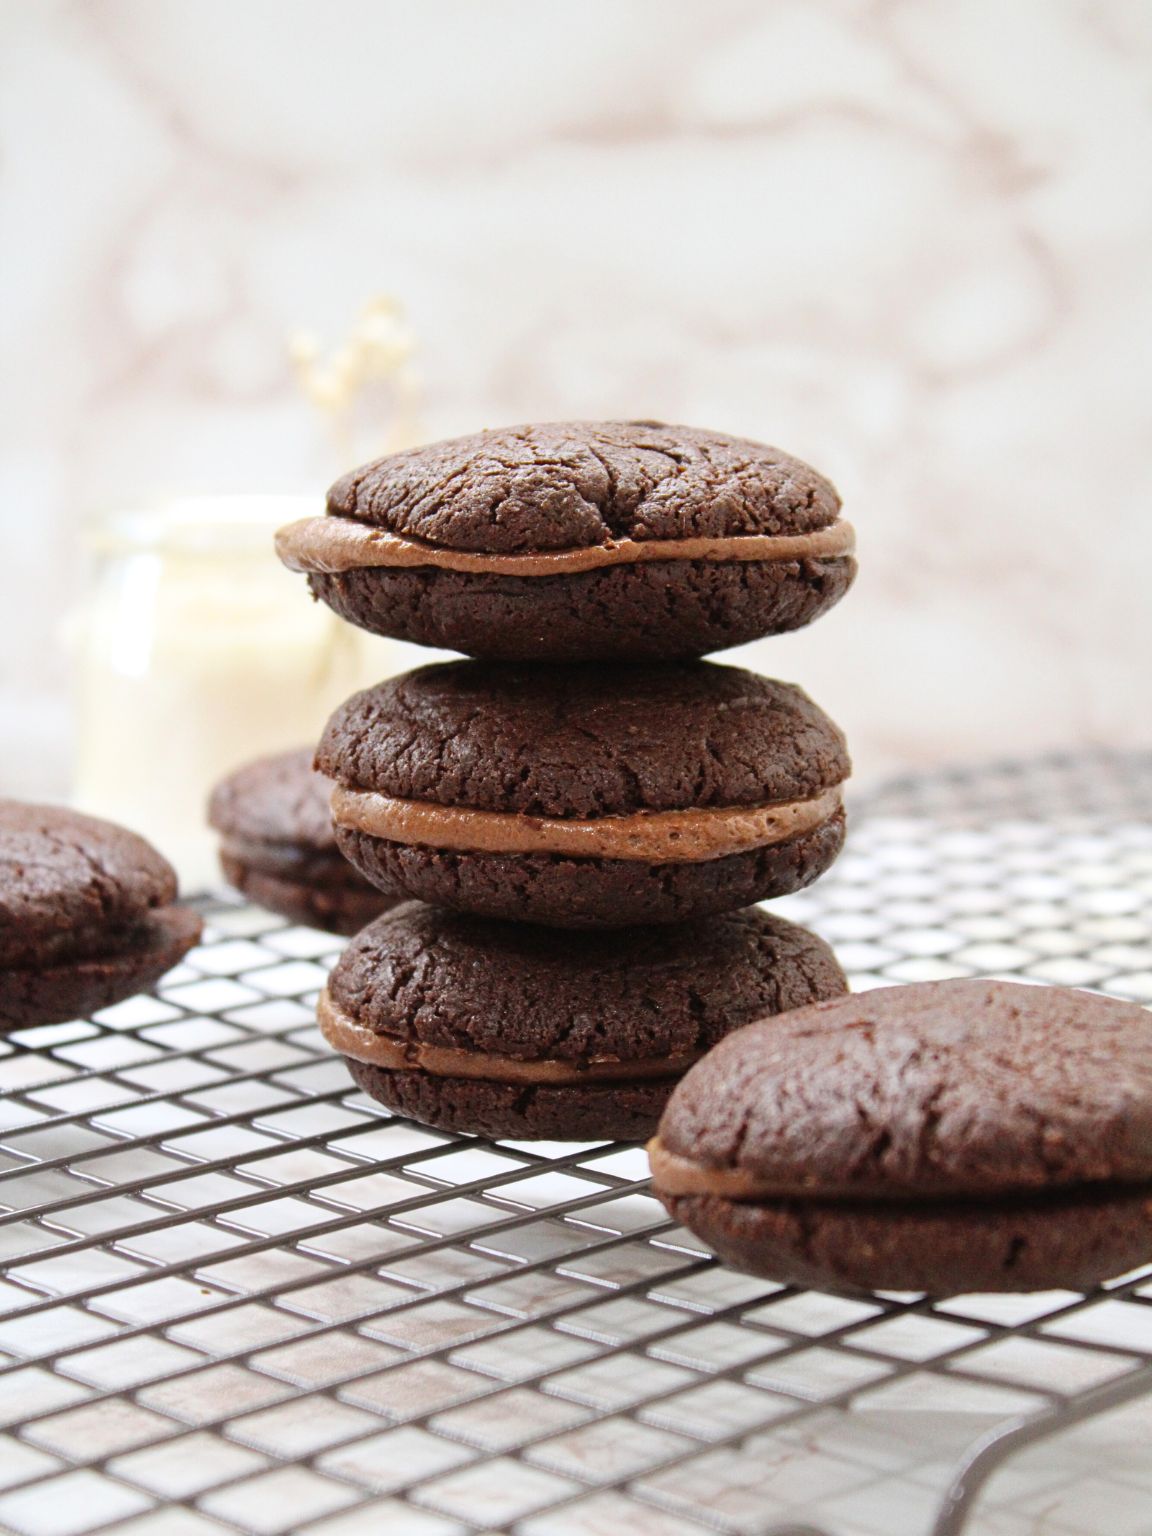
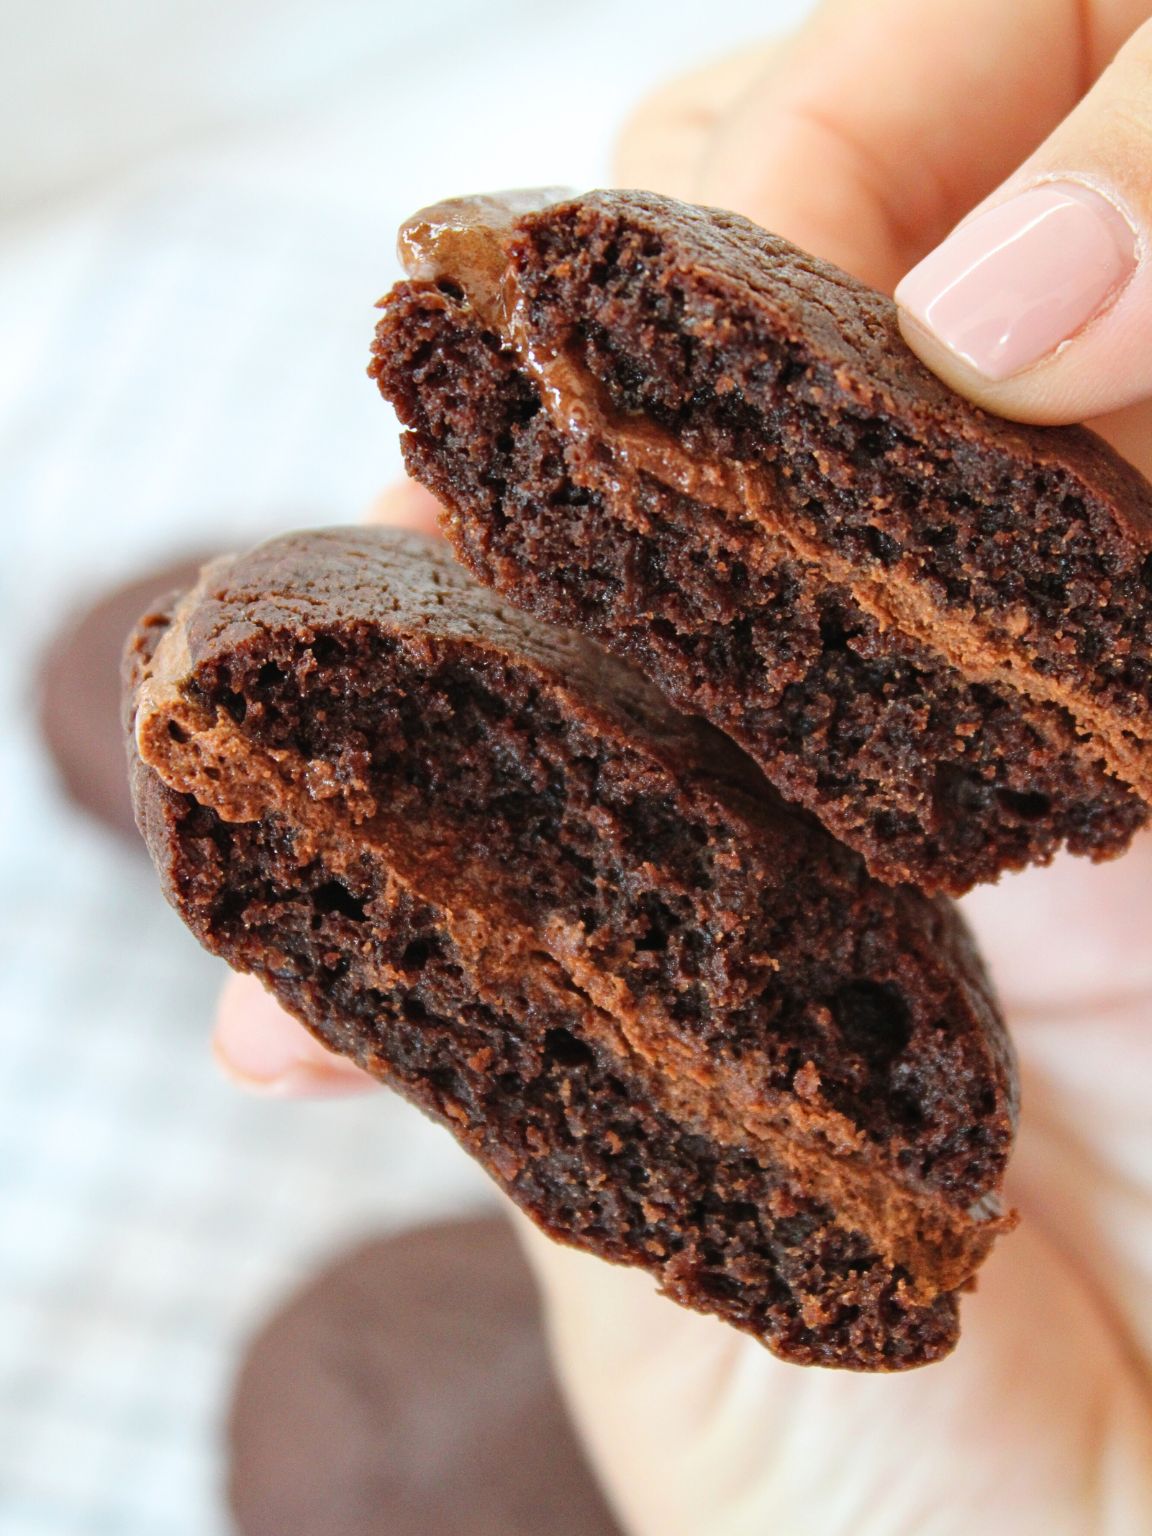
These cookies are pure chocolate bliss! Rich, soft, and just a little bit gooey in the center like your favorite brownie met a mousse and said, “Let’s do something special.” The mousse filling is cool, creamy, and melts in your mouth, which makes every bite feel a little bit fancy (without being fussy).
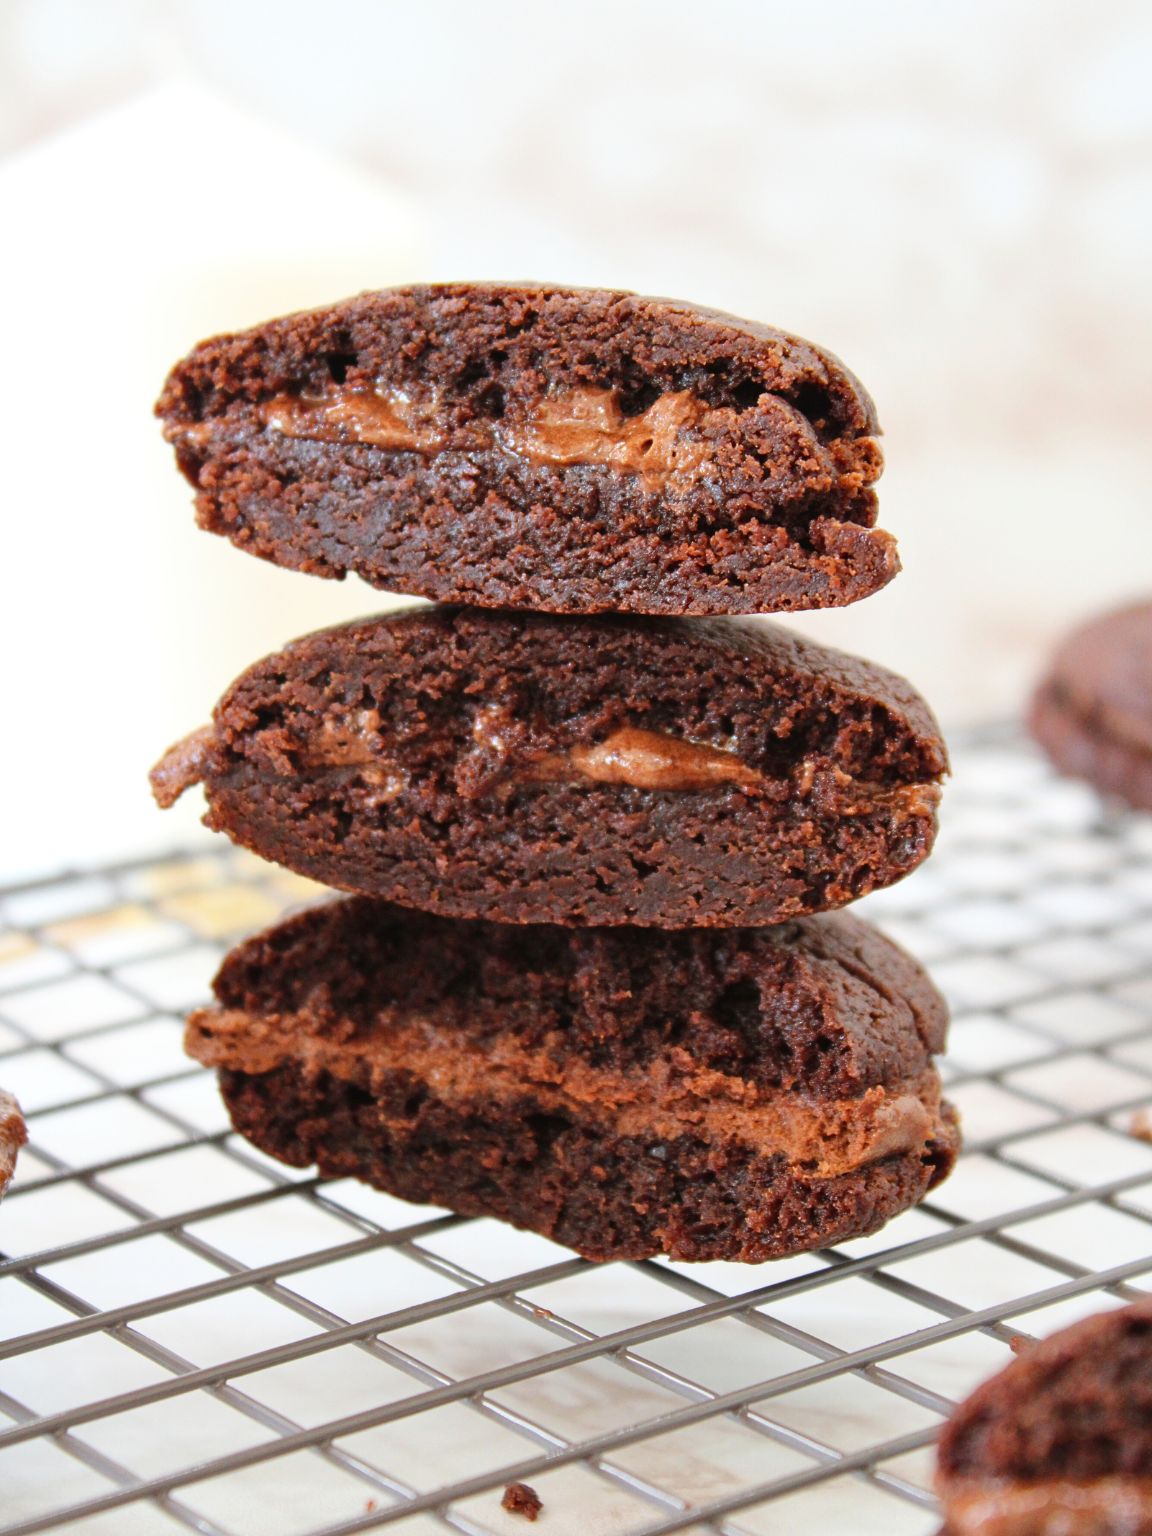
And once they’re filled and chilled? WOW! The texture is everything. Fudgy outside, mousse in the middle, and perfectly soft from the first bite to the last crumb.
What Does the Chocolate Mousse Filling Taste Like?
Okay, let’s talk about this mousse because honestly, it’s the STAR of the whole cookie! It’s smooth, rich, and super chocolatey without being heavy. It has that melt-on-your-tongue texture, like the inside of a truffle or a spoonful of chocolate whipped cream… but COLDER and somehow even better!
The mousse is made with just three ingredients (YES, really!), and no eggs or gelatin. Just good dark chocolate, cold cream, and a little powdered sugar to sweeten things up. It’s quick to whip and chills firm enough to stay put between the cookies, but soft enough to feel indulgent with every bite!
Ingredients You’ll Need
For the Cookies:
- 7 oz dark chocolate (about 70% cocoa)
- ⅔ cup unsalted butter (that’s 1 stick plus 2 tablespoons)
- ¾ cup granulated sugar
- 2 large eggs
- ¾ cup all-purpose flour
- ½ teaspoon baking powder
- Pinch of salt
- (Optional) 1 teaspoon vanilla extract – adds a cozy depth, but totally fine to skip
For the Chocolate Mousse Filling:
- 3.5 oz dark chocolate (again, something around 70% cocoa works beautifully)
- ½ cup cold heavy cream – make sure it’s nice and cold for whipping
- 1 tablespoon powdered sugar
How to Make Brownie Sandwich Cookies with Chocolate Mousse
Step 1: Make the Cookie Dough
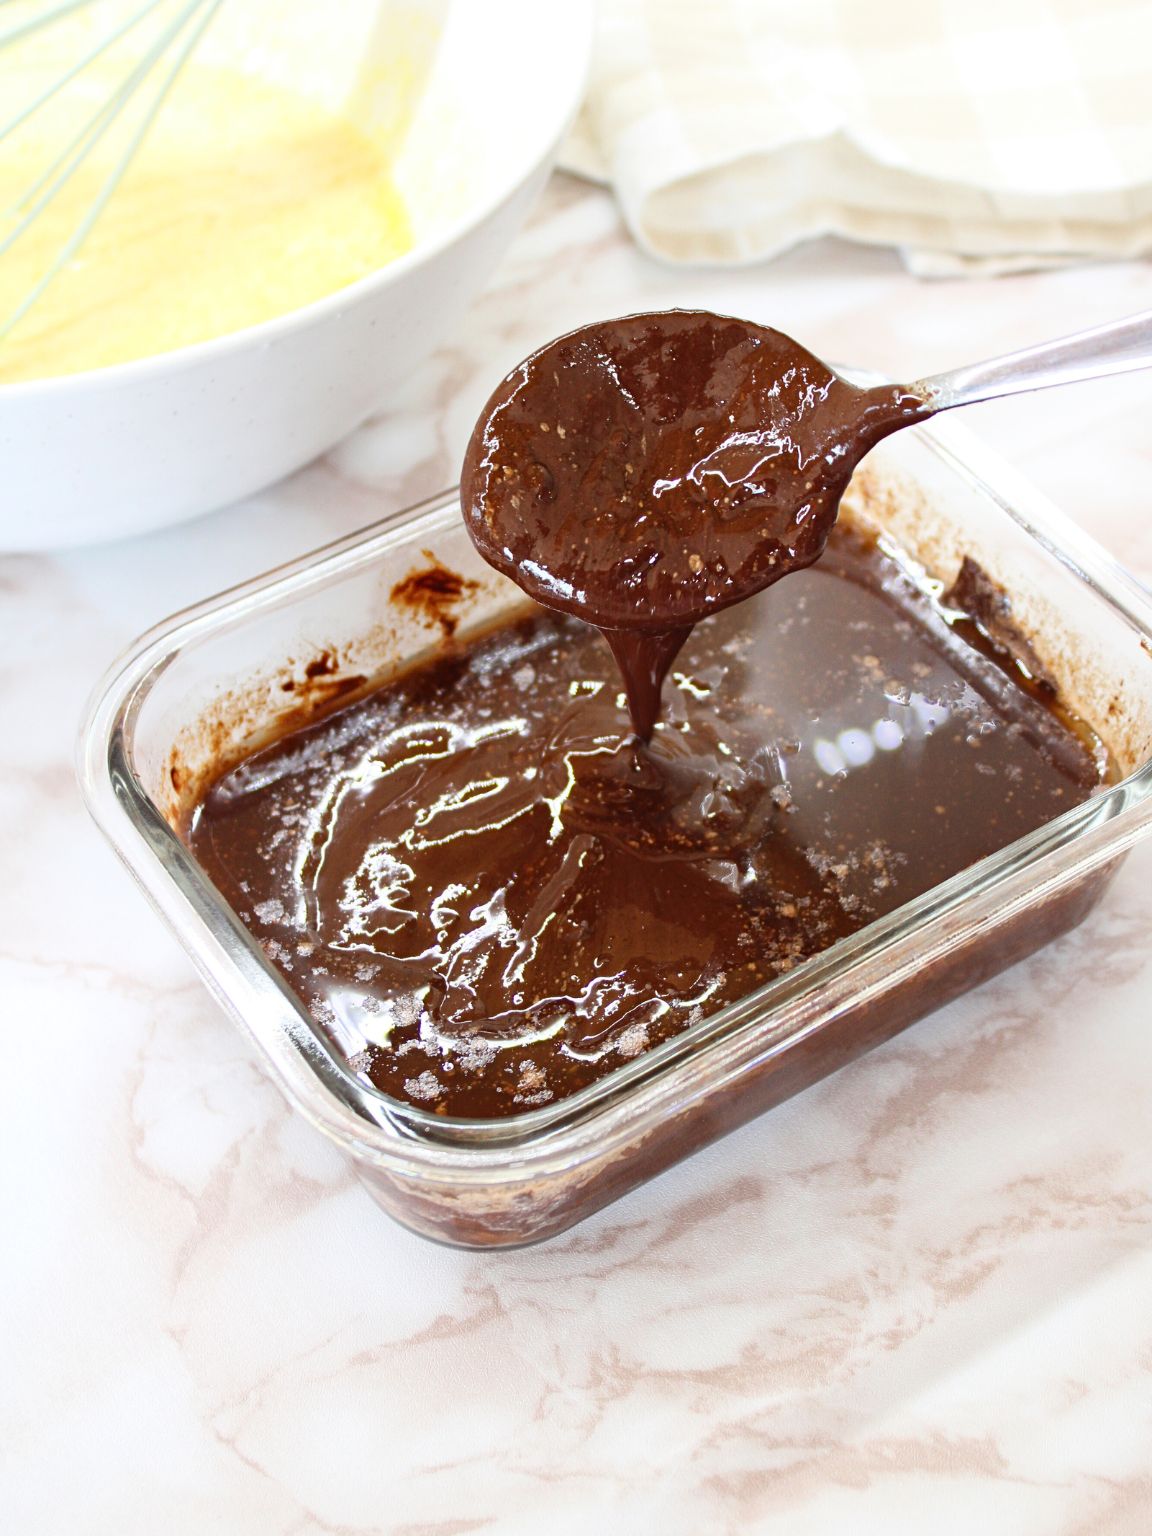
Start by melting 7 oz dark chocolate with ⅔ cup butter. You can do this over a double boiler or in the microwave, just heat in 20-second bursts, stirring each time, until smooth and glossy. Set it aside to cool for a few minutes.
Meanwhile, in a mixing bowl, beat 2 eggs with ¾ cup sugar using a whisk or hand mixer. You want this to get light and pale, it’ll take about 2–3 minutes. This step gives your cookies that shiny top and soft chew.
Now slowly pour in your melted chocolate mixture. If you’re using vanilla extract, add it here too. Stir until everything’s combined and luscious.
In goes ¾ cup all-purpose flour, ½ teaspoon baking powder, and a pinch of salt. Fold it in gently until your dough is thick and glossy. It should look like brownie batter (and smell like HEAVEN).
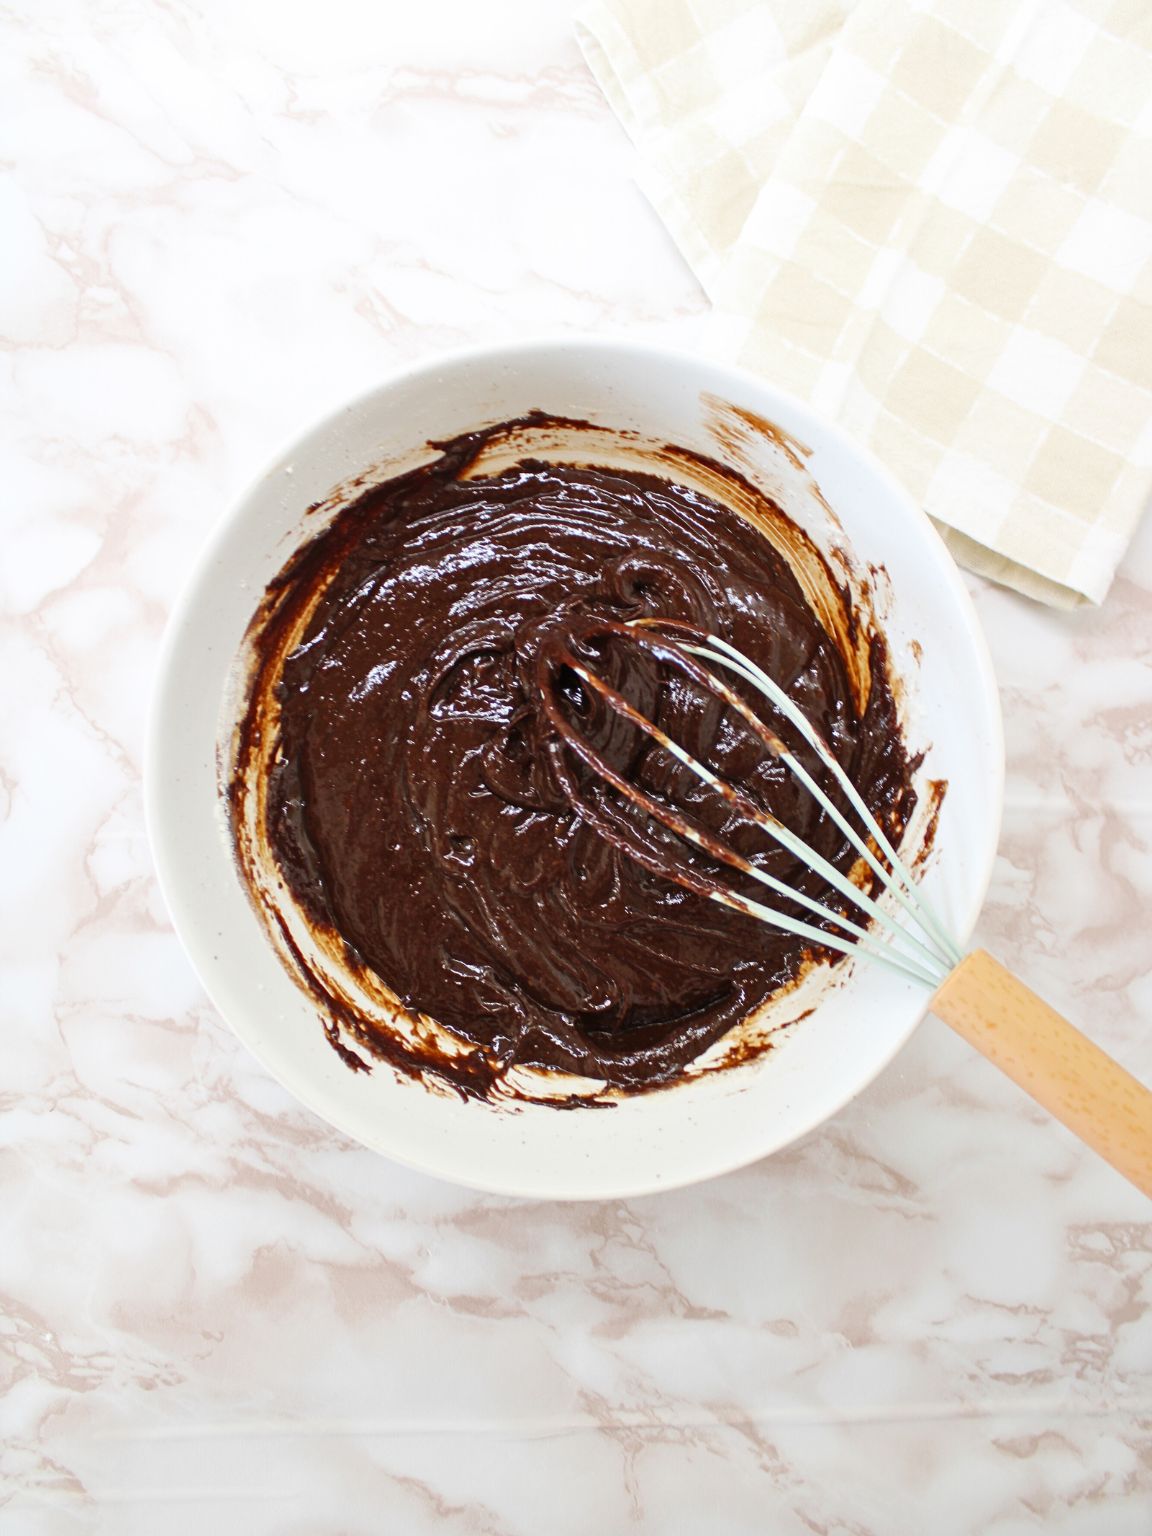
👉 Now the important part: chill that dough. Cover the bowl and pop it in the fridge for 30 to 60 minutes. This helps the dough firm up so your cookies hold their shape in the oven and don’t turn into chocolate puddles. Trust me, don’t skip it!
Step 2: Bake the Cookies
Preheat your oven to 350°F (180°C) and line a baking sheet with parchment paper.
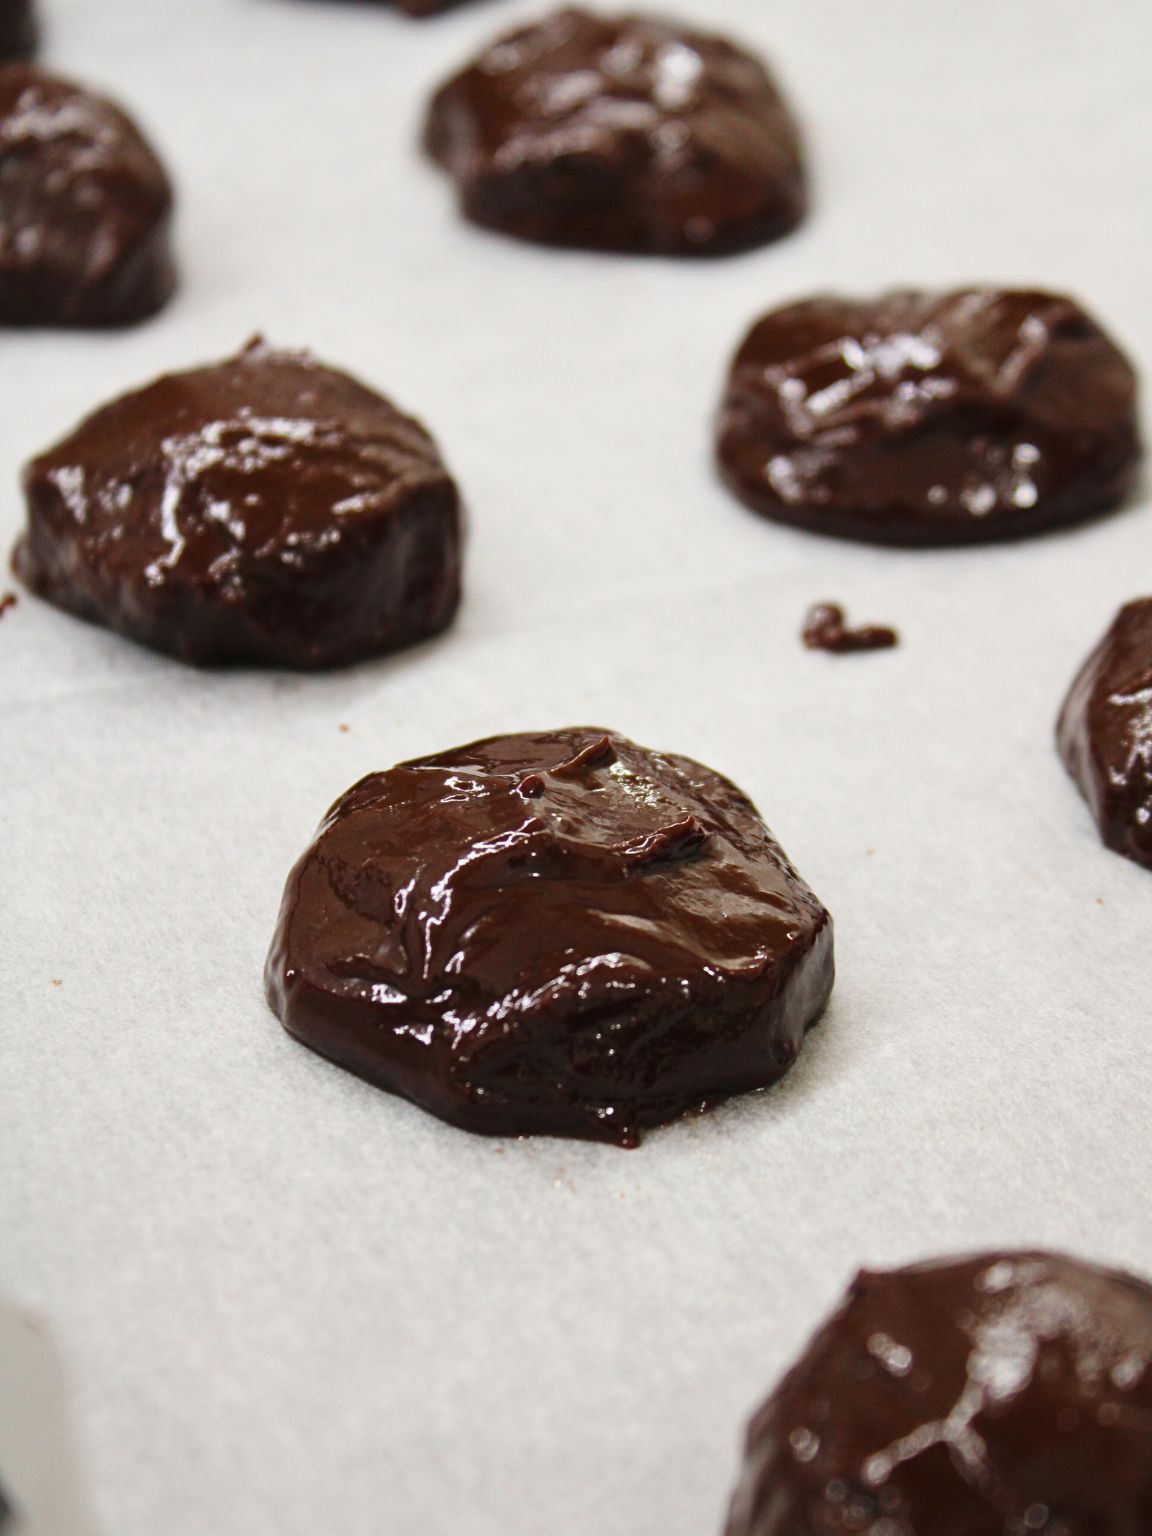
Scoop the dough into small balls, think about the size of a walnut. Leave a couple inches between EACH one, since they’ll spread a bit!
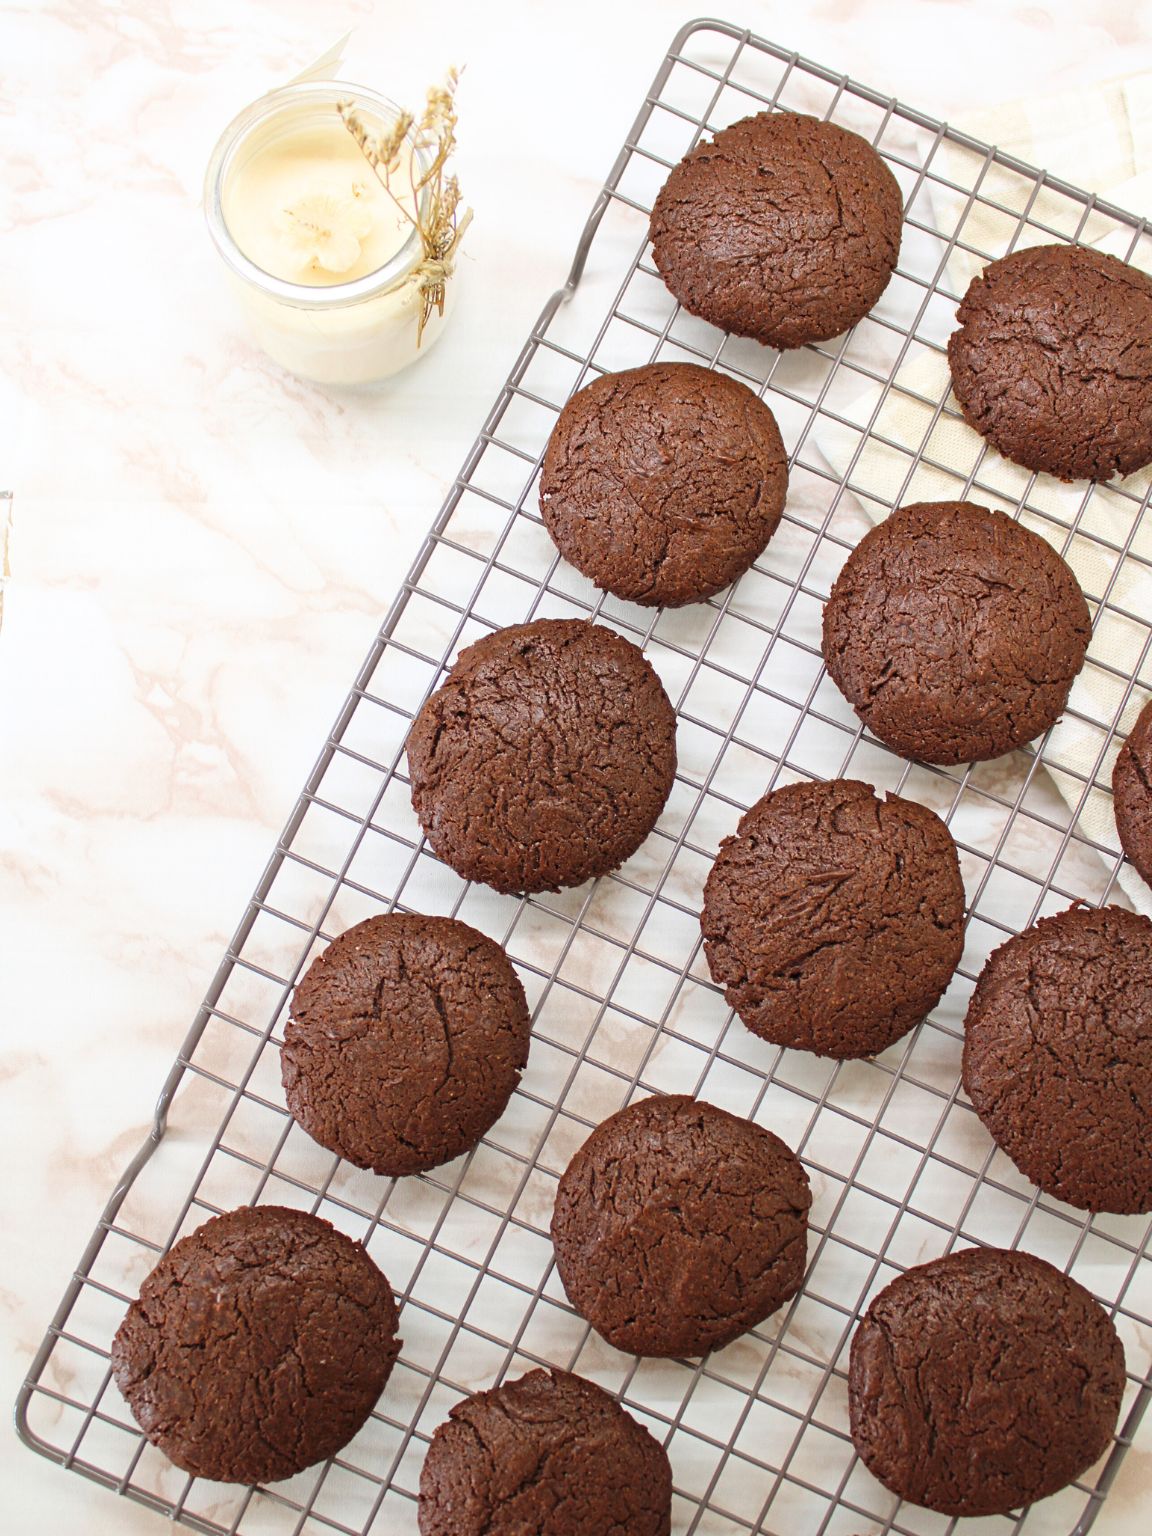
Bake for 10 to 12 minutes, until the edges are set but the centers are still a little soft. That’s how you get that perfect brownie-like texture. Don’t overbake!
Let them cool on the baking sheet for 10 minutes (they’ll be fragile at first), then move them to a wire rack to cool completely.
Step 3: Make the Mousse Filling
While the cookies cool, make the mousse. Melt 3.5 oz dark chocolate and set it aside to cool slightly.
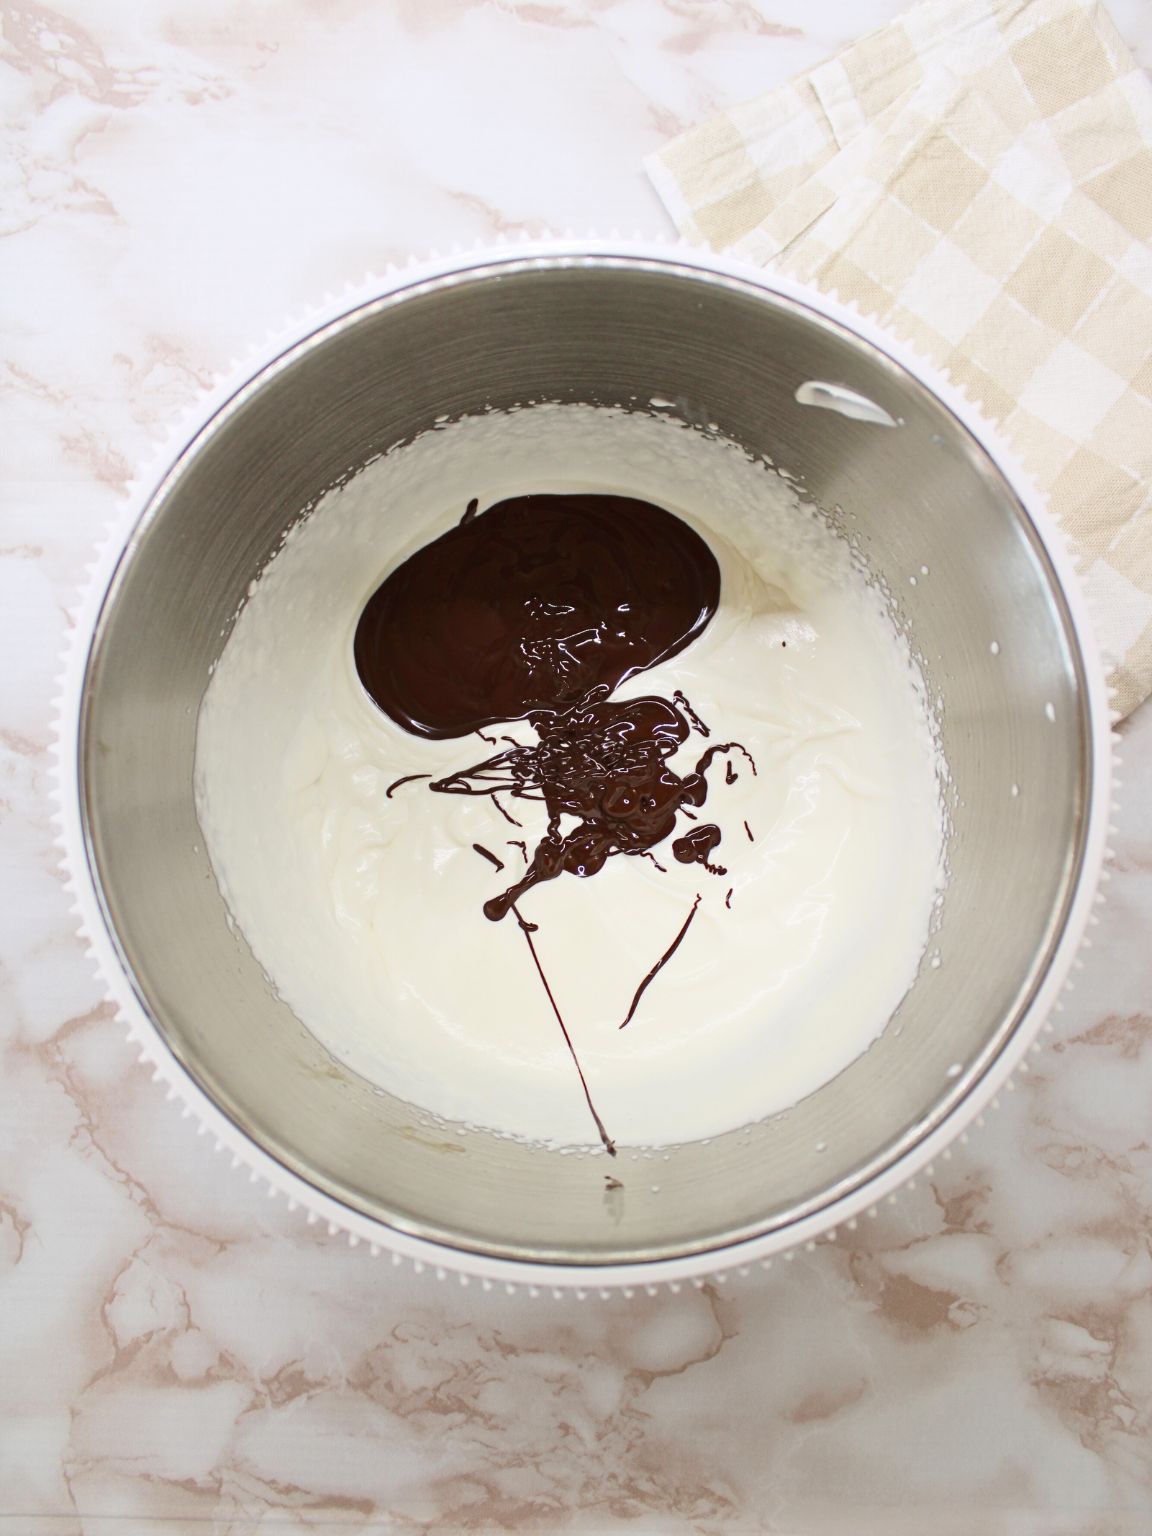
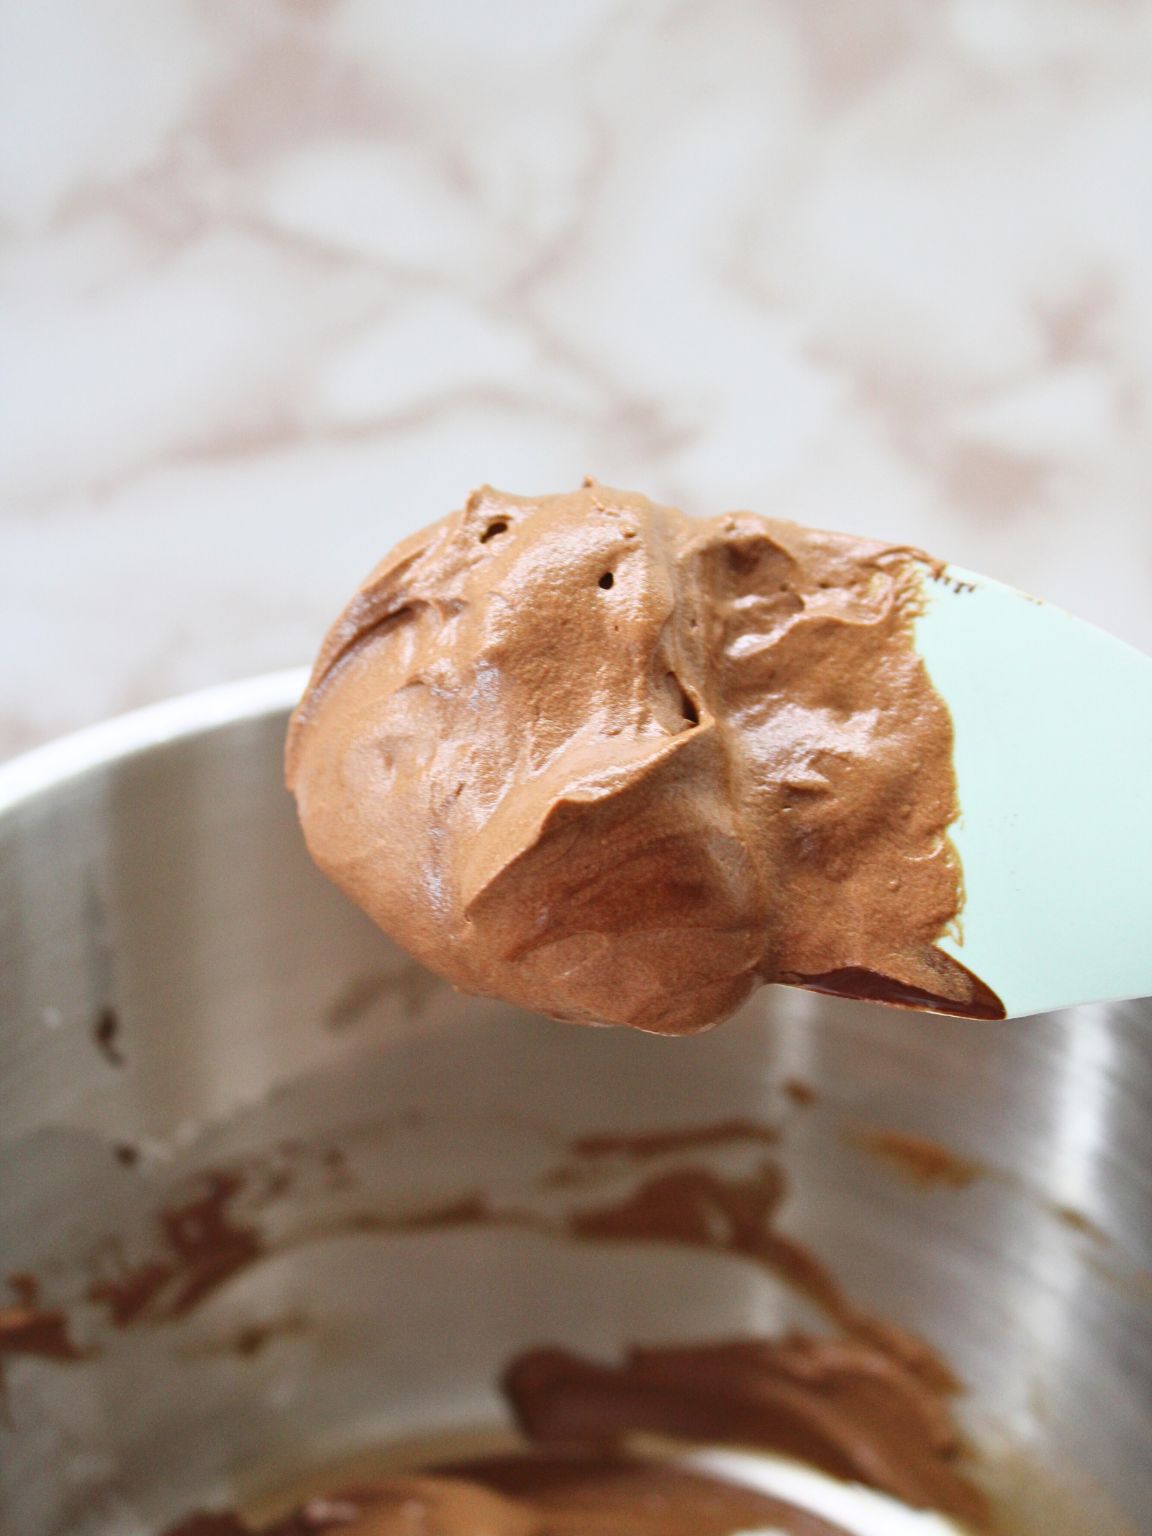
In a cold mixing bowl, whip ½ cup cold heavy cream with 1 tablespoon powdered sugar until it forms firm peaks, like whipped cream, but slightly sturdier. (Cold cream is a must here or it won’t whip properly.)
Slowly fold in the melted chocolate. Take your TIME, it might look streaky at first, but keep folding gently and it’ll turn into a gorgeous, airy mousse.
Pop the mousse in the fridge for 15 to 30 minutes to set a little. This helps it hold its shape when you sandwich the cookies.
Step 4: Fill and Chill
Once your cookies are fully cooled, match them up by size.
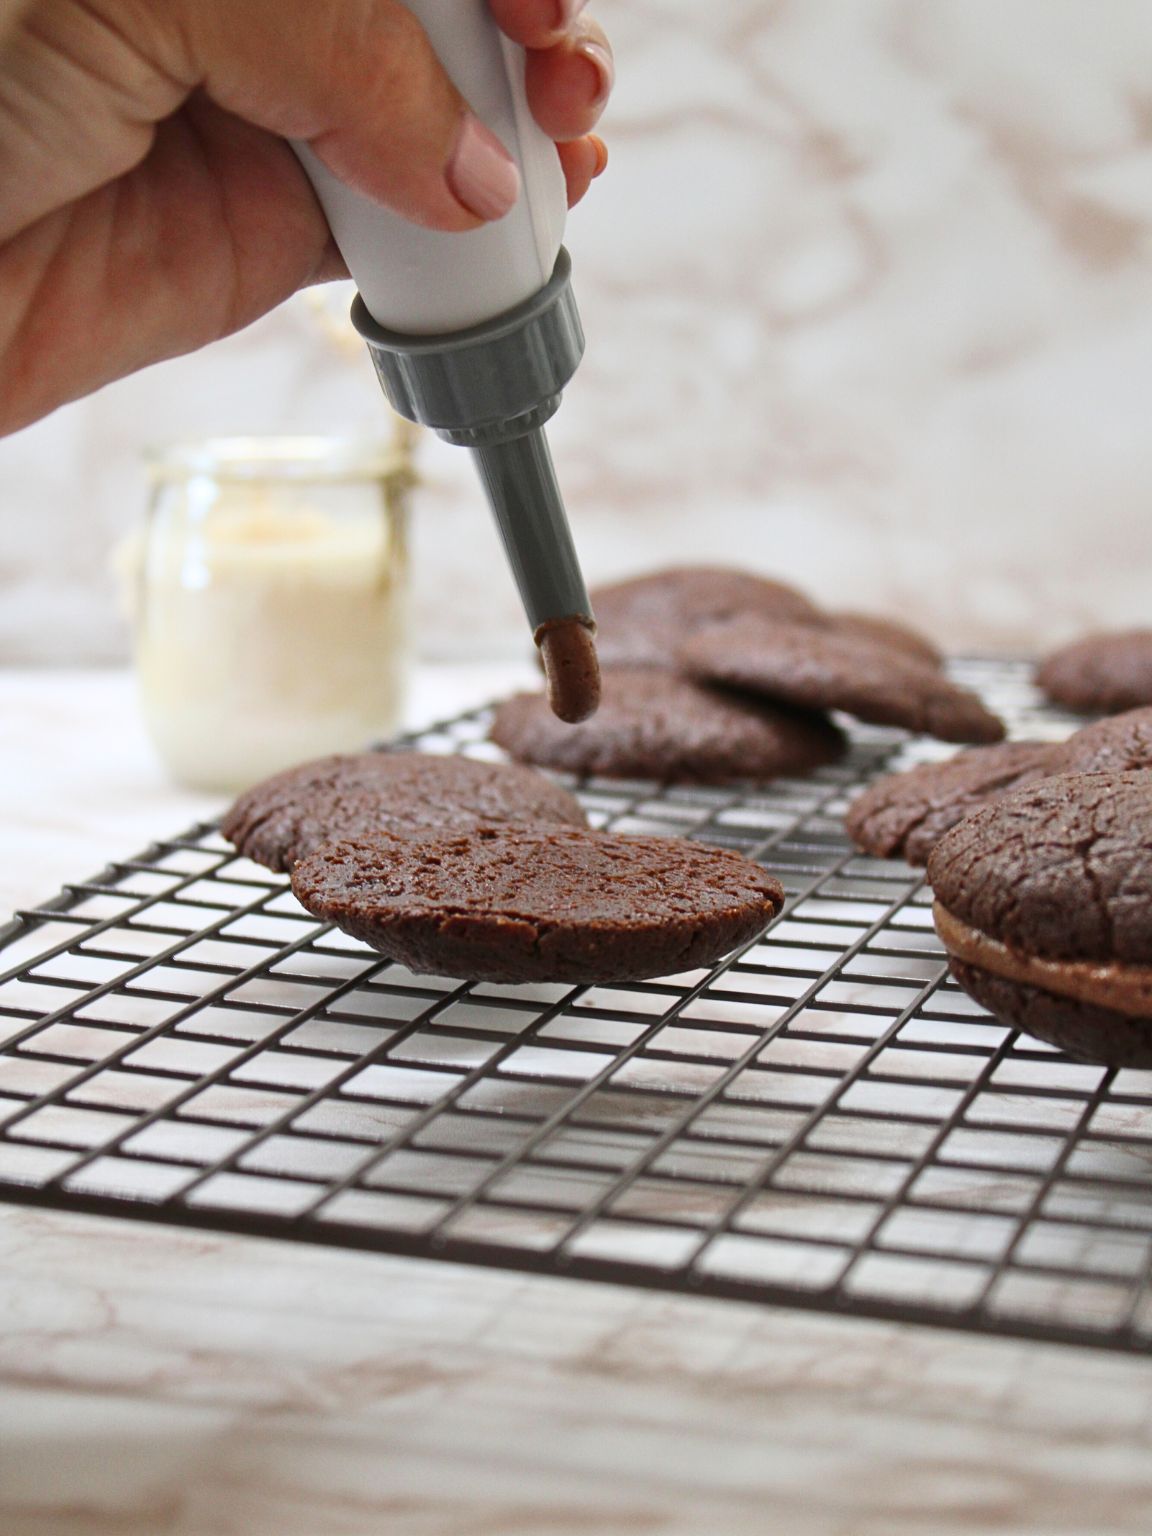
Use a piping bag or small spoon to dollop some mousse onto the flat side of one cookie, then press another cookie on top to make a sandwich.
👉 Tip: Don’t press too hard or the filling will ooze out the sides, just a gentle press to hold them together.
Place the filled cookies in the fridge for 1 to 2 hours so the mousse can firm up. After that? They’re ready to eat, gift, or hide from your family!
Tips for Success
✔️ Don’t skip the chill time. The cookie dough has to firm up in the fridge, at least 30 minutes! If you bake it straight away, it’ll spread too much and lose that soft, brownie-like center…
✔️ Let the chocolate cool a little before mixing. After melting your chocolate, give it a minute or two to cool before adding it to the eggs. Too hot and it could scramble them (yikes).
✔️ Use cold cream for the mousse. Room temp cream won’t whip! It needs to be straight-from-the-fridge cold so it turns into fluffy, stable peaks.
✔️ Don’t overbake the cookies. They should still be soft in the center when you take them out. If they look fully baked in the oven, they’ll end up dry once cooled. Pull them at the 10–12 minute mark!
✔️ Chill the filled cookies before serving. The mousse sets best after an hour or two in the fridge, so be patient… That chill time gives you the perfect bite every time, creamy, fudgy, and firm!
✔️ Want to make ahead? You totally can. Store unfilled cookies in an airtight container at room temp, and keep the mousse in the fridge. Fill and chill when you’re ready to serve.
How to Store
- Fridge: Once filled, keep the cookies in an airtight container in the fridge. They’ll stay fresh for up to 4 days. The mousse stays firm and the cookies keep that soft, chewy bite. I actually LOVE them straight from the fridge!
- Freezer (unfilled only): Want to make the cookies ahead? Bake and cool them, then freeze just the cookies in a sealed container or freezer bag. They’ll keep well for up to 2 months. Let them thaw at room temp, then fill with fresh mousse when you’re ready to serve.
- Refrigerating the mousse: You can also make the mousse in advance and store it in the fridge for 1–2 days. Just give it a gentle stir before using, it should still be fluffy and pipeable!
Ever tried sandwiching mousse between two brownie-style cookies? Once you do, there’s NO going back! These chocolate mousse cookies are rich, soft, and seriously hard to stop eating!
If you make them, don’t forget to leave a REVIEW below, it really helps and totally makes our day! And for more easy, feel-good recipes you’ll actually want to make, follow Panfetti here: Pinterest | TikTok | Instagram | Facebook.
Brownie Sandwich Cookies with Chocolate Mousse
Ingredients
- 7 oz dark chocolate about 70% cocoa
- ⅔ cup unsalted butter 1 stick + 2 tbsp
- ¾ cup granulated sugar
- 2 large eggs
- ¾ cup all-purpose flour
- ½ teaspoon baking powder
- Pinch of salt
- 1 teaspoon vanilla extract optional
- 3.5 oz dark chocolate 70%
- ½ cup cold heavy cream
- 1 tablespoon powdered sugar
Instructions
- Melt the chocolate and butter together until smooth, either in a microwave (20–30 second bursts) or using a double boiler. Stir and set aside to cool slightly.
- In a separate bowl, whisk the eggs and sugar for 2–3 minutes, until the mixture becomes light and fluffy. Slowly pour in the cooled chocolate mixture and vanilla extract (if using), and stir to combine.
- Add the flour, baking powder, and salt. Mix just until you get a thick, glossy batter. Cover and refrigerate the dough for 30 to 60 minutes to firm up.
- Preheat the oven to 350°F (180°C) and line a baking sheet with parchment paper. Scoop the chilled dough into small balls, about the size of a walnut, and place them on the tray with space in between.
- Bake for 10 to 12 minutes. The cookies should be set around the edges but still soft in the center. Let them cool on the tray for 10 minutes, then transfer to a wire rack to cool completely.
- While the cookies are cooling, melt the chocolate for the mousse and let it cool slightly. In a cold bowl, whip the heavy cream with powdered sugar until stiff peaks form.
- Gently fold the melted chocolate into the whipped cream in batches. Stir carefully until fully combined and smooth. Refrigerate the mousse for 15 to 30 minutes to thicken slightly.
- Match the cookies by size. Spoon or pipe a small amount of mousse onto the bottom of one cookie, then press another cookie on top to make a sandwich.
- Place the filled cookies in the fridge for 1 to 2 hours, until the mousse is fully set and the cookies are ready to serve.
Video
Notes
- Don’t skip the dough chilling, it keeps the cookies from spreading TOO much!
- Use cold cream for the mousse or it won’t whip properly.
- Cookies can be frozen before filling for up to 2 months. Fill just before serving.
- Store filled cookies in the fridge for up to 4 days.






Leave a Reply