
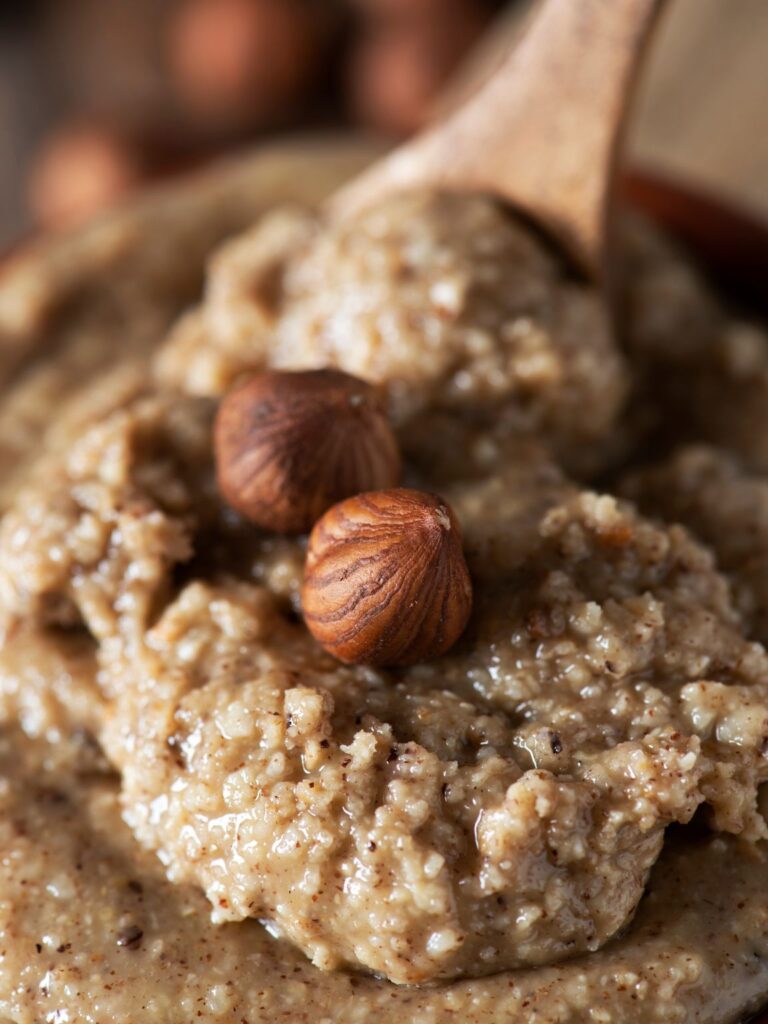
This creamy homemade hazelnut butter is honestly the BEST nut butter we’ve made in ages, smooth, rich, and naturally sweet… It’s GLUTEN FREE, VEGAN, and packed with healthy fats and protein that make it perfect for everything from breakfast toast to post-workout snacks!

 Pin this now to find it later!
If you’ve only ever had the store-bought stuff, you’re in for a treat. Homemade hazelnut butter is SO much fresher, more flavorful, and just plain BETTER! All you need are roasted hazelnuts, a pinch of salt, and a good blender, in minutes you’ll have a jar of golden, nutty goodness that tastes like it came straight from a fancy gourmet shop.
Helpful Tips & Variations
- DON’T skip roasting the hazelnuts. Raw hazelnuts are fine, but roasting brings out their deep, toasty flavor. That’s where the magic happens.
- BE PATIENT while blending. It might look dry and crumbly at first, but keep going, the oils will release, and it’ll turn creamy and dreamy before you know it.
- Add oil only if needed. If your processor’s struggling, a tablespoon or two of neutral oil (like avocado or grapeseed) will help smooth things out. But sometimes? You don’t need it at all.
- Want it sweet? Add a little maple syrup or honey to taste (but remember, adding liquids can affect shelf life, so store it in the fridge if you do).
- Salt = flavor booster. A tiny pinch of sea salt can make all the difference. Taste it before and after, it’s WILD how much more flavor it brings out.
- Mix things up. Stir in some vanilla extract, cocoa powder, or even a spoonful of cinnamon for a fun twist.
- Store it right. This keeps for 2 weeks at room temp or up to a month in the fridge. Just give it a good stir if the natural oils separate (totally normal).
Ingredients
- 2 cups raw hazelnuts
- 1–2 tablespoons neutral oil (optional, for creaminess)
- 1 pinch sea salt (to taste)
- 1–2 teaspoons maple syrup (optional, for sweetness)
How to Make Creamy Hazelnut Butter
- Prep the oven. Preheat your oven to 350°F (175°C) and line a baking sheet with parchment paper.
- Roast the hazelnuts. Spread the hazelnuts evenly on the sheet and roast for 8–10 minutes, until skins crack and they smell nutty and fragrant.
- Remove the skins. Transfer the warm hazelnuts to a clean kitchen towel. Rub them together to remove most of the skins. (A few bits of skin left on? Totally fine.)
- Blend the nuts. Place the roasted hazelnuts in a food processor. Blend on high, scraping down the sides as needed. The texture will go from crumbly → pasty → smooth in 5–7 minutes.
- Adjust consistency. For extra creaminess, add a little neutral oil and blend again until silky.
- Add flavor. Mix in a pinch of sea salt and maple syrup if you want it slightly sweet.
- Store. Transfer the hazelnut butter to a jar and store at room temp for 2 weeks or in the fridge for a month.
Proper Storage
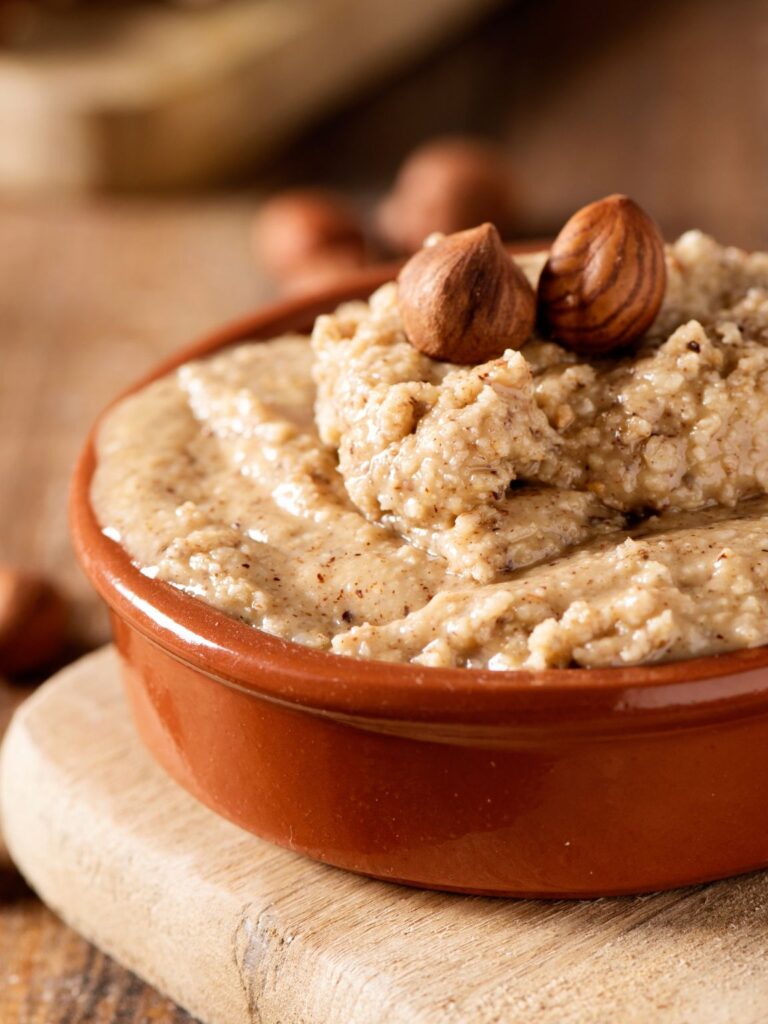
Hazelnut butter is best enjoyed FRESH, but it stores beautifully for later. Keep it in a clean, airtight jar at room temperature for up to 2 weeks, or in the refrigerator for up to 1 month.
If you notice natural oils separating, just give it a quick stir, that’s completely normal for homemade nut butters. For a creamier texture straight from the fridge, let it sit at room temp for a few minutes before using.
Serving Ideas
- Spread it on toast – Classic, right? But trust us, warm sourdough + creamy hazelnut butter = breakfast bliss.
- Drizzle it over oatmeal – A swirl of this golden goodness turns your usual bowl into something fancy café vibes.
- Add it to smoothies – Toss in a spoonful for rich texture and a boost of healthy fats (especially good with banana + cocoa).
- Dip apple slices or bananas – A quick snack that feels like a treat (our kids devour this one)!
- Use it in baking – Sub it into cookie or muffin recipes for a nutty twist.
- Top your pancakes or waffles – It melts beautifully and pairs perfectly with a drizzle of maple syrup.
We hope you love this creamy homemade hazelnut butter as much as we do! It’s simple, wholesome, and seriously addictive in the best way.
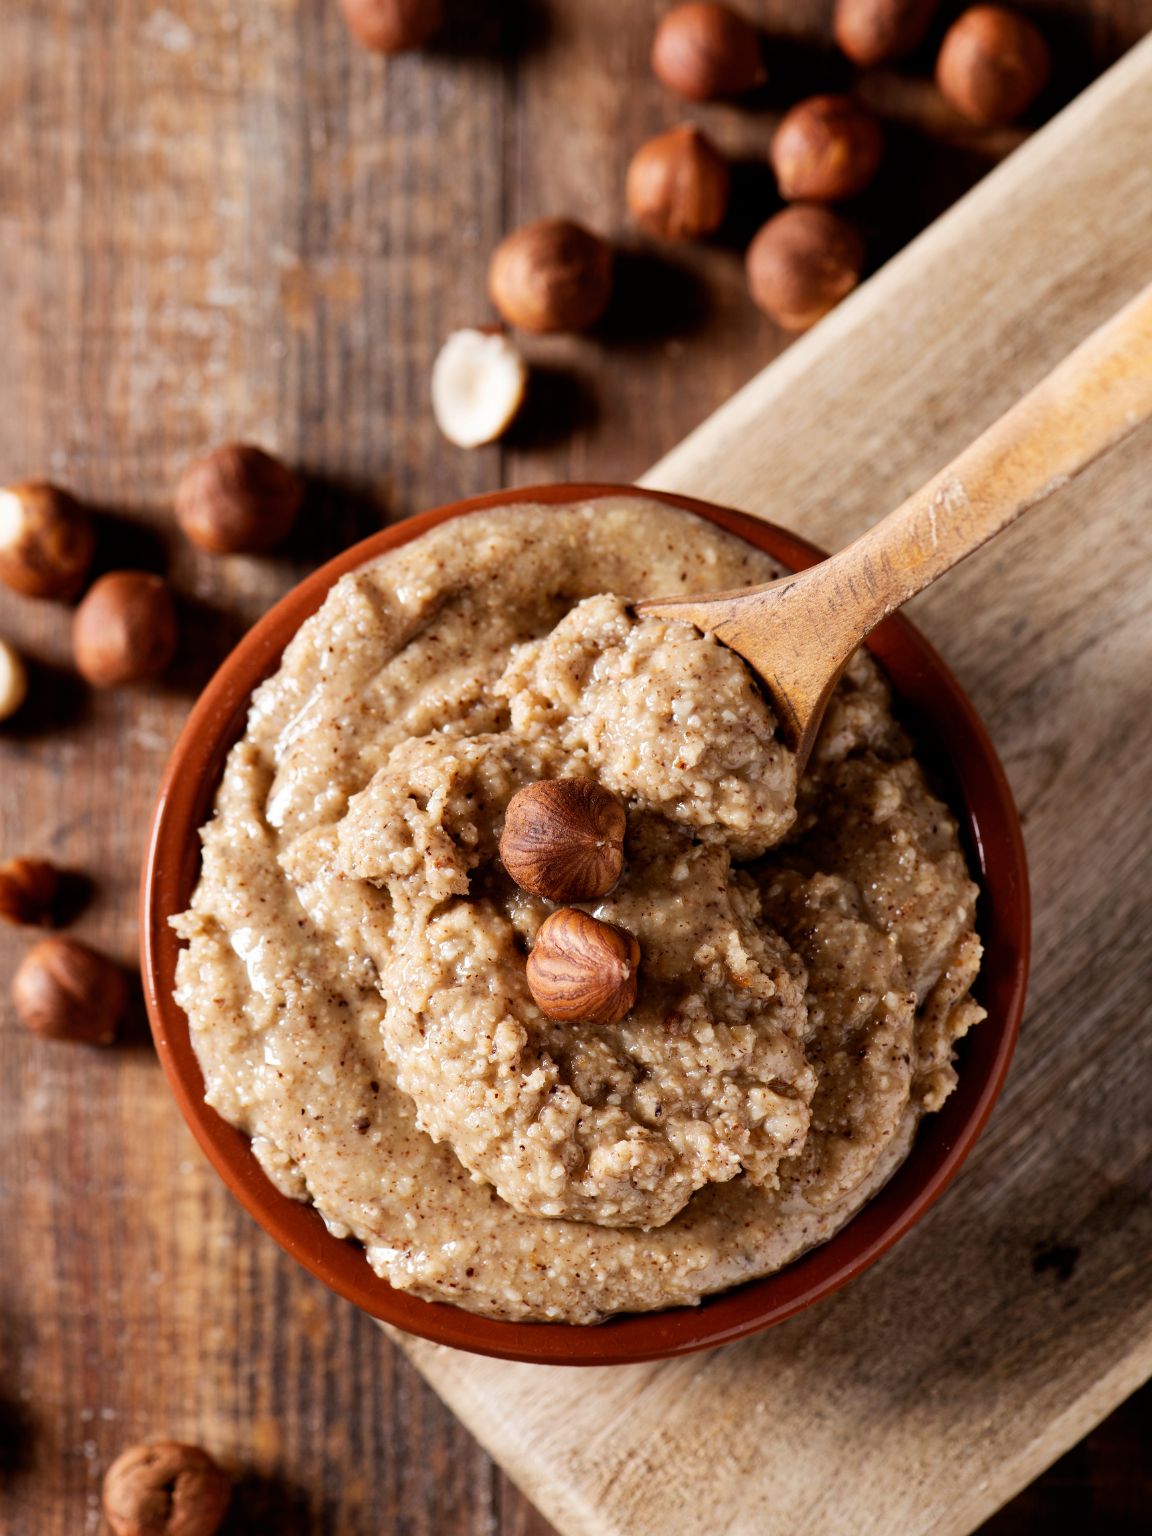
Creamy Homemade Hazelnut Butter (Gluten Free & Vegan)
Ingredients
- 2 cups raw hazelnuts
- 1 –2 tablespoons neutral oil optional, for creaminess
- 1 pinch sea salt to taste
- 1 –2 teaspoons maple syrup optional, for sweetness
Instructions
- Preheat your oven to 350°F (175°C) and line a baking sheet with parchment paper.
- Spread the hazelnuts evenly on the baking sheet and roast for 8–10 minutes, until the skins begin to crack and the nuts are fragrant.
- Transfer the warm hazelnuts to a clean kitchen towel. Rub them together to remove most of the skins.
- Add the roasted hazelnuts to a food processor and blend on high, stopping to scrape down the sides as needed. The mixture will go from crumbly to pasty to creamy in 5–7 minutes.
- If needed, add neutral oil to reach your desired consistency and blend again until smooth.
- Mix in a pinch of sea salt and maple syrup (optional) to taste.
- Transfer to a clean jar and store at room temperature for up to 2 weeks, or in the fridge for up to 1 month.
Notes
- Roasting hazelnuts deepens their flavor and helps the skins slip off more easily.
- Don’t stress about getting every speck of skin off; a little left behind won’t hurt the taste.
- Be patient when blending. It will look dry and crumbly before the oils release. Keep blending until creamy.
- If your food processor needs help, add 1–2 tablespoons of neutral oil for smoother texture.
- Sweeten if you like. Maple syrup or honey can add a touch of sweetness, but this may shorten shelf life (store in fridge if sweetened).
Tried it? Let us know in the comments, we’d LOVE to hear how you used it (on toast, in smoothies, or maybe just by the spoonful… we don’t judge).
Don’t forget to save this recipe and follow Panfetti on Pinterest for more cozy, easy recipes you’ll want to make again and again!





Leave a Reply