
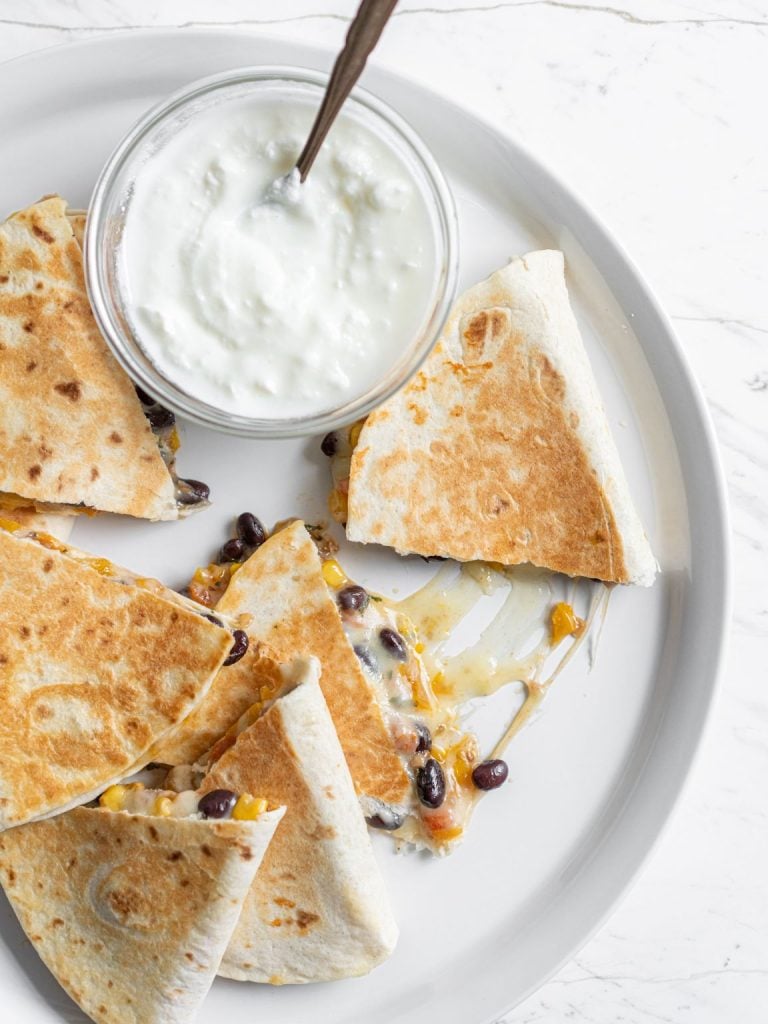
These black bean and corn quesadillas are the kind of lunch (or dinner!) you whip up once, and then keep coming back to ALL. MONTH. LONG. They’re golden and crisp on the outside, melty and hearty on the inside, and packed with protein, fiber, and flavor. Oh, and did we mention they’re healthy?! Like, actually!
 Pin this now to find it later!
We gave this classic comfort food a little glow-up: no meat, no sour cream, and no fuss, just mashed black beans seasoned with lime and spices, sweet corn, bell peppers, and a little melty mozzarella for that gooey stretch.
What takes it over the top? A side of creamy Greek yogurt for dipping. It cools everything down and makes it feel a little extra without adding extra effort.
Perfect for busy weekdays, lazy weekends, or anytime you need a filling, feel-good meal that comes together in under 20 minutes. Trust us, you’re going to love EVERY bite.
Why We Love It
There’s something deeply satisfying about a meal that’s crispy on the outside and gooey on the inside, but still leaves you feeling GOOD after. That’s exactly what these black bean quesadillas deliver. They’re packed with plant-based PROTEIN and FIBER (thank you, beans and corn), and they use everyday ingredients you probably already have in your kitchen!
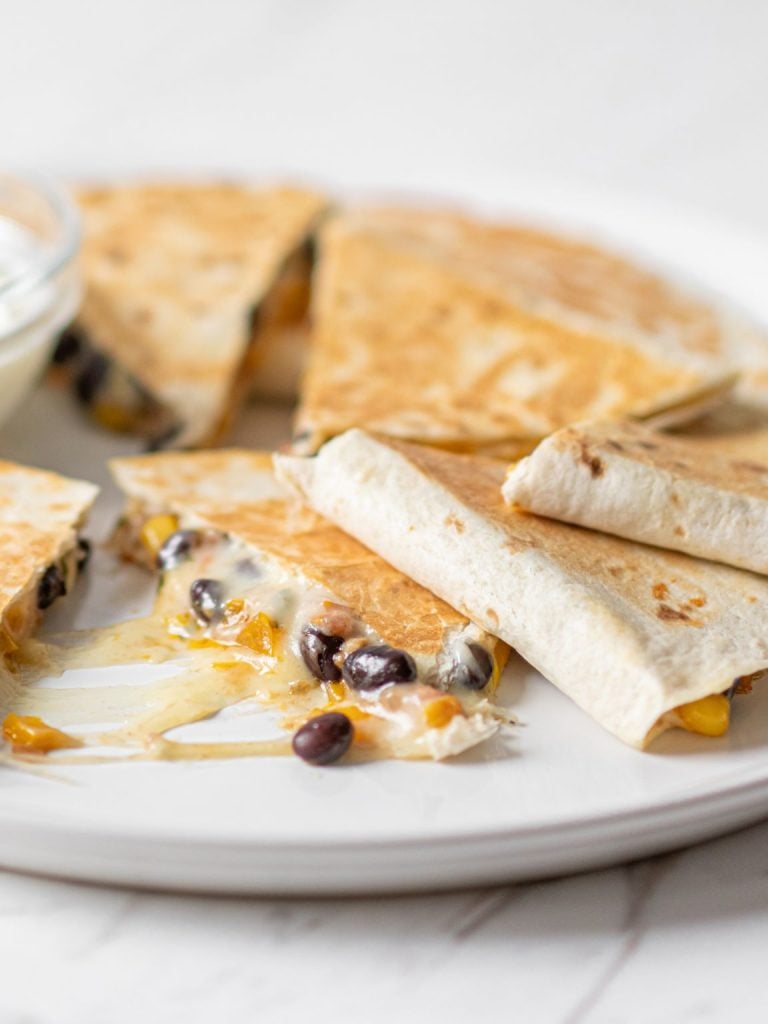
What makes them extra special is the way we mash the beans with lime juice and spices before layering. It’s a tiny step, but it helps everything hold together and gives the filling a warm, zesty flavor in every bite. And then there’s the Greek yogurt DIP, cool, creamy, and a protein-packed stand-in for sour cream that honestly just works.
Helpful Tips & Variations
- Mash the beans, don’t skip it! Mashing about half of the beans with lime juice helps the filling stick together and gives a creamy base that keeps things from falling apart when slicing. It’s a small step, but it makes a BIG difference.
- Don’t overload the filling. It’s tempting to stuff it all in, but overfilling makes it tricky to flip and cook evenly. A thin, even layer is the sweet spot.
- Let the cheese do its thing. Mozzarella melts beautifully here, giving you that gooey stretch. You can also mix in a little Monterey Jack or sharp cheddar for extra flavor.
- Use a nonstick pan (or lightly oil the skillet). You don’t need a lot of oil, just a light spray or nonstick surface to get that golden, crispy finish without turning greasy.
- Swap the veggies. No bell pepper? Try chopped spinach or diced zucchini. Want more spice? Add a pinch of chili flakes or some finely chopped jalapeño.
- Make it meal prep friendly. You can prep the filling ahead and refrigerate it for up to 3 days. Then just assemble and toast when you’re ready to eat.
Ingredients (4 Servings)
- 2 large flour tortillas (or whole wheat if you want extra fiber)
- 1/2 cup canned black beans, drained and rinsed
- 1/2 cup corn kernels (frozen and thawed, or canned and drained)
- 1/4 cup finely chopped yellow bell pepper
- 1/2 cup shredded low-moisture mozzarella cheese
- 1/2 tablespoon fresh lime juice
- 1/4 teaspoon garlic powder
- 1/8 teaspoon ground cumin
- Pinch of salt and pepper
- Optional: olive oil spray or a drizzle for the pan
- 1/2 cup plain Greek yogurt, for dipping
How to Make Healthy Black Bean Quesadillas
1. Season and mash the beans. In a small bowl, add the black beans, lime juice, garlic powder, cumin, salt, and pepper. USE a fork to mash about half of the beans, you want a mix of chunky and creamy. Set aside.
2. Prep the veggies. Finely chop the yellow bell pepper into small pieces. If you’re using frozen corn, thaw it first and pat it dry with a paper towel to avoid sogginess.
3. Warm the tortillas slightly. Heat each tortilla in a dry skillet for about 30 seconds per side just to soften them up. This helps prevent tearing when folding later.
4. Assemble the quesadillas. Lay each tortilla flat. On one half of the tortilla, spread a layer of the mashed bean mixture. Top with corn, chopped bell pepper, and a sprinkle of mozzarella. Fold the tortilla over to form a half-moon shape and press down gently.
5. Toast the quesadillas. Heat a nonstick skillet over medium heat. Lightly spray with olive oil (or add a small drizzle). Place one quesadilla in the skillet and cook for 2–3 minutes per side, pressing down gently with a spatula until both sides are golden brown and the cheese is melted. Repeat with the second quesadilla.
6. Cool and slice. Let the quesadillas rest on a cutting board for about 1 minute before slicing. This helps the filling settle so it doesn’t spill out when you cut.
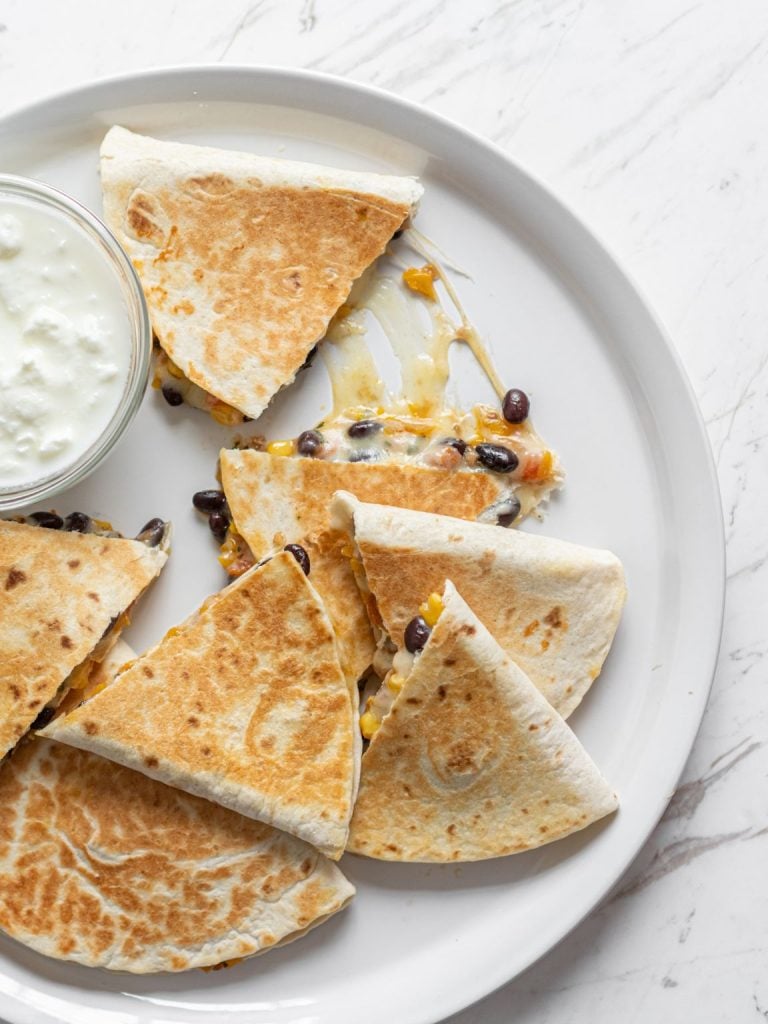
7. Serve with Greek yogurt. Cut each quesadilla into triangles and serve warm with plain Greek yogurt on the side for dipping. It’s tangy, creamy, and makes every bite even better.
Storage Tips
Can these quesadillas be frozen for later? Unfortunately, no. Because the filling includes fresh veggies and mashed beans, freezing can make them watery and mess with the texture once thawed… You’ll lose that crispy outside and gooey inside we all LOVE!
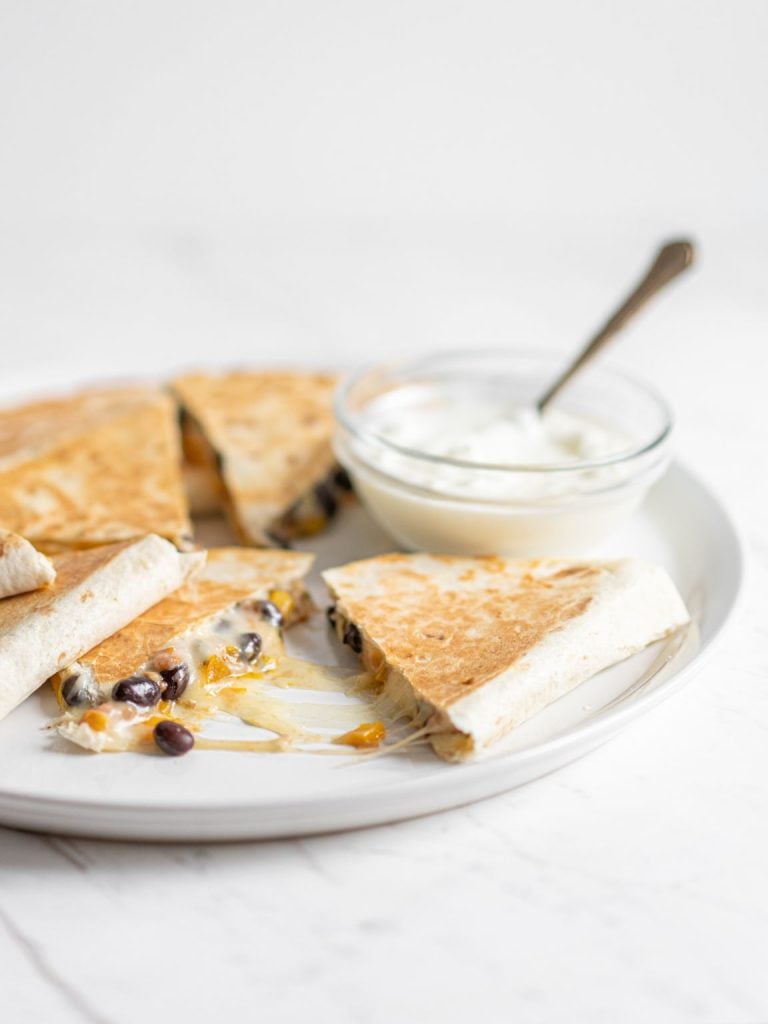
But the good news? They hold up great in the fridge for up to 3 days. Just let them cool completely, then wrap them in foil or store in an airtight container. Reheat in a skillet or toaster oven to bring back the crisp. (Microwave in a pinch, but they’ll be softer, not crisp.)
And if you’re wondering, yes, the Greek yogurt dip should be stored separately and used within a couple of days. Just give it a little stir before serving!
If you’ve been craving something easy, melty, and actually good for you, this is your SIGN to make these quesadillas. They’re simple, satisfying, and honestly? Way better than takeout on a weeknight!
Leave a comment and save this pin, follow us on Pinterest, and check out more easy, feel-good meals on our site! And if you do make them, tell us, did you go for the Greek yogurt dip? Add your own twist? We’d LOVE to hear how they turned out!
Leave a Reply