
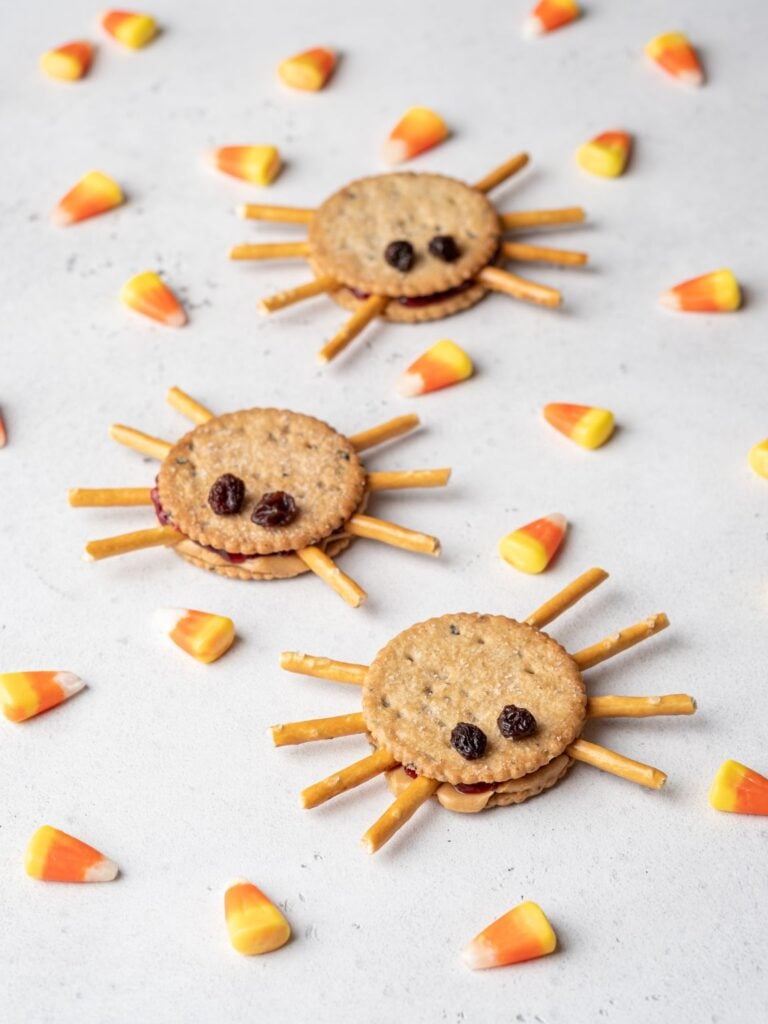
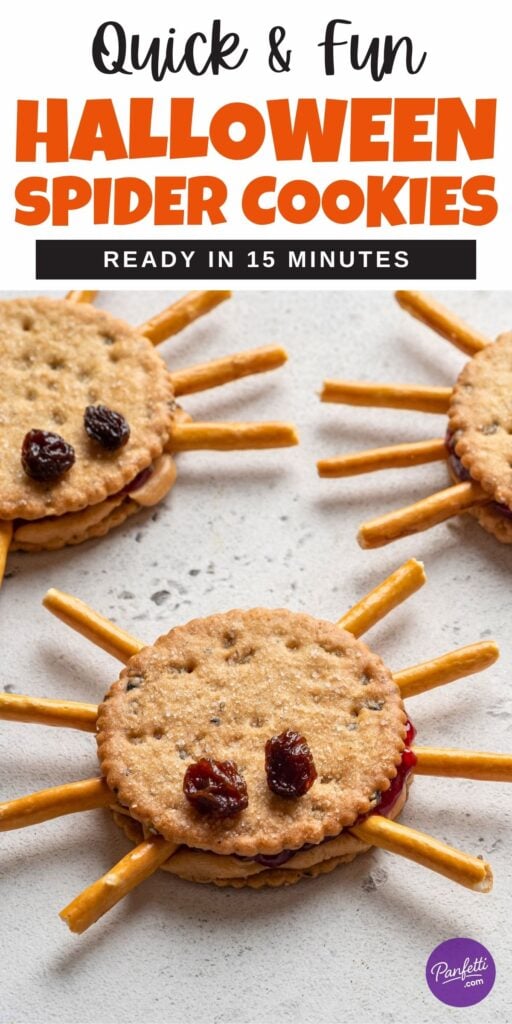
These Halloween spider cookies are spooky-cute, no-bake, and made with pantry staples, the kind of treat that makes kids giggle and parents say, “WAIT, that’s it?”
 Pin this now to find it later!
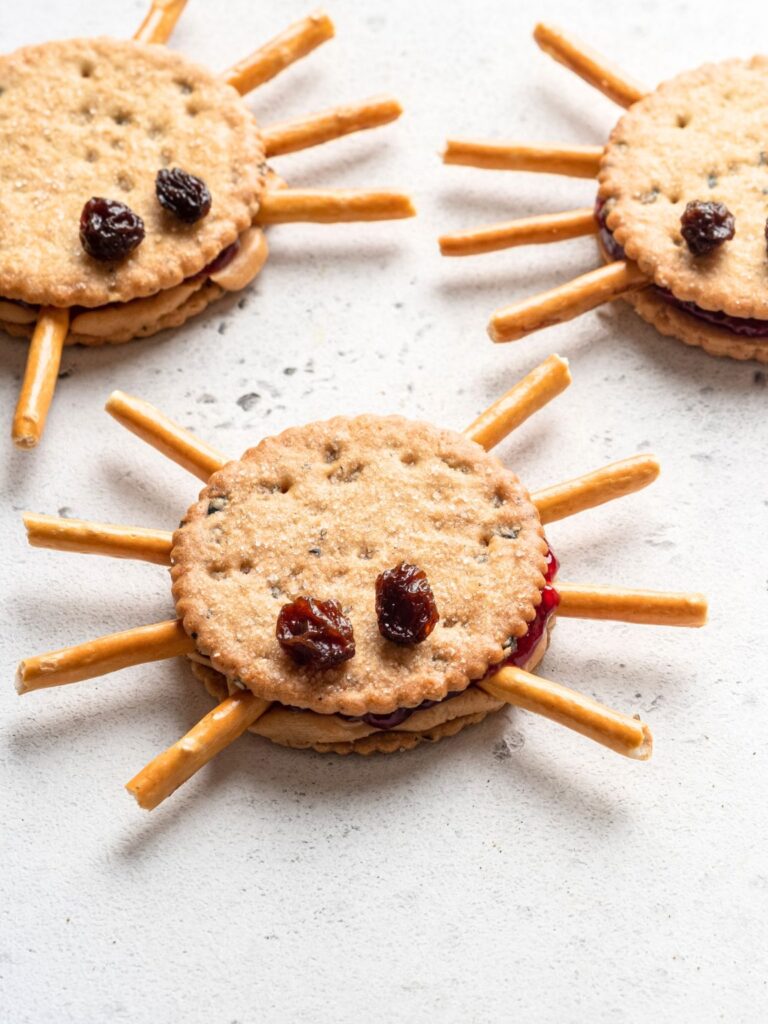
We LOVE making these every October! All you need is some round crackers or cookies, pretzels for legs, a creamy filling, and a couple raisins or chocolate chips for the eyes. That’s it. No baking, no fuss, just a creepy-crawly snack that’s perfect for parties, lunchboxes, or Halloween movie nights.
They’re also a blast for little hands to help with, so if you’ve got KIDS at home, this one’s a winner. Just expect a few “legs” to go missing during assembly (because apparently pretzel sticks are irresistible mid-project)…
Helpful Tips & Variations
- Switch up the filling. Cream cheese makes a nice savory version, but peanut butter, almond butter, or chocolate hazelnut spread make it sweet and dessert-like!
- Go nut-free. For school parties, use sunflower seed butter or cream cheese so they’re allergy-friendly.
- Make them sweeter. Add a thin layer of jam, chocolate spread, or frosting along with the filling for extra flavor.
- Decorate the eyes. Use candy eyes, mini chocolate chips, or even small dots of icing for a more “cartoon spider” look.
- Prep ahead. Assemble the spiders the day before and store them in an airtight container in the fridge. Just add the eyes on the day of serving to keep them FRESH.
- Get creative with the legs. Pretzel sticks are classic, but you can also use thin licorice ropes or even cut fruit strips for a different twist.
Ingredients
- 24 round crackers or oat biscuits (like digestive or oatmeal cookies)
- 1/2 cup cream cheese or nut butter (for the filling)
- 1/4 cup jam, jelly, or chocolate spread (optional for flavor)
- 96 mini pretzel sticks (8 per spider)
- 24 raisins or chocolate chips (for the eyes)
How to Make Halloween Spider Cookies
- Prepare the base. Spread cream cheese, nut butter, or your chosen filling onto 12 crackers/cookies. Add a thin layer of jam or chocolate spread on top if you like extra flavor.
- Add the legs. Place 4 pretzel sticks on each side of the cracker to form spider legs.
- Assemble the spiders. Top with another cracker/cookie to create a sandwich, pressing gently so the filling holds the legs in place.
- Add the eyes. Dab a tiny bit of filling on top of each spider and press two raisins or chocolate chips into place for eyes.
- Serve. Arrange your creepy-cute spiders on a platter for a fun and festive Halloween treat.
How to Store
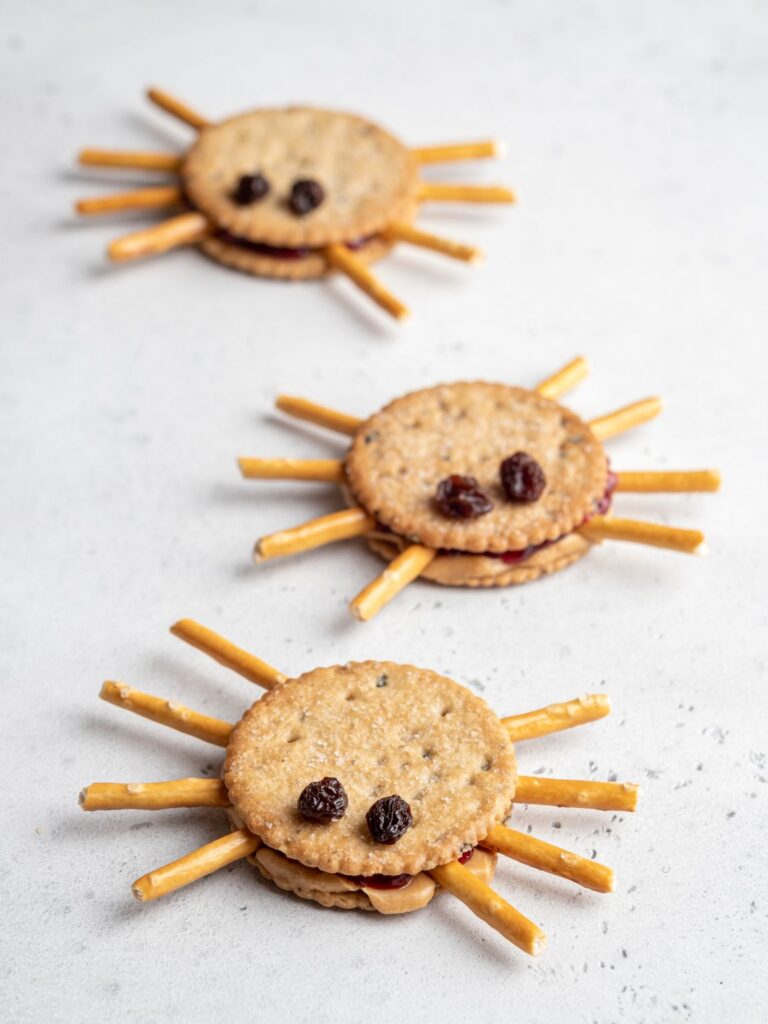
- Refrigerator: Store assembled spiders in an airtight container in the fridge for up to 2 days.
- Add eyes later: For the freshest look, add the raisin or chocolate chip eyes right before serving!
- Avoid soggy legs: If making ahead, store the crackers and pretzels separately, then assemble on the day of the party to keep the pretzels crisp.
Serving Ideas
- Halloween party platter. Arrange the spiders on a big tray with candy corn, mini pumpkins, and other spooky snacks for a centerpiece treat.
- Lunchbox surprise. Pop one into a kid’s lunchbox for a FUN Halloween surprise!
- Movie night snack. Serve with popcorn, pretzels, and fruit for a themed movie night.
- Pair with sweet dips. If you make a sweeter version, serve alongside chocolate sauce, caramel dip, or fruit preserves.
- Mix sweet and savory. Create a platter with both cream cheese spiders (savory) and chocolate spread spiders (sweet) for variety.

See? We told you these HALLOWEEN SPIDER COOKIES were as fun as they are tasty! They’re the kind of treat that gets everyone smiling, from kids to grown-ups who “just came for one.”
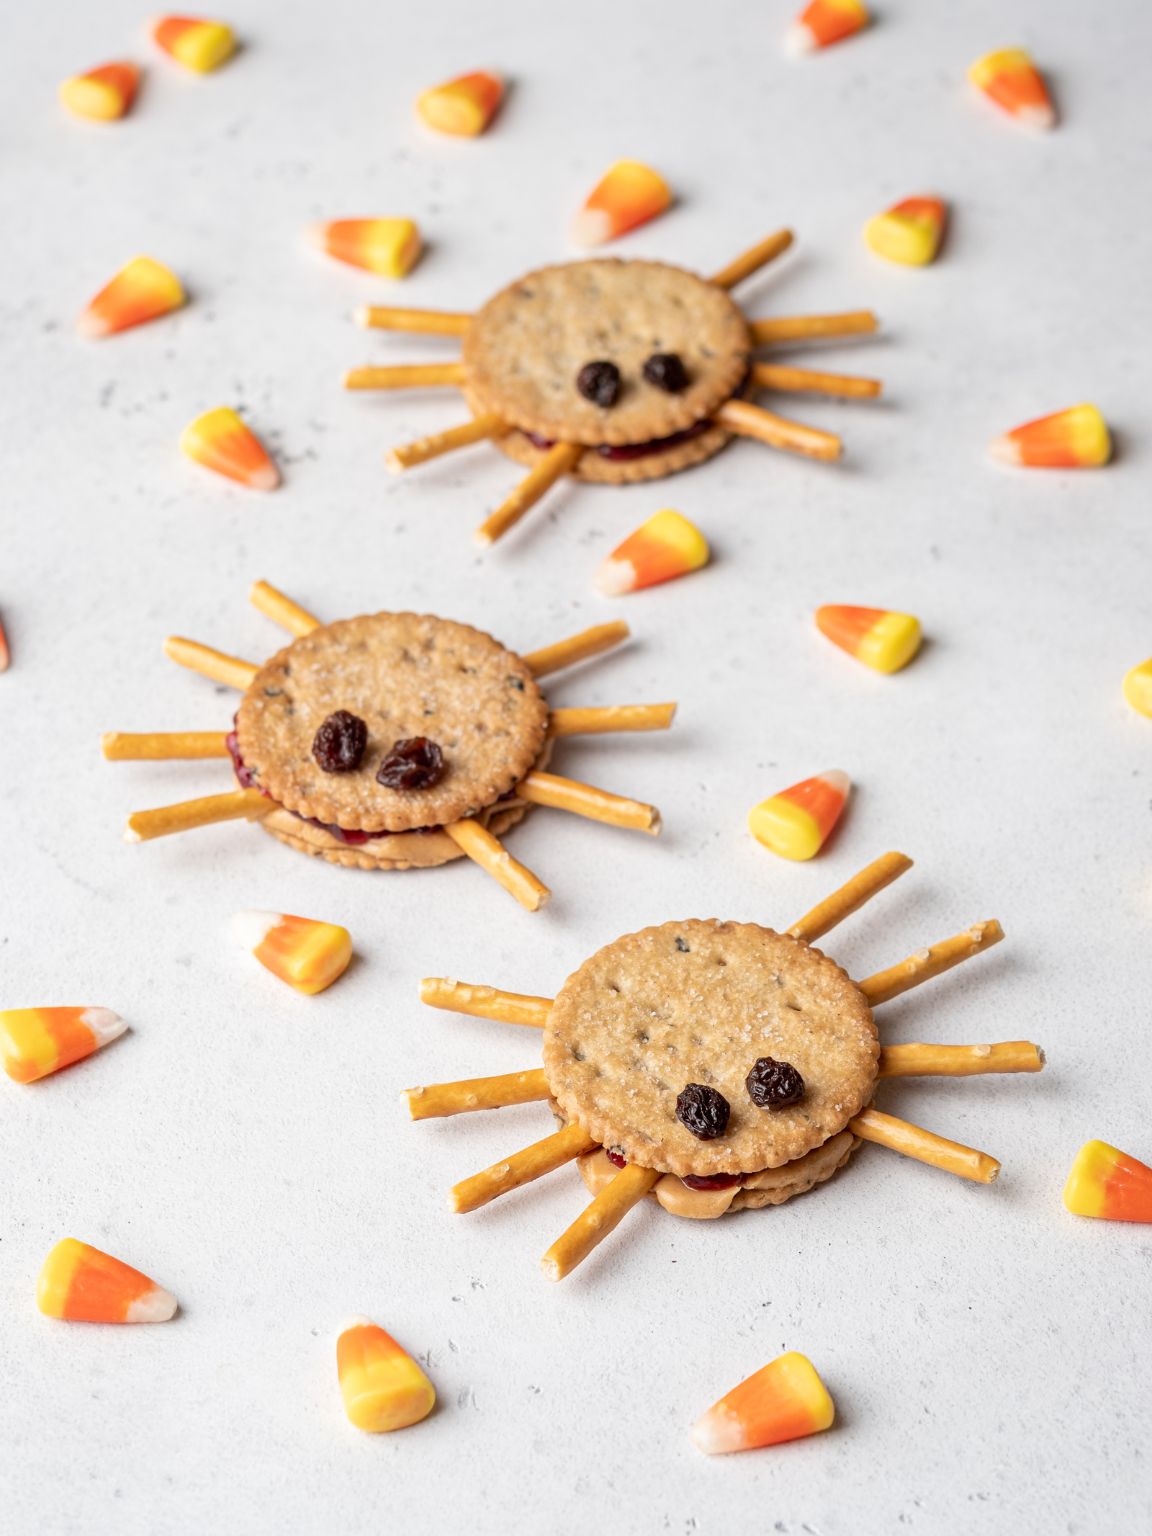
No-Bake Halloween Spider Cookies
Ingredients
- 24 round crackers or oat biscuits like digestive or oatmeal cookies
- 1/2 cup cream cheese or nut butter for the filling
- 1/4 cup jam jelly, or chocolate spread (optional for flavor)
- 96 mini pretzel sticks 8 per spider
- 24 raisins or chocolate chips for the eyes
Instructions
- Prepare the base. Spread cream cheese, nut butter, or your chosen filling onto 12 crackers/cookies. Add a thin layer of jam or chocolate spread if you like extra flavor.
- Add the legs. Place 4 pretzel sticks on each side of the cracker to form spider legs.
- Assemble the spiders. Top with another cracker/cookie to create a sandwich, pressing gently so the filling holds the legs in place.
- Add the eyes. Dab a tiny bit of filling on top of each spider and press two raisins or chocolate chips into place for eyes.
- Serve. Arrange your creepy-cute spiders on a platter for a fun Halloween treat.
Notes
- Refrigerator: Store assembled spiders in an airtight container for up to 2 days.
- Add eyes later: Add raisin or chocolate eyes right before serving for the freshest look.
- Avoid soggy legs: Store crackers and pretzels separately if making ahead, and assemble on the day of serving.
If you make them, leave a comment, we’d LOVE to hear if you went savory, sweet, or made a spooky mix of both. And if today isn’t your Halloween prep day, save this PIN for later so you’re ready when party time comes. Oh, and don’t forget to follow Panfetti on Pinterest for more easy and festive recipes!






Leave a Reply