
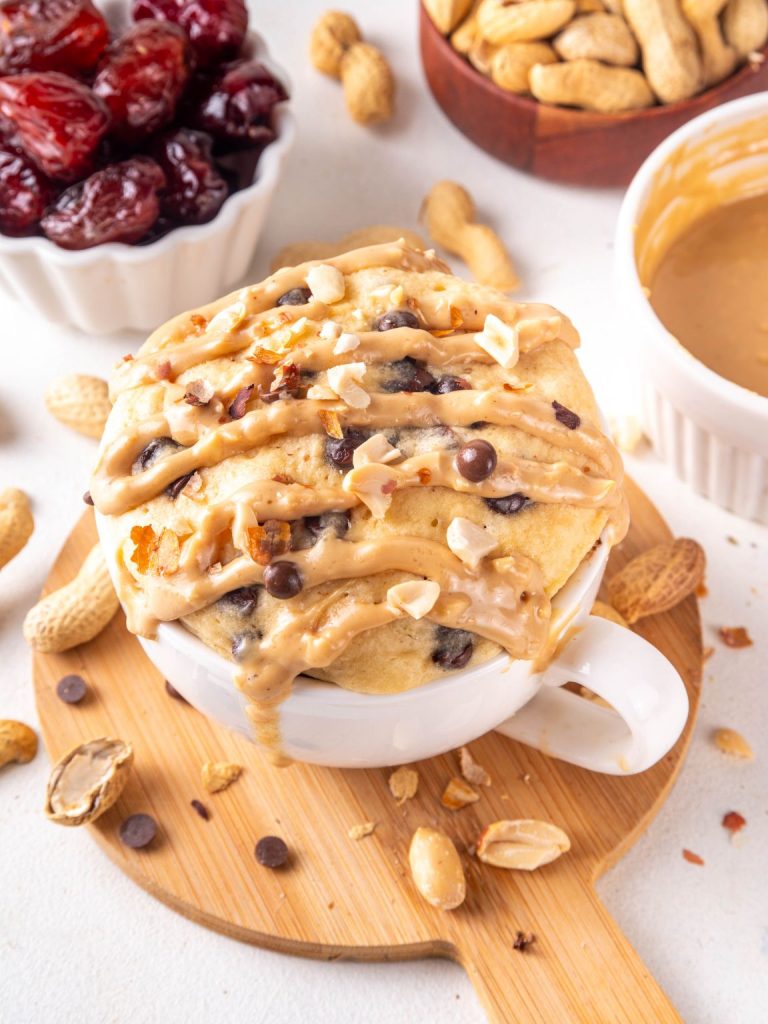
In less than 10 minutes, you’ll have a cozy, single-serve DESSERT that looks fancy enough for company but is secretly the easiest treat ever. Grab a spoon, because this one’s going to disappear fast!
 Pin this now to find it later!
Ever have one of those nights when the sweet tooth hits, but the last thing you want is to haul out the mixer, preheat the oven, and wait an hour? SAME. That’s exactly why this Peanut Butter Chocolate Chip Mug Cake has become our late-night (and sometimes after-school) lifesaver!
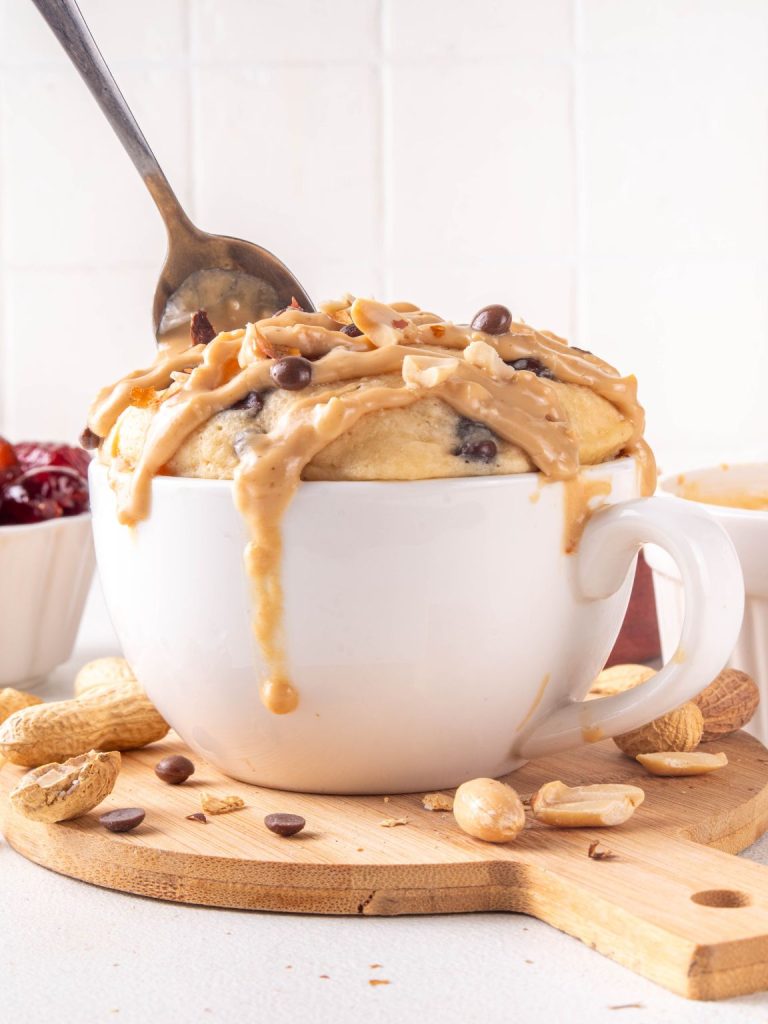
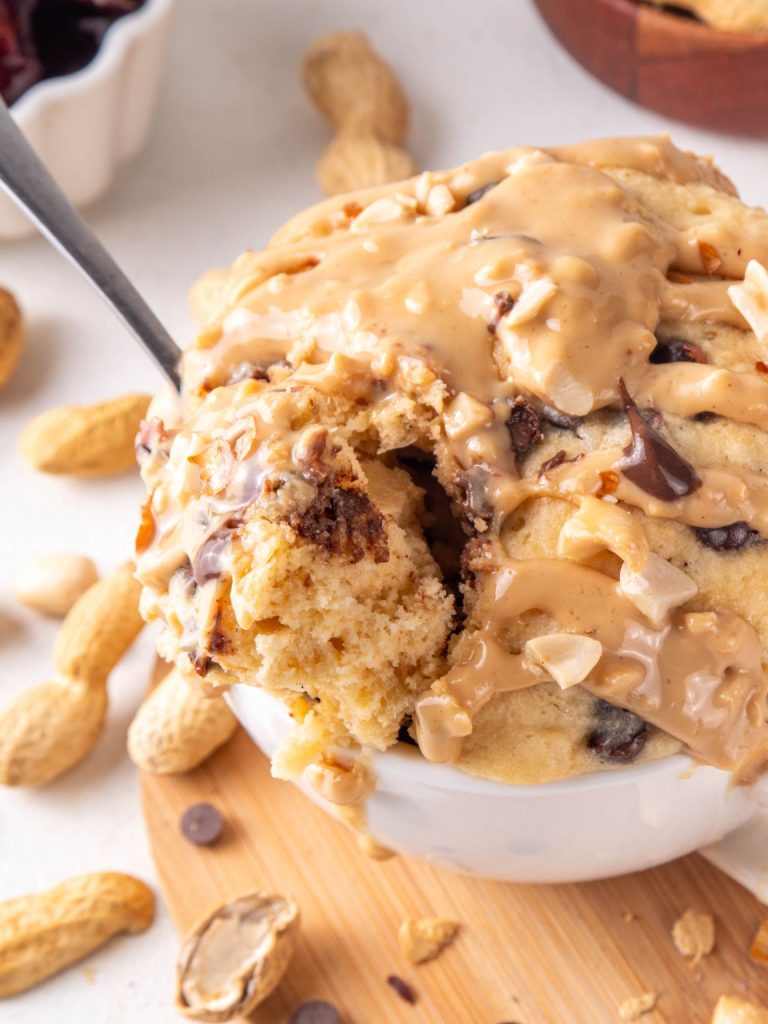
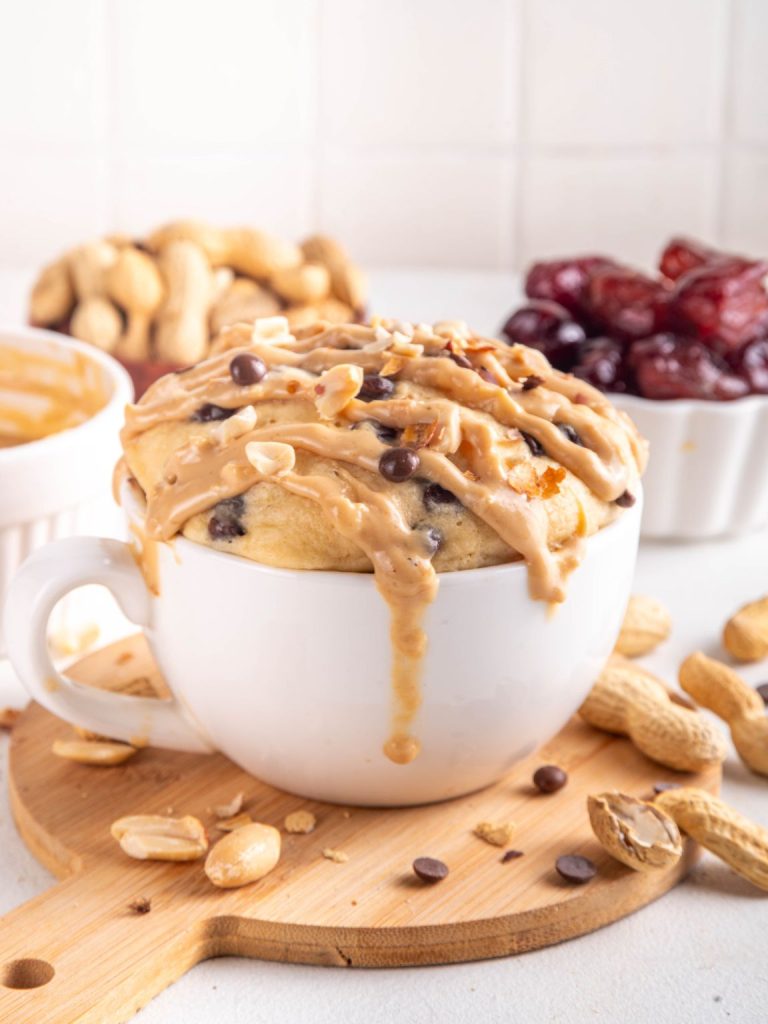
It’s soft, fluffy, and loaded with melty chocolate chips, all made in ONE mug in the microwave. The best part? That glossy peanut butter drizzle on top that slowly runs down the sides, with a little crunch from roasted peanuts and a playful kick from red pepper flakes (optional, but trust me, it’s a fun twist).
Helpful Tips & Variations
- Use the right mug. Go for a 12–14 oz mug so your cake rises into that pretty dome without overflowing.
- Don’t overcook. Microwave times vary, so check at 60 seconds. The top should look set but still soft. If needed, add 5–10 seconds. (Overcooking makes it rubbery.)
- For gooey pockets. Press a few extra chocolate chips into the center before microwaving. You’ll get melty surprises in every bite.
- Peanut butter drizzle consistency. If it’s too runny, stir in a little more PB. Too thick? Add a drop or two of milk until it drips just right.
- Make it nut-free. Swap the peanut butter drizzle for warm chocolate hazelnut spread, sunflower seed butter, or even cookie butter (SO good).
- Add some fruit. Fresh raspberries or sliced bananas on top make this dessert feel a little “fancier.”
- Turn up the heat. Those red pepper flakes are optional, but if you love a sweet-heat combo, don’t skip ‘em.
Ingredients
For the mug cake
- 1/4 cup (32 g) all-purpose flour
- 2 tbsp (25 g) sugar
- 1/4 tsp baking powder
- Pinch of salt
- 3 tbsp (45 ml) milk (dairy or unsweetened almond)
- 1 tbsp (15 ml) neutral oil or melted butter
- 1/4 tsp vanilla extract
- 2 tbsp mini chocolate chips (save 1 tsp for topping)
For the peanut butter drizzle & topping
- 2 tbsp creamy peanut butter
- 1 tbsp maple syrup (or honey)
- 1–2 tsp milk, to thin the drizzle
- 1 tbsp roasted peanuts, chopped
- Pinch of red pepper flakes (optional)
How To Make Peanut Butter Chocolate Chip Mug Cake
1. Mix the dry ingredients.
In a large microwave-safe mug (12–14 oz), stir together flour, sugar, baking powder, and salt until well combined.
2. Add the wet ingredients.
Pour in milk, oil (or melted butter), and vanilla. Stir until smooth, making sure there are no dry spots. (Don’t overmix, it can make the cake tough.)
3. Fold in the chocolate chips.
Mix in most of the chocolate chips, saving a few for topping. For gooey chocolate pockets, press 4–5 chips right into the center of the batter.
4. Microwave the cake.
Cook on HIGH for 60–70 seconds in a 1000W microwave. The cake should rise into a dome and look set on top. If it’s still wet in the middle, add 5–10 seconds more.
Tip: If your microwave is more powerful, start with 50–55 seconds to avoid overcooking.
5. Let it rest.
Leave the mug cake to sit for 1 minute before topping. This helps the texture set and keeps the chocolate from burning your tongue.
6. Make the peanut butter drizzle.
In a small bowl, stir together peanut butter and maple syrup. Microwave for 10–15 seconds, then whisk in milk a few drops at a time until it’s thick but pourable. Test by dripping a little on the side of the mug, if it runs too quickly, stir in a bit more peanut butter.
7. Finish with toppings.
Drizzle the warm peanut butter sauce over the cake, letting it drip down the sides. Sprinkle with chopped roasted peanuts, the reserved chocolate chips, and, if you’re into sweet-heat, a pinch of red pepper flakes.
Can You Make This Mug Cake Ahead of Time?
The beauty of mug cakes is that they’re meant to be enjoyed fresh, warm, gooey, and straight from the microwave. That said, you CAN prep ahead a little! Mix the dry ingredients (flour, sugar, baking powder, and salt) in a small jar or airtight container. When you’re ready, just stir in the wet ingredients, fold in chocolate chips, and microwave…
Fun tip: If you want to linger over dessert, place your mug on a mug warmer to keep it cozy and melty for longer.
Storage Tips
As we just said, this mug cake is really at its best when eaten fresh and straight from the microwave! But if you do happen to have leftovers, here’s how to save them:
- Short-term: Cover the mug loosely with plastic wrap or transfer the cake to an airtight container. Store at room temperature for up to 1 day or in the fridge for up to 2 days.
- Reheating: Pop it back in the microwave for 15–20 seconds. A fresh drizzle of peanut butter on top brings the moisture (and flavor) right back.
- Freezing: Unfortunately, no. Because this cake is cooked so quickly in the microwave, it doesn’t hold up well to freezing. Once thawed, the texture becomes dense and rubbery, so it’s best enjoyed within a couple of days.
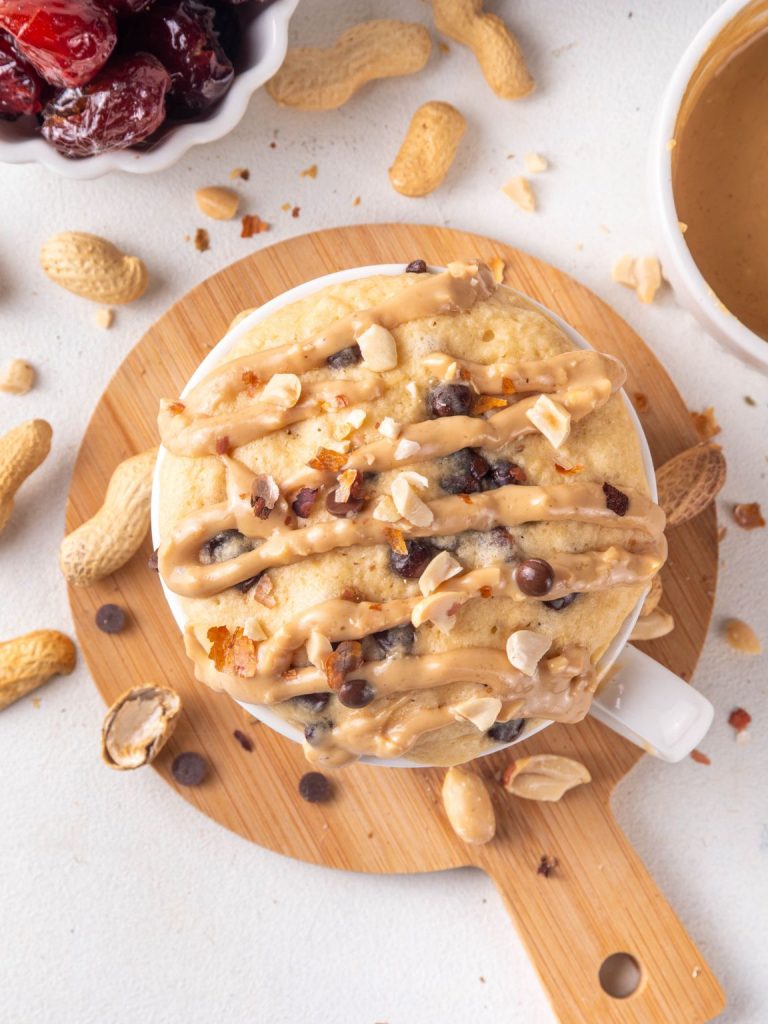
I really hope you LOVE this mug cake as much as me and my family do! It’s quick, it’s cozy, and it’s the kind of treat that just makes a long day feel a little better. If you give it a try, let us know how it turned out, leave a star rating and drop a comment below.
It seriously helps MORE than you know, and it always makes our day to hear from you!
And hey, don’t forget to save this recipe for later and follow us on Pinterest, we’ve got plenty more easy, delicious ideas coming your way!




Leave a Reply