
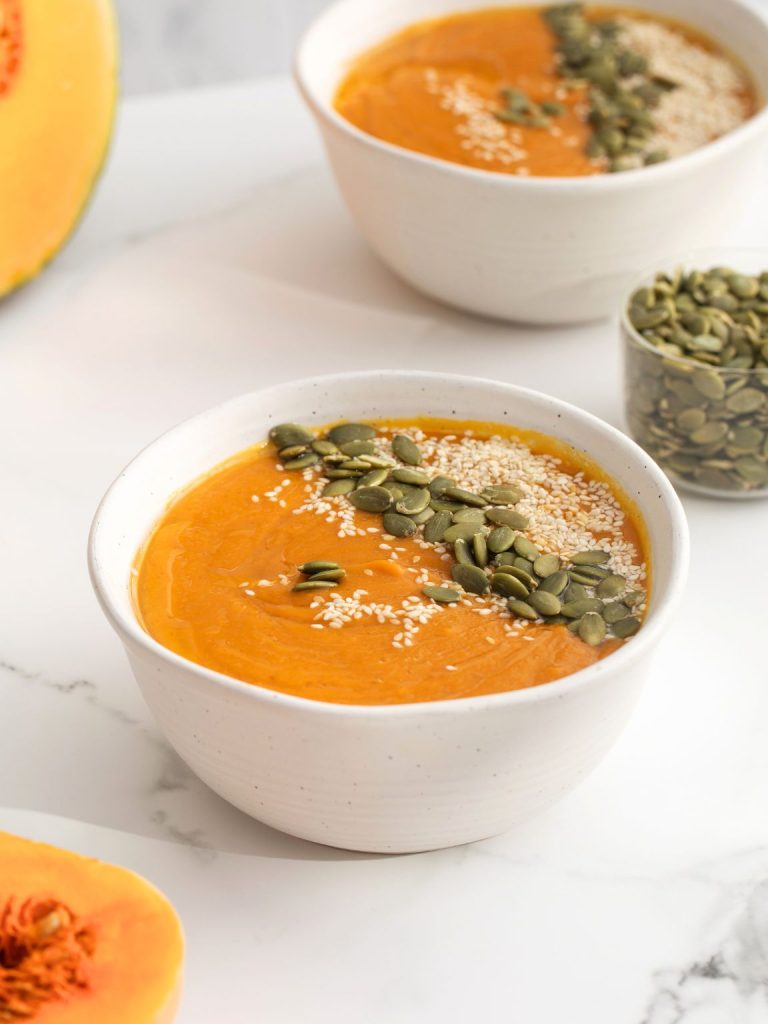
This butternut pumpkin soup is SO smooth and flavorful, you won’t believe it’s made with just a few simple ingredients. It’s the kind of soup that feels fancy but takes almost no effort, just roast, simmer, blend, done!
 Pin this now to find it later!
We’ve been making this one on repeat because it always hits the spot, especially when the weather turns chilly.
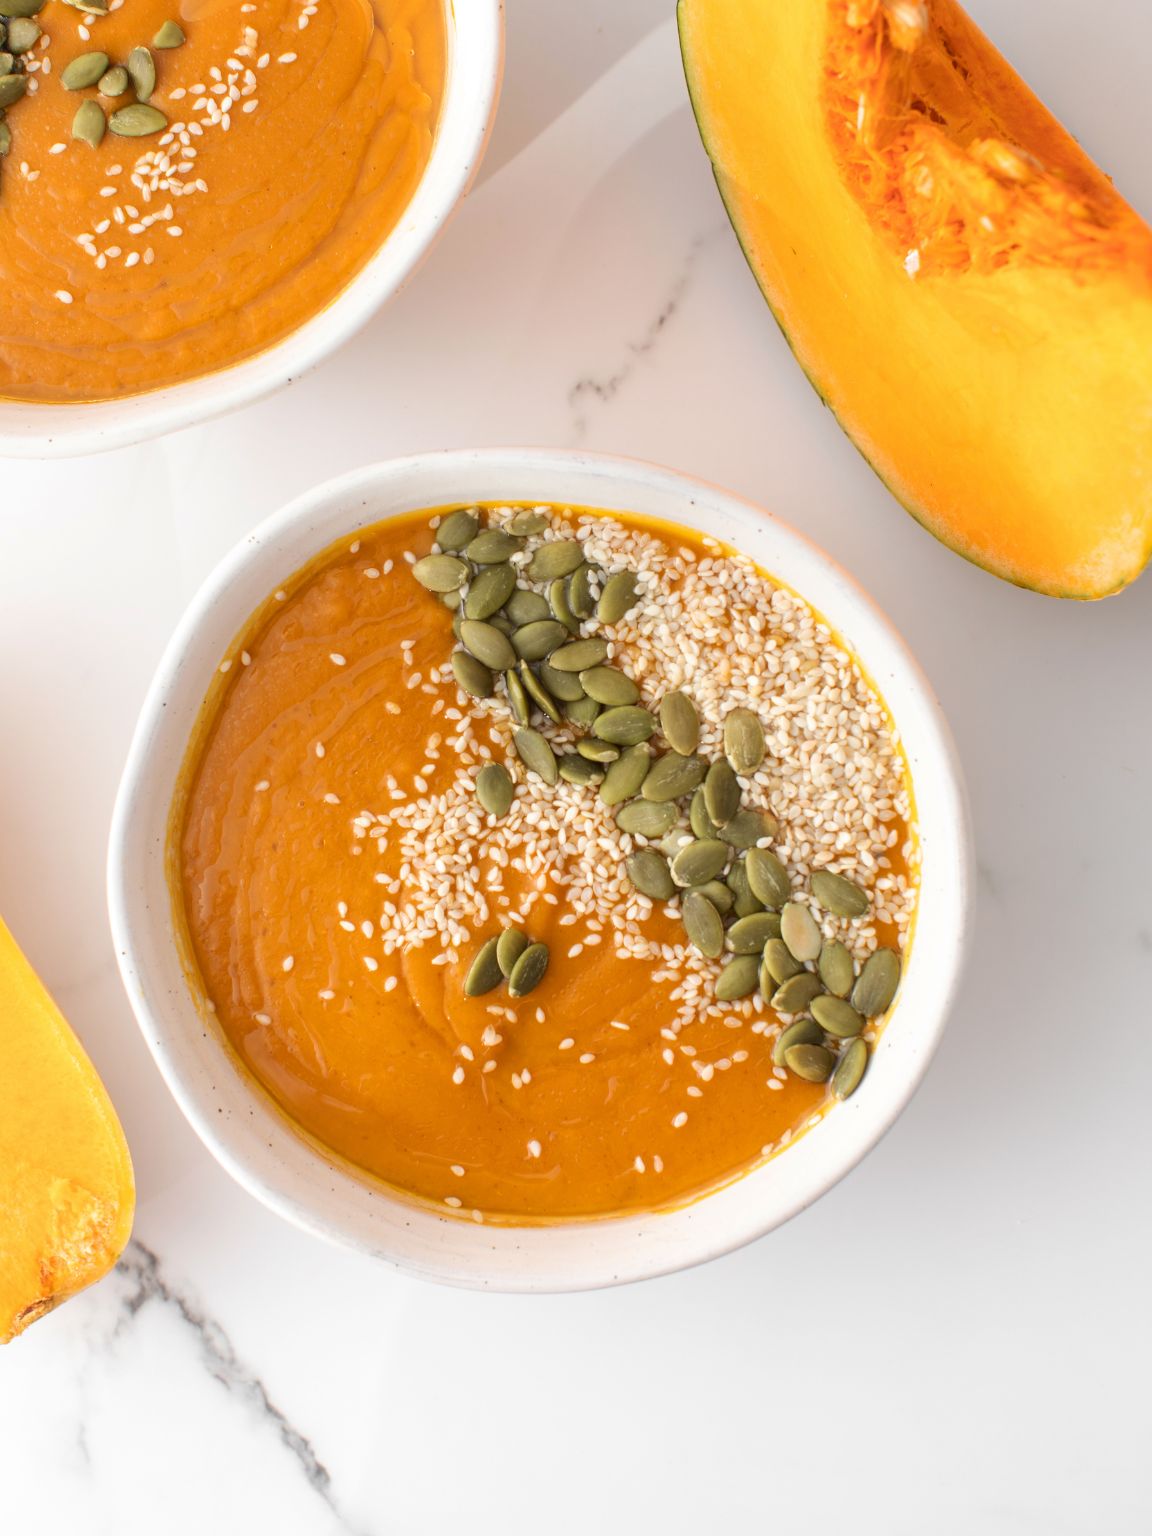
I LOVE how simple this soup is to make, and that you don’t need anything fancy to get that silky texture. Just a handful of veggies, a splash of stock, and a little olive oil at the end for gloss. The toasted pumpkin seeds and sesame on top add the perfect crunch (and they look pretty gorgeous too, just sayin’)!
Great for lunch, dinner, or meal prep. And if you’re feeding a crowd or need something cozy for the week? This ONE totally delivers!
What Makes This Soup So Good
- Roasting the veggies – This is KEY. Roasting the butternut and carrots brings out their natural sweetness and gives the soup that beautiful golden color. It’s an extra step, but totally worth it!
- Simple flavor base – Onion, garlic, and a little ginger go a long way here. They add just the right amount of depth and warmth without overpowering the soup.
- Ultra-smooth texture – Blending the soup while it’s hot makes it super creamy, and a little olive oil at the end gives it that glossy finish. No cream, no dairy, just smooth, velvety goodness.
- Naturally cozy – This soup feels rich and comforting but won’t weigh you down. It’s perfect for a cozy lunch or a lighter dinner, and it reheats beautifully.
Helpful Tips & Variations
- Use pre-cut butternut if you’re short on time. Peeling and chopping a whole squash is no joke. If your store sells pre-chopped chunks, go for it! Just make sure they’re fresh and not dried out.
- Watch the roasting time. You want some caramelized edges, but not burnt bits. If your oven runs hot, check the tray a few minutes early.
- Add warm spices (if you want). A pinch of nutmeg, ground coriander, or even cinnamon can be nice. Just don’t overdo it, this soup is all about that clean roasted flavor.
- Don’t skip the acid. A splash of apple cider vinegar or lemon juice at the end really wakes up the flavors. It won’t make the soup taste sour, promise!
- Make it a meal. Pair it with grilled cheese, crusty bread, or even a chickpea salad on the side.
- Freezer-friendly! Let it cool completely, then freeze in portions. It reheats like a dream, no weird texture change.
Ingredients
- 1 large butternut squash (about 2½ pounds whole), peeled and cubed (you want around 4 cups of chunks)
- 2 medium carrots, peeled and sliced (about 1 heaping cup)
- 2 tablespoons olive oil, divided
- 1 large yellow onion, chopped
- 3 cloves garlic, sliced
- 1 tablespoon fresh grated ginger (or 1 teaspoon ground ginger)
- 4 cups vegetable broth
- 1 teaspoon sea salt, plus more to taste
- ¼ teaspoon black pepper
- 1 to 2 teaspoons apple cider vinegar or lemon juice, to finish
For topping:
- ¼ cup pepitas (pumpkin seeds)
- 2 teaspoons white sesame seeds
How to Make Silky Butternut Pumpkin Soup
1. Roast the squash and carrots
Heat your oven to 425°F. Spread the butternut squash and carrots out on a large baking sheet (don’t crowd them). Drizzle with 1 tablespoon olive oil and ½ teaspoon salt, then toss everything around so it’s evenly coated.
Roast for 25 to 30 minutes, flipping once halfway through. You’re looking for golden edges and soft centers, a bit of browning is GOOD. That’s what gives the soup its sweet, roasted flavor and that gorgeous deep orange color!
2. Cook the aromatics
While the veggies are roasting, grab a large soup pot and heat the other tablespoon of olive oil over medium heat.
Add the chopped onion and cook it down for about 6 to 8 minutes, stirring now and then, until it turns soft and slightly golden.
Next, stir in the garlic and ginger, and cook for just 1 more minute. As soon as it smells amazing, you’re good. Don’t let the garlic brown, it can turn bitter fast.
3. Add the roasted veg and broth
Once the squash and carrots are done, toss them into the pot with the onion mixture.
Pour in 4 cups of vegetable broth, sprinkle in the ¼ teaspoon black pepper, and give it all a stir. Bring it to a gentle simmer and let it bubble for about 10 minutes, just to let everything come together.
4. Blend it smooth
Turn off the heat and blend the soup until it’s silky. If you’ve got an immersion blender, you can do this right in the pot. Otherwise, carefully transfer it to a regular blender in batches (don’t overfill it, steam NEEDS room to escape).
While you’re blending, drizzle in another 1 to 2 teaspoons of olive oil, it makes the soup extra glossy and smooth, kind of like it has cream in it (but it doesn’t).
If the soup feels a bit too thick, just stir in a splash of hot water or broth until it’s the texture you like.
5. Add a splash of brightness
Now’s the time to wake up the flavor. Stir in 1 to 2 teaspoons of apple cider vinegar or lemon juice, it won’t make the soup taste sour, but it will balance the natural sweetness and make everything pop!
Taste it! Add a little more salt or acid if it feels flat. This step makes a BIG difference.
6. Toast the toppings
Grab a small pan and toast the pepitas over medium heat for 2 to 3 minutes, stirring often, until they start to puff and smell nutty. Then toss in the sesame seeds and toast for about 30 seconds more. Keep an eye on them, they can burn quick…
Once toasted, take them off the heat. They’ll stay crunchy and taste AMAZING on the soup.
7. Serve and garnish
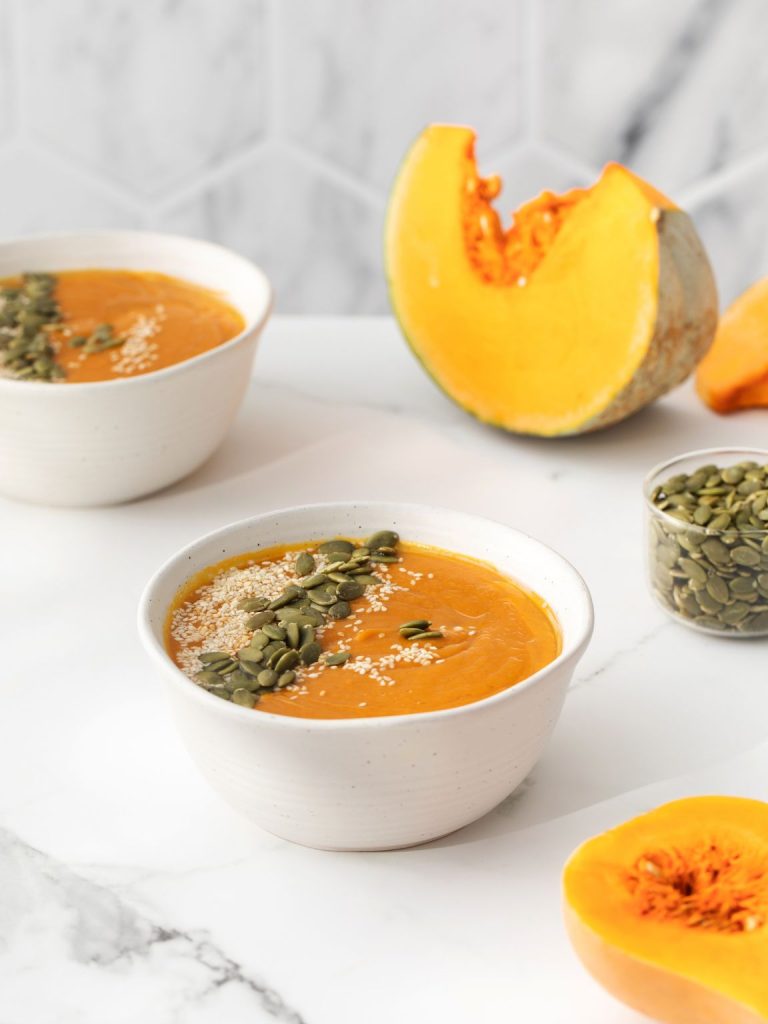
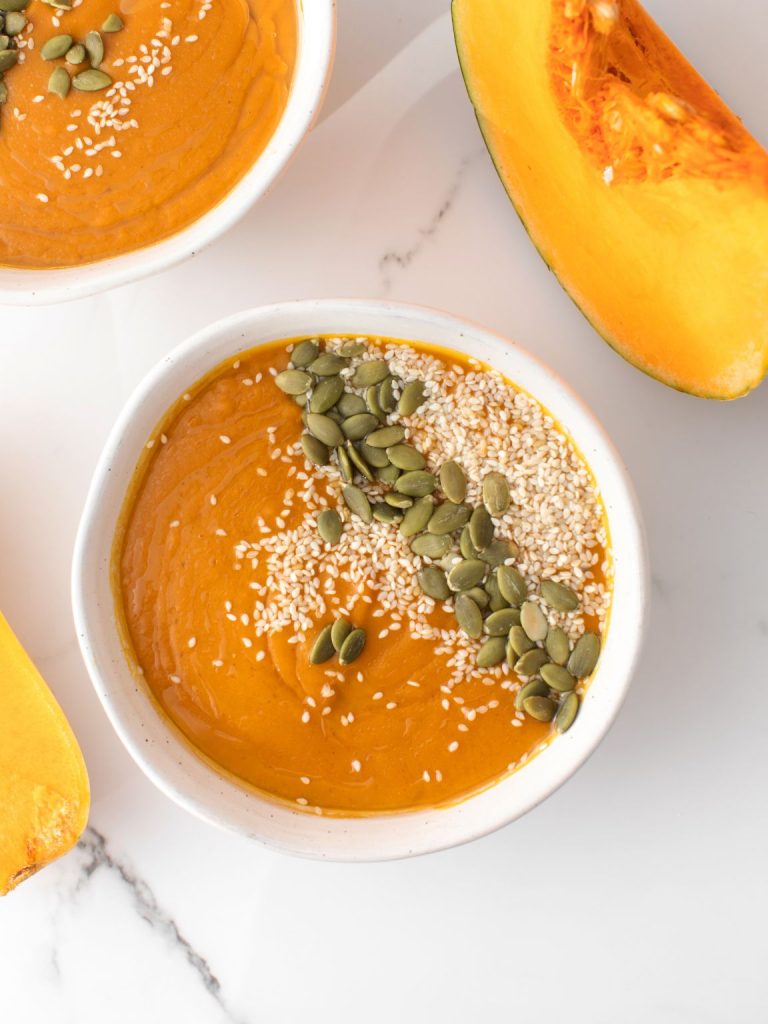
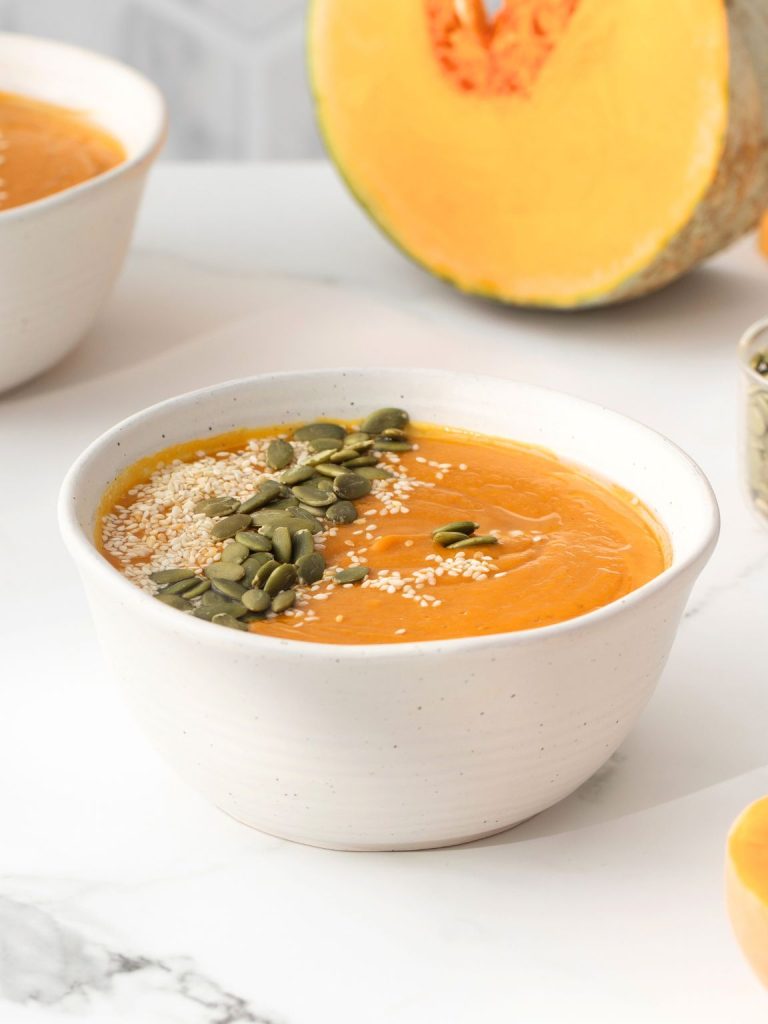
Ladle the hot soup into bowls. Sprinkle a stripe of the toasted pepitas right across the top, and scatter on some sesame seeds.
That’s it. You’ve got a warm, silky, flavor-packed soup, and yeah, it’s even BETTER the next day!
Proper Storage
This soup keeps really well, which makes it PERFECT for leftovers or meal prep. Once it’s cooled down, store it in an airtight container in the fridge for up to 4 days. It actually gets even better after a day or two, the flavors have time to settle in!
To reheat, just warm it gently on the stove or in the microwave… If it thickens up too much in the fridge (which it often does), stir in a splash of water or broth while it heats to loosen it back up.
Freezer-friendly? Absolutely. Let it cool completely, then transfer to freezer-safe containers. It’ll keep in the freezer for up to 3 months. Just thaw it overnight in the fridge before reheating, still smooth, still silky, still delicious!
I really hope you LOVE this soup as much as we do around here. It’s simple, cozy, and packed with flavor, the kind of thing that makes you feel good from the very first spoonful!
Silky Butternut Pumpkin Soup
Ingredients
- 1 large butternut squash about 2½ pounds whole, peeled and cubed (about 4 cups)
- 2 medium carrots peeled and sliced (about 1 heaping cup)
- 2 tablespoons olive oil divided
- 1 large yellow onion chopped
- 3 cloves garlic sliced
- 1 tablespoon fresh grated ginger or 1 teaspoon ground ginger
- 4 cups vegetable broth
- 1 teaspoon sea salt divided
- ¼ teaspoon black pepper
- 1 to 2 teaspoons apple cider vinegar or lemon juice to taste
- ¼ cup pepitas pumpkin seeds
- 2 teaspoons white sesame seeds
Instructions
- Roast the squash and carrots. Preheat oven to 425°F. Spread butternut squash and carrots on a large baking sheet. Drizzle with 1 tablespoon olive oil and ½ teaspoon salt. Toss to coat. Roast for 25–30 minutes, flipping halfway, until tender and lightly browned.
- Cook the aromatics. While veggies roast, heat remaining 1 tablespoon olive oil in a large pot over medium heat. Add chopped onion and cook 6–8 minutes, until soft. Stir in garlic and ginger, cook for 1 minute more, until fragrant.
- Simmer the soup. Add roasted vegetables to the pot with onion. Pour in vegetable broth and add black pepper. Simmer uncovered for 8–10 minutes.
- Blend until smooth. Turn off heat and blend soup with an immersion blender or in batches in a countertop blender. While blending, drizzle in 1–2 teaspoons olive oil for extra smoothness and shine. Adjust thickness with extra broth or water, if needed.
- Add vinegar or lemon. Stir in 1–2 teaspoons apple cider vinegar or lemon juice. Taste and adjust seasoning as needed.
- Toast the toppings. In a dry skillet, toast pepitas for 2–3 minutes over medium heat until they start to puff. Add sesame seeds and toast 30 seconds more. Remove from heat.
- Serve. Ladle soup into bowls and top with a ribbon of pepitas and a sprinkle of sesame seeds. Serve warm.
If you give it a try, I’d love to know how it turned out for you! Drop a quick COMMENT or rating below, it helps more than you know and honestly, it always makes my day!
And hey, don’t forget to save this recipe so you’ve got it handy next time the weather calls for something warm and nourishing!





Leave a Reply